


Introduction
Monitoring your VMware vSphere environment is crucial for ensuring optimal performance, resource utilization, and early detection of issues in your virtual infrastructure. Checkmk is a powerful, vendor-agnostic monitoring tool that allows you to monitor not only VMware vSphere but also a wide range of IT assets, including servers, networks, and cloud environments. This guide will walk you through the process of integrating VMware vSphere (ESXi and vCenter) with Checkmk for comprehensive monitoring.
Prerequisites
Before you begin, ensure you have:
- A running Checkmk server (Raw or Enterprise Edition)
- Access to your VMware vCenter and ESXi hosts
- A dedicated read-only user in vCenter for monitoring purposes
Step 1: Add vCenter or ESXi Hosts to Checkmk
First, log in to your Checkmk web interface. To organize your monitoring, you can create a folder for your VMware environment.
Navigate to:
Setup → Hosts → Add folderEnter a name for your folder, such as vmware or virtual-machines, and save it. This helps keep your monitored hosts organized.

Now, add your vCenter or ESXi host as a monitored host in Checkmk. Go to your newly created folder and select:
Add hostFill in the hostname or IP address of your vCenter or ESXi host. Under Monitoring agents, select:
Checkmk agent / API integrations → Configured API integrations and Checkmk agent
Save your host configuration.

Step 2: Create a Read-Only User in vCenter
For secure monitoring, create a dedicated read-only user in vCenter. In the vSphere web interface, go to:
Administration → Single Sign On → Users and GroupsAdd a new user, for example, [email protected], and set a strong password.
Assign read-only permissions to this user:
Administration → Access Control → Global PermissionsAdd your new user and assign the “Read-only” role.
Step 3: Configure VMware Monitoring Rule in Checkmk
To allow Checkmk to collect data from vCenter or ESXi, you need to configure the VMware monitoring rule.
In the Checkmk web interface, go to:
Setup → VM, Cloud, Container → VMware ESX via vSphere
Click on:
Add ruleUnder VMware ESX via vSphere, enter the credentials for your monitoring user. For example:
- vSphere User name:
[email protected] - vSphere secret: your password
If you are monitoring a vCenter, set the type of query to:
Queried host is the vCenter
If your vSphere environment uses self-signed certificates, you can disable SSL certificate checking in the rule to prevent connection issues.
Assign the rule to your vCenter or ESXi host by specifying the hostname or folder.
Save the rule.

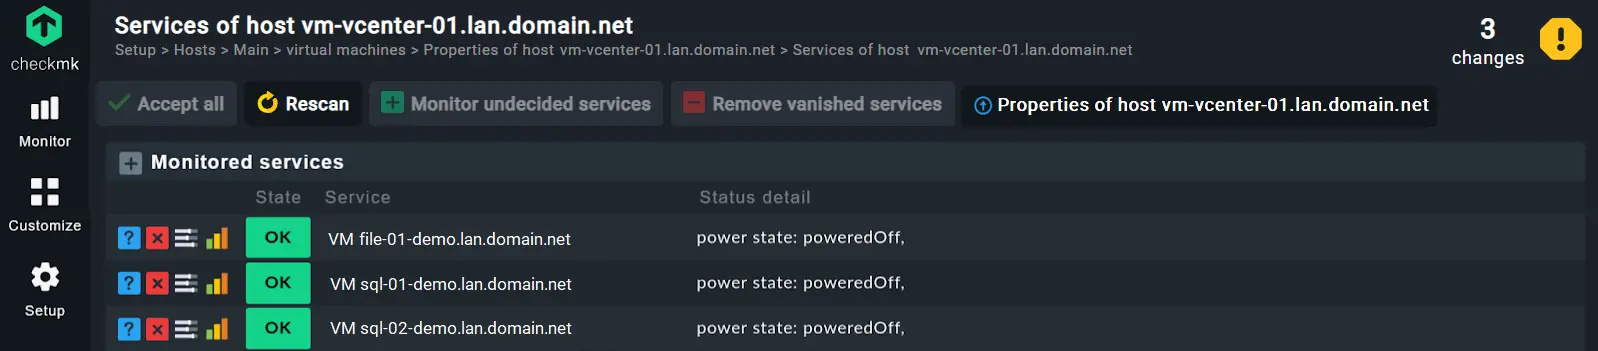
Step 4: Service Discovery and Activation
After configuring the rule, return to your host configuration and perform a service discovery. This allows Checkmk to detect all available services and metrics from your vCenter or ESXi host.

Click:
Save & go to service configuration
Once services are discovered, click:
Fix all
This will add all detected services to monitoring.
To apply your changes, go to the top right and click the yellow exclamation mark for pending changes. Then select:
Activate on selected sites

Step 5: View and Analyze VMware Monitoring Data
Your vCenter or ESXi hosts are now being monitored by Checkmk. To view real-time data and performance metrics, navigate to:
Monitor → All hosts
You can now track CPU and memory usage, disk I/O, network performance, VM statuses, datastore utilization, hardware sensors, and more. Checkmk also supports alerting and notifications for resource exhaustion, VM downtimes, and performance bottlenecks.
Additional Tips
- Use folder structures in Checkmk to organize multiple vSphere environments or clusters.
- The piggyback mechanism in Checkmk allows VM data to be displayed directly under the associated ESXi host for easy analysis.
- No agent installation is required on ESXi hosts; Checkmk retrieves all data via the vSphere API.
- For large environments, consider using Checkmk’s automation features for bulk host management and configuration.
Conclusion
Integrating VMware vSphere with Checkmk gives you a powerful, unified view of your virtual infrastructure’s health and performance. With just a few steps, you can set up automated, scalable monitoring for ESXi hosts, vCenter, and all your virtual machines. This proactive approach helps you maintain high availability, optimize resource usage, and quickly respond to issues in your VMware environment.
Hashtags:
#Checkmk #VMware #vSphere #ESXi #vCenter #Virtualization #ITMonitoring #Sysadmin
Top 10 VPN Services in 2025: Secure, Fast & Feature-Rich
Hướng dẫn cài đặt Cluster Kafka trên Ubuntu
https://forum.congdonglinux.com
Add Comment