


Static Pods are managed directly by the kubelet and the API server does not have any control over these pods. The kubelet is responsible to watch each static Pod and restart it if it crashes. The static Pods running on a node are visible on the API server but cannot be controlled by the API Server. Static Pod does not have any associated replication controller, kubelet service itself watches it and restarts it when it crashes. There is no health check for static pods. The kubelet process watches the specific directory designated for Static Pods.
To know more about the Static Pods, visit the official page of the Kubernetes here.
In this article, we will see the steps to create a Static Pod from the file saved at the default location kubelet reads manifests from and also we will change the default location to some other directory and see getting static pod created from there. We will create static pods on the Worker node.
Pre-requisites
- Kubernetes Cluster with at least 1 worker node.
If you want to learn to create a Kubernetes Cluster, click here. This guide will help you create a Kubernetes cluster with 1 Master and 2 Nodes on AWS Ubuntu 18.04 EC2 Instances.
What will we do?
- Create Static Pods
Create Static Pods
Execute the following commands from the master node to get the details of the nodes and pods in the cluster.
$master kubectl get nodes$master kubectl get pods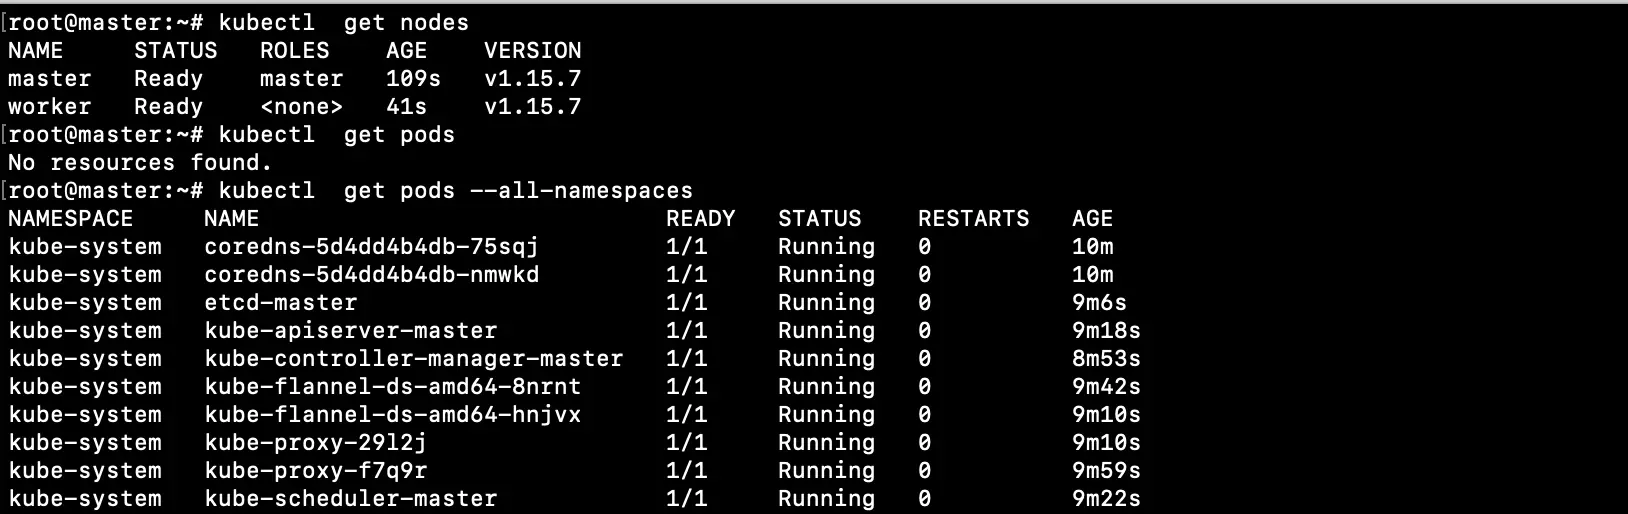
You can check the containers running as part of the pods
$worker docker ps$worker docker ps -a
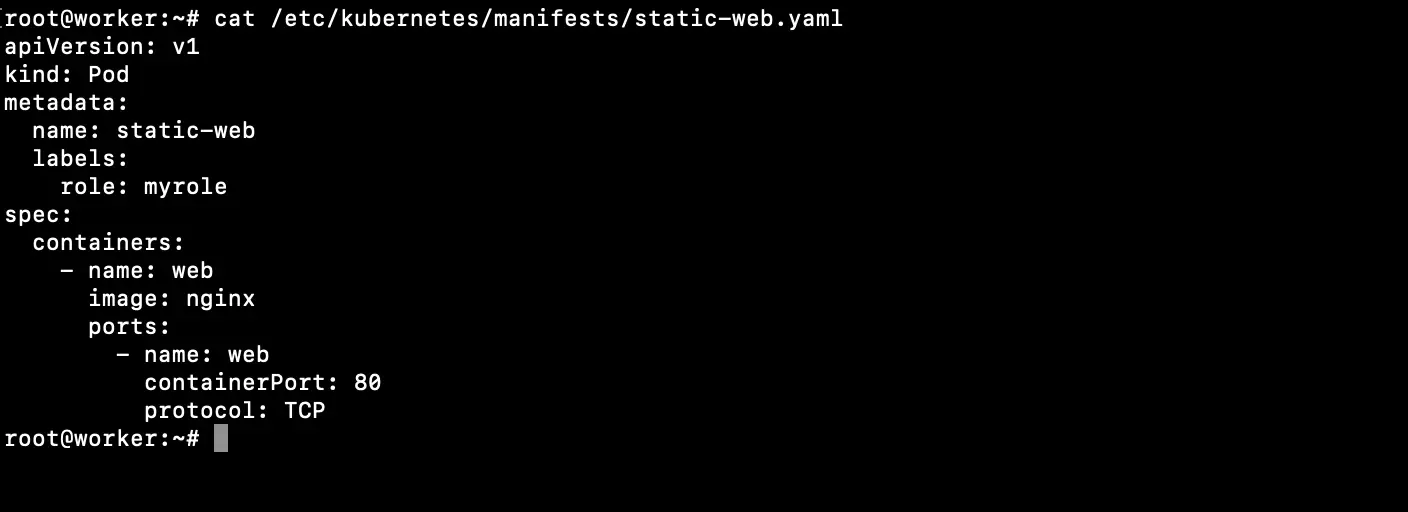
Now, login to the worker node and create a new file with the following content at the default path of static pods manifests.
$worker vim /etc/kubernetes/manifests/static-web.yamlapiVersion: v1
kind: Pod
metadata:
name: static-web
labels:
role: myrole
spec:
containers:
- name: web
image: nginx
ports:
- name: web
containerPort: 80
protocol: TCP
As soon as you create a pod definition at the default location of static pods manifest, the pod gets created which is not controlled by the API server.
You can check the newly created pod with the following command from the master node.
$master kubectl get pods$master kubectl get pods --all-namespaces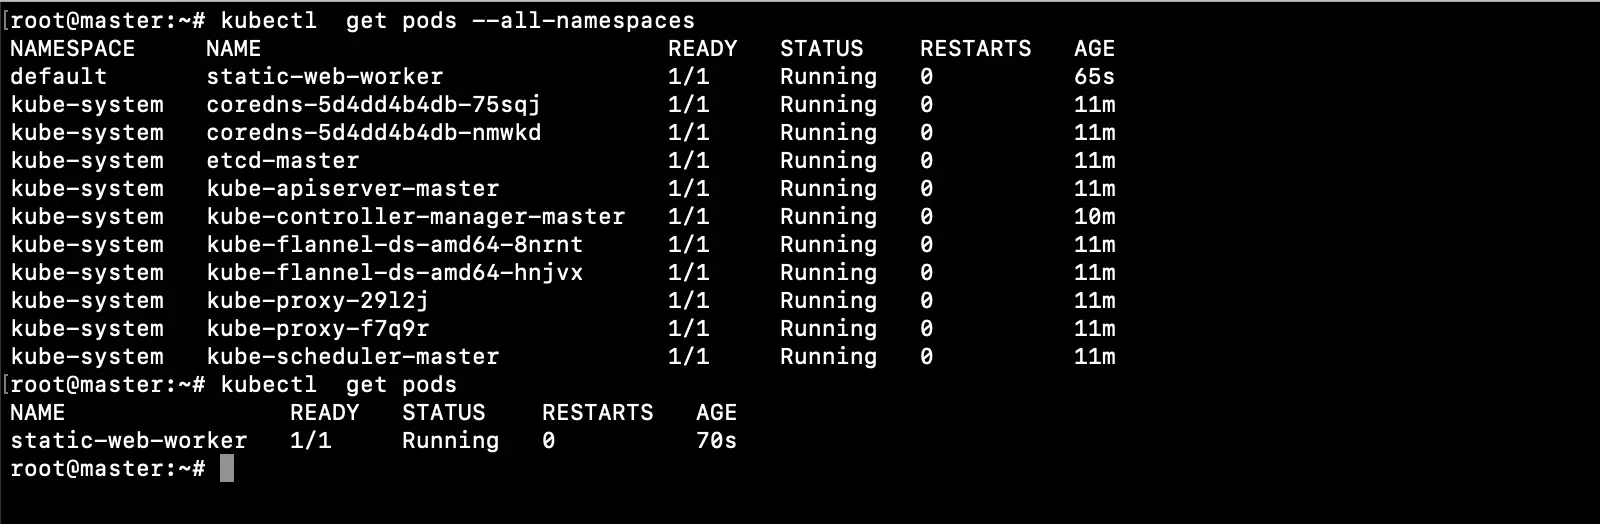
To check the containers created as part of the Pod, execute the following command on the worker node
$worker docker ps$worker docker ps -a
We can also change the default location kubelet reads manifests from.
Now create a new folder where we would like to store manifests of Static Pods.
Here, we are creating “/etc/kubelet.d/”.
$worker mkdir -p /etc/kubelet.d/Create a pod definition file in the directory we created.
$worker vim /etc/kubelet.d/static-web.yamlapiVersion: v1
kind: Pod
metadata:
name: static-web-2
labels:
role: myrole
spec:
containers:
- name: web
image: nginx
ports:
- name: web
containerPort: 80
protocol: TCP
To change the default path from where Kubelets reads manifests of Static Pods, edit /var/lib/kubelet/config.yaml file and change value of “staticPodPath” to “staticPodPath=/etc/kubelet.d”.

Once the configuration is in place, restart the Kubelet Service
$worker systemctl restart kubeletAs soon as the service is restarted, Kubelet detects the new location and reads manifests from that location and creates the pods.
Check if the pod has been created or not.
$master kubectl get pods
Check the container created as a part of the Pod on the worker node using the following command.
$worker docker ps
Conclusion
In this article, we saw the steps to create static pods and also we saw the configuration change required in Kubelet to change the default directory for manifests of Static Pods.

Add Comment