


Phần 1: Deploy Kubernetes Load Balancer Service với Terraform
Tổng quan
Trong Terraform, tính năng Provider cung cấp các API giúp cấu hình Cluster Kubernetes. Trong bài hướng dẫn này, chúng ta sẽ tìm hiểu cách cấu hình Kubernetes và deploy Load Balancing với dịch vụ Nginx.
Truy cập Cloud Shell
Trong Cloud Console, click vào nút “Activate Cloud Shell”.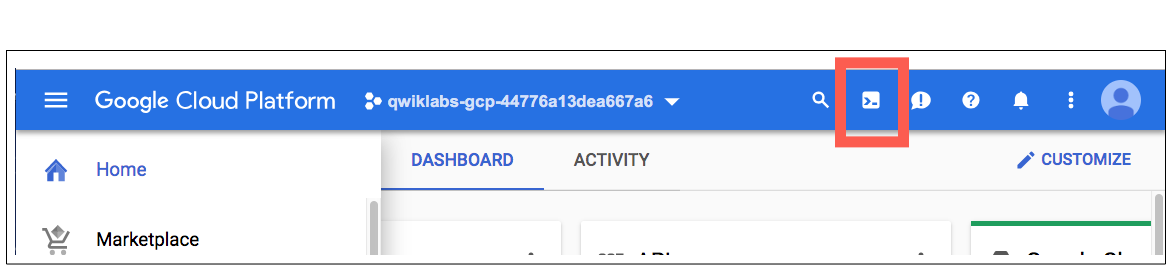
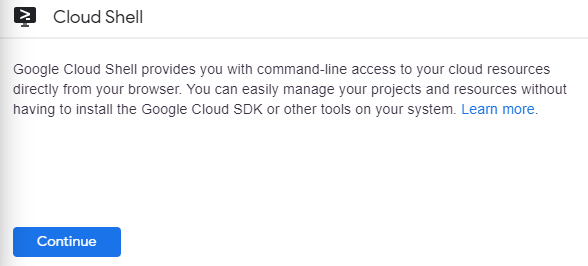
Click Continue.
Đợi một khoảng thời gian để khởi tạo môi trường. Tại đây, bạn có thể set PROJECT_ID mà bạn muốn tương tác.
 gcloud là công cụ dòng lệnh của Google Cloud và được tích hợp sẵn trong Cloud Shell.
gcloud auth list
Credentialed accounts:
 - <myaccount>@<mydomain>.com (active)
(output)
Credentialed accounts:
 - [email protected]
Bạn có thể liệt kê project ID bằng câu lệnh:
gcloud config list project
[core]
project = <project_ID>
(output)
[core]
project = qwiklabs-gcp-44776a13dea667a6
Kubernetes Services
Service là một nhóm các Pod chạy trong cluster k8s. Kubernetes service có nhiều tính năng mạnh mẽ trong hạ tầng kiến trúc của microservice.
Service cung cấp nhiều tính năng quan trọng được chuẩn hóa cho cluster như: load-balancing, service discovery giữa các ứng dụng, và nhiều tính năng hữu ích khác hỗ trợ zero-downtime trong quá trình depploy.
Tại sao lại là Terraform?
Mặc dù bạn có thể sử dụng kubectl hoặc các công cụ dựa trên command line sử dụng API để tương tác với Kubernetes. Tuy nhiên, việc sử dụng Terraform mang lại một số lợi ích sau:
- Bạn có thể sử dụng cùng một ngôn ngữ cấu hình để vừa cung cấp cơ sở hạ tầng Kubernetes vừa triển khai ứng dụng.
- Drift detection –
terraform plansẽ cho bạn thấy những thay đổi, và xác nhận lại trước khi triển khai. - Quản lý toàn bộ vòng đời – Terraform không chỉ khởi tạo tài nguyên lúc đầu, mà nó còn cung cấp câu lệnh để tạo, cập nhật và xóa tài nguyên.
- Biểu đồ các mối quan hệ – Terraform có thể hiểu mối quan hệ giữa các tài nguyên – ví dụ: Terraform sẽ không tạo Service trong Cluster Kubernetes cho đến khi Cluster k8s tồn tại.
Cập nhật Terraform
Trước tiên, đảm bảo bạn đang sử dụng Terraform phiên bản lớn hơn 0.13.0.
wget https://releases.hashicorp.com/terraform/0.13.0/terraform_0.13.0_linux_amd64.zip
Giải nén tệp thực thi đã tải xuống:
unzip terraform_0.13.0_linux_amd64.zip
Di chuyển tệp thực thi vào thư mục bin :
sudo mv terraform /usr/local/bin/
Chạy lệnh này để kiểm tra phiên bản Terraform:
terraform -v
Clone the sample code
- Trong Cloud Shell, tiến hành clone sample code:
gsutil -m cp -r gs://spls/gsp233/* .
- Di chuyển vào thư mục
tf-gke-k8s-service-lb:
cd tf-gke-k8s-service-lb
Tìm hiểu Code
- Mở file
main.tf:
cat main.tf
Output :
variable "region" {
  default = "us-west1"
}

variable "zone" {
  default = "us-west1-b"
}

variable "network_name" {
  default = "tf-gke-k8s"
}

provider "google" {
  region = "${var.region}"
}

resource "google_compute_network" "default" {
  name                    = "${var.network_name}"
  auto_create_subnetworks = false
}

resource "google_compute_subnetwork" "default" {
  name                     = "${var.network_name}"
  ip_cidr_range            = "10.127.0.0/20"
  network                  = "${google_compute_network.default.self_link}"
  region                   = "${var.region}"
  private_ip_google_access = true
}

data "google_client_config" "current" {}

data "google_container_engine_versions" "default" {
  zone = "${var.zone}"
}

resource "google_container_cluster" "default" {
  name               = "${var.network_name}"
  zone               = "${var.zone}"
  initial_node_count = 3
  min_master_version = "${data.google_container_engine_versions.default.latest_master_version}"
  network            = "${google_compute_subnetwork.default.name}"
  subnetwork         = "${google_compute_subnetwork.default.name}"

  // Use legacy ABAC until these issues are resolved:
  //   https://github.com/mcuadros/terraform-provider-helm/issues/56
  //   https://github.com/terraform-providers/terraform-provider-kubernetes/pull/73
  enable_legacy_abac = true

  // Wait for the GCE LB controller to cleanup the resources.
  provisioner "local-exec" {
    when    = "destroy"
    command = "sleep 90"
  }
}

output network {
  value = "${google_compute_subnetwork.default.network}"
}

output subnetwork_name {
  value = "${google_compute_subnetwork.default.name}"
}

output cluster_name {
  value = "${google_container_cluster.default.name}"
}

output cluster_region {
  value = "${var.region}"
}

output cluster_zone {
  value = "${google_container_cluster.default.zone}"
}
-
- Variable được định nghĩa cho
region,zone, vànetwork_name. Những biến này sẽ dùng để tạo Kuberntes Cluster. - Google Cloud provider sẽ cho phép chúng tôi tạo tài nguyên trong project này
- Có một số tài nguyên được xác định để tạo network và cluster thích hợp
- Cuối cùng, có một sốoutput mà bạn sẽ thấy sau khi chạy
terraform apply
- Variable được định nghĩa cho
- Xem lại nội dung của file
k8s.tf:
cat k8s.tf
Example Output
provider "kubernetes" {
  host                   = "${google_container_cluster.default.endpoint}"
  token                  = "${data.google_client_config.current.access_token}"
  client_certificate     = "${base64decode(google_container_cluster.default.master_auth.0.client_certificate)}"
  client_key             = "${base64decode(google_container_cluster.default.master_auth.0.client_key)}"
  cluster_ca_certificate = "${base64decode(google_container_cluster.default.master_auth.0.cluster_ca_certificate)}"
}

resource "kubernetes_namespace" "staging" {
  metadata {
    name = "staging"
  }
}

resource "google_compute_address" "default" {
  name   = "${var.network_name}"
  region = "${var.region}"
}

resource "kubernetes_service" "nginx" {
  metadata {
    namespace = "${kubernetes_namespace.staging.metadata.0.name}"
    name      = "nginx"
  }

  spec {
    selector {
      run = "nginx"
    }

    session_affinity = "ClientIP"

    port {
      protocol    = "TCP"
      port        = 80
      target_port = 80
    }

    type             = "LoadBalancer"
    load_balancer_ip = "${google_compute_address.default.address}"
  }
}

resource "kubernetes_replication_controller" "nginx" {
  metadata {
    name      = "nginx"
    namespace = "${kubernetes_namespace.staging.metadata.0.name}"

    labels {
      run = "nginx"
    }
  }

  spec {
    selector {
      run = "nginx"
    }

    template {
      container {
        image = "nginx:latest"
        name  = "nginx"

        resources {
          limits {
            cpu    = "0.5"
            memory = "512Mi"
          }

          requests {
            cpu    = "250m"
            memory = "50Mi"
          }
        }
      }
    }
  }
}

output "load-balancer-ip" {
  value = "${google_compute_address.default.address}"
}
- Tập này dùng để cấu hình Kubernetes với việc tạo service, namespace và tài nguyên replication_controller.
- Tập lệnh trả về một địa chỉ IP của service
nginxở output.
Khởi tạo và cài đặt các thành phần phụ thuộc
Lệnh terraform init được sử dụng để khởi tạo một thư mục và cài đặt các thư viện cần thiết trong terraform.
- Thực thi câu lệnh
terraform init:
terraform init
Output
...
* provider.google: version = "~> 3.8.0"
* provider.kubernetes: version = "~> 1.10.0"
Terraform has been successfully initialized!
You may now begin working with Terraform. Try running `terraform plan` to see
any changes that are required for your infrastructure. All Terraform commands
should now work.
If you ever set or change modules or backend configuration for Terraform,
rerun this command to reinitialize your working directory. If you forget, other
commands will detect it and remind you to do so if necessary.
- Chạy lệnh
terraform apply, được sử dụng để áp dụng các thay đổi cần thiết để đạt được trạng thái mong muốn của cấu hình.
terraform apply
- Xem lại các hành động của Terraform và kiểm tra các tài nguyên sẽ được tạo.
- Khi đã sẵn sàng, hãy nhập yes để bắt đầu triển khai trên Terraform.
Output
Apply complete! Resources: 7 added, 0 changed, 0 destroyed.
Outputs:
cluster_name = tf-gke-k8s
cluster_region = us-west1
cluster_zone = us-west1-b
load-balancer-ip = 35.233.177.223
network = https://www.googleapis.com/compute/beta/projects/qwiklabs-gcp-5438ad3a5e852e4a/global/networks/tf-gke-k8s
subnetwork_name = tf-gke-k8s
Xác nhận lại tài nguyên được tạo bởi Terraform
- Trong console, chọn vào Navigation menu > Kubernetes Engine.
- Click
tf-gke-k8scluster và kiểm tra lại cấu hình. - click vào Services & Ingress và kiểm tra server nginx.
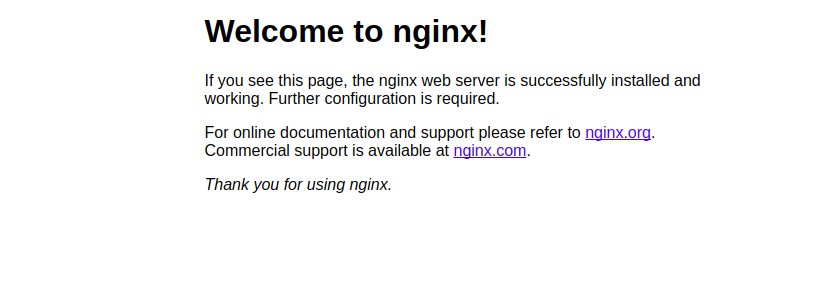
- Click vào Endpoints IP address để mở website
Welcome to nginx!.
 Kết bài
Trong bài này, bạn đã sử dụng Terraform để khởi tạo, lập kế hoạch và triển khai một Cluster Kubernetes cùng với dịch vụ nginx. Chúc bạn thành công !
Tham Khảo:
Nguồn:
[maxbutton id=”2″ ] [maxbutton id=”3″ ]


Add Comment