


Ở phần 1 chúng ta đã tạo xong cluster Kubernetes, trong phần 2 này chúng ta sẽ tạo một docker image, sau đó push lên Container Registry của Google. Đây là một dịch vụ lưu trữ images giống docker hub.
Google Kubernetes Engine
1.Tạo webserver từ Cloud Shell
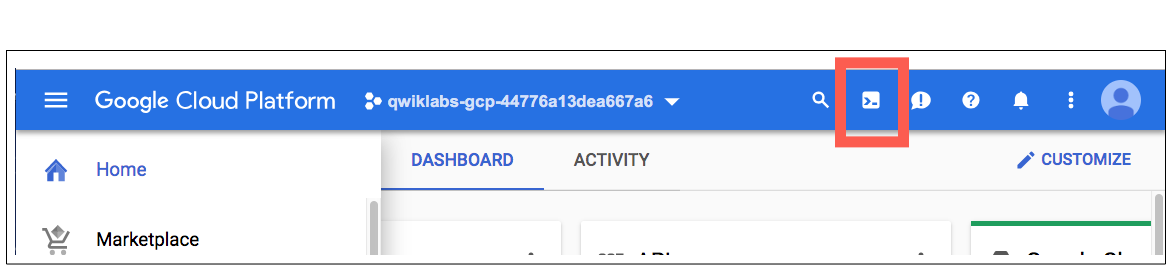
Đầu tiên, truy cập vào GCP Console : https://console.cloud.google.com/home/ , để mở Cloud Shell. và thực thi các câu lệnh sau để tiến hành khởi tạo server:
| mkdir helloNode cd helloNode |
Tải file server.js về :
| wget https://raw.githubusercontent.com/GoogleCloudPlatform/gcp-getting-started-lab-jp/master/fundamental/gke/helloNode/server.js |
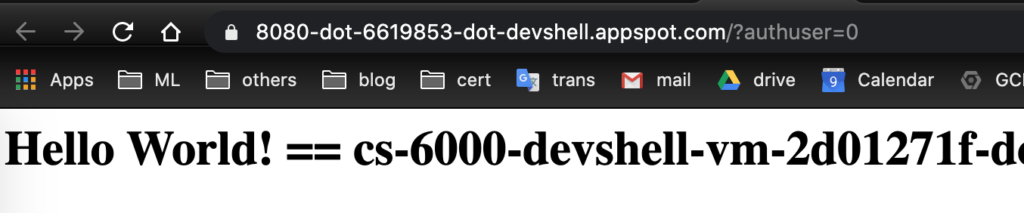
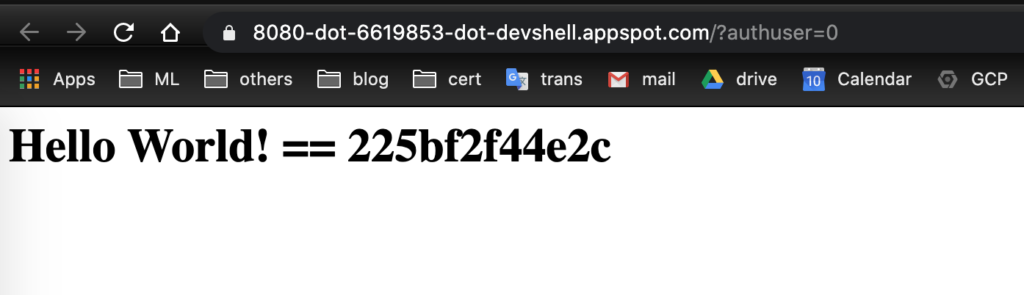
- server.js sẽ tạo ra một webservice đơn giản, in ra dòng chữ “Hello World! == ” + hostname” và listening trên port 8080.
- Thực thi file server.js bằng câu lệnh để chạy thử dịch vụ: node server.js
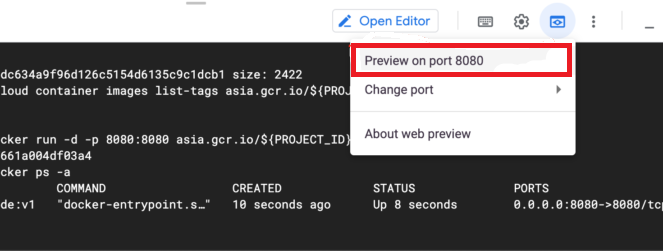
- Chọn preview port 8080 chúng ta sẽ có kết quả hiển thị giống hình dưới.
Quay lại màn hình terminal, dùng Ctrl+C để tắt server node đang chạy.
2. Tạo image và push lên Container Registry
Trong màn hình Cloud Shell, chạy lệnh sau để thiết lập project ID:
gcloud config set project <ProjectID> export PROJECT_ID=<ProjectID>
Chạy những lệnh sau để lấy Dockerfile và build images docker :
| wget https://raw.githubusercontent.com/GoogleCloudPlatform/gcp-getting-started-lab-jp/master/fundamental/gke/helloNode/Dockerfile
asia.gcr.io/${PROJECT_ID}/hello-node:v1 . docker push asia.gcr.io/${PROJECT_ID}/hello-node:v1 |
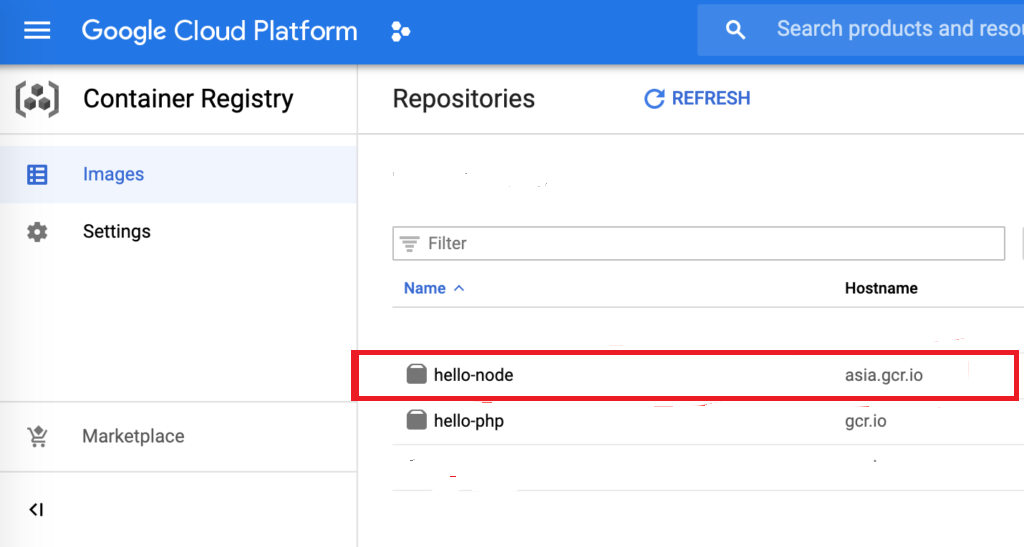
Khi đó tại màn hình GCP console, menu bên trái Container Registry sẽ hiển thị images mà chúng ta vừa push lên: hello-node
3.Triển khai images từ Container registry
Ở Cloud Shell Terminal chúng ta chạy lệnh sau:
Kết bài
Vậy chúng ta kết thúc phần 2 ở đây. Chúng ta đã tìm hiểu qua cách để tạo , build và push images lên container registry của google. Trong phần 3, chúng ta sẽ tìm hiểu về cách để Deploy lên Google Kubernetes Engine. Cám ơn bạn đã quan tâm, chúc thành công !
Google Kubernetes Engine Series:
- Phần 1: Tạo cluster
- Phần 2: Tạo docker image
- Phần 3: Deploy to cluster
Nguồn:
[maxbutton id=”2″ ] [maxbutton id=”3″ ]


Add Comment