


Cacti is a free, open-source and powerful web-based network monitoring and graphing tool. It is used to monitor system performance, CPU load and network bandwidth utilization in a graph format. It allows you to poll services at predetermined intervals and graph the resulting data. It is a complete frontend to RRDTool, written in PHP and uses MySQL database to stores all of the necessary information.
In this tutorial, we will explain how to install Cacti monitoring tool on CentOS 8.
Prerequisites
- A server running CentOS 8 with minimum 2 GB RAM.
- A root password is configured the server.
Getting Started
First, it is recommended to update your system packages to the latest version. You can update them with the following command:
dnf update -yOnce all the packages are updated, install other dependencies required for Cacti with the following command:
dnf install net-snmp net-snmp-utils net-snmp-libs rrdtool -yAfter installing all the dependencies, start the SNMP service and enable it to start at boot with the following command:
systemctl start snmpd
systemctl enable snmpd
Once you are done, you can proceed to the next step.
Install LAMP Server
Next, you will need to install the Apache web server, MariaDB database server, PHP and other necessary PHP extensions to your system. You can install all of them with the following command:
dnf install httpd mariadb-server php php-xml php-session php-sockets php-ldap php-gd php-json php-mysqlnd php-gmp php-mbstring php-posix php-snmp php-intl -yOnce all the packages are installed, start the HTTP and MariaDB service and enable them to start at boot with the following command:
systemctl start httpd
systemctl start mariadb
systemctl enable httpd
systemctl enable mariadb
Next, you will need to edit the php.ini file and make some changes:
nano /etc/php.inidate.timezone = Asia/Kolkata memory_limit = 512M max_execution_style = 60
Once you are finished, you can proceed to the next step.
Configure MariaDB Database
Next, you will need to create a database and user for Cacti. First, log into the MariaDB shell with the following command:
mysqlOnce login, create a database and user for Cacti with the following command:
MariaDB [(none)]> create database cactidb;
MariaDB [(none)]> GRANT ALL ON cactidb.* TO cacti@localhost IDENTIFIED BY 'password';
Next, flush the privileges and exit from the MariaDB shell with the following command:
MariaDB [(none)]> flush privileges;
MariaDB [(none)]> exit;
Next, you will need to edit the MariaDB configuration file and tweak some settings. You can do it by editing the file /etc/my.cnf.d/mariadb-server.cnf.
nano /etc/my.cnf.d/mariadb-server.cnfAdd the following lines inside [mysqld] section:
collation-server=utf8mb4_unicode_ci
character-set-server=utf8mb4
max_heap_table_size=32M
tmp_table_size=32M
join_buffer_size=64M
# 25% Of Total System Memory
innodb_buffer_pool_size=1GB
# pool_size/128 for less than 1GB of memory
innodb_buffer_pool_instances=10
innodb_flush_log_at_timeout=3
innodb_read_io_threads=32
innodb_write_io_threads=16
innodb_io_capacity=5000
innodb_file_format=Barracuda
innodb_large_prefix=1
innodb_io_capacity_max=10000
Save and close the file when you are finished then restart the MariaDB service to apply the changes:
systemctl restart mariadbNext, import the mysql_test_data_timezone.sql to mysql database with the following command:
mysql -u root -p mysql < /usr/share/mariadb/mysql_test_data_timezone.sqlNext, log into MySQL and grant cacti user to access the mysql.time_zone_name table:
mysqlOnce login, run the following command to grant the access:
MariaDB [(none)]> GRANT SELECT ON mysql.time_zone_name TO cacti@localhost;Next, flush the privileges and exit from the MariaDB shell with the following command:
MariaDB [(none)]> flush privileges;
MariaDB [(none)]> exit;
Once you are finished, you can proceed to the next step.
Install and Configure Cacti
By default, Cacti is not available in the CentOS 8 default repository. So you will need to add EPEL repository to your system.
You can install it with the following command:
dnf install epel-release -yOnce the repository is installed, install the Cacti with the following command:
dnf install cacti -yAfter installing Cacti, check the Cacti installation with the following command:
rpm -qi cactiYou should get the following output:
Name        : cacti
Version     : 1.2.14
Release     : 1.el8
Architecture: noarch
Install Date: Wednesday 07 October 2020 01:04:02 AM EDT
Group       : Unspecified
Size        : 56217780
License     : GPLv2+
Signature   : RSA/SHA256, Thursday 06 August 2020 05:06:22 AM EDT, Key ID 21ea45ab2f86d6a1
Source RPM  : cacti-1.2.14-1.el8.src.rpm
Build Date  : Thursday 06 August 2020 04:54:10 AM EDT
Build Host  : buildvm-a64-27.iad2.fedoraproject.org
Relocations : (not relocatable)
Packager    : Fedora Project
Vendor      : Fedora Project
URL         : https://www.cacti.net/
Bug URL     : https://bugz.fedoraproject.org/cacti
Summary     : An rrd based graphing tool
Description :
Cacti is a complete frontend to RRDTool. It stores all of the
necessary information to create graphs and populate them with
data in a MySQL database. The frontend is completely PHP
driven.
Next, import the Cacti data to the Cacti database with the following command:
mysql -u root -p cactidb < /usr/share/doc/cacti/cacti.sqlNext, edit the Cacti configuration file and define your database settings:
nano /usr/share/cacti/include/config.phpChange the following lines that match with your database:
$database_type     = 'mysql';
$database_default  = 'cactidb';
$database_hostname = 'localhost';
$database_username = 'cacti';
$database_password = 'password';
$database_port     = '3306';
$database_retries  = 5;
$database_ssl      = false;
Save and close the file when you are finished then create a Cron file for Cacti.
nano /etc/cron.d/cactiAdd the following line:
*/5 * * * * apache /usr/bin/php /usr/share/cacti/poller.php > /dev/null 2>&1
Save and close the file when you are finished.
Once you are finished you can proceed to the next step.
Configure Apache for Cacti
Next, you will need to create an Apache virtual host configuration file for Cacti. You can create it with the following command:
nano /etc/httpd/conf.d/cacti.confFind the following lines:
Alias /cacti    /usr/share/cacti

<Directory /usr/share/cacti/>
        <IfModule mod_authz_core.c>
               	# httpd 2.4
                Require host localhost
        </IfModule>
        <IfModule !mod_authz_core.c>
               	# httpd 2.2
                Order deny,allow
                Deny from all
                Allow from localhost
        </IfModule>
</Directory>
And, Replace them with the following lines:
Alias /cacti    /usr/share/cacti

<Directory /usr/share/cacti/>
        <IfModule mod_authz_core.c>
               	# httpd 2.4
                Require all granted
        </IfModule>
        <IfModule !mod_authz_core.c>
               	# httpd 2.2
                Order deny,allow
                Deny from all
                Allow from all
        </IfModule>
</Directory>
Save and close the file when you are finished then restart the Apache and PHP-FPM service to apply the changes:
systemctl restart httpd
systemctl restart php-fpm
You can also check the status of the Apache with the following command:
systemctl status httpdYou should get the following output:
? httpd.service - The Apache HTTP Server
   Loaded: loaded (/usr/lib/systemd/system/httpd.service; disabled; vendor preset: disabled)
  Drop-In: /usr/lib/systemd/system/httpd.service.d
           ??php-fpm.conf
   Active: active (running) since Wed 2020-10-07 01:10:35 EDT; 58s ago
     Docs: man:httpd.service(8)
 Main PID: 5159 (httpd)
   Status: "Running, listening on: port 80"
    Tasks: 213 (limit: 12523)
   Memory: 28.7M
   CGroup: /system.slice/httpd.service
           ??5159 /usr/sbin/httpd -DFOREGROUND
           ??5161 /usr/sbin/httpd -DFOREGROUND
           ??5162 /usr/sbin/httpd -DFOREGROUND
           ??5163 /usr/sbin/httpd -DFOREGROUND
           ??5164 /usr/sbin/httpd -DFOREGROUND

Oct 07 01:10:35 centos8 systemd[1]: Stopped The Apache HTTP Server.
Oct 07 01:10:35 centos8 systemd[1]: Starting The Apache HTTP Server...
Oct 07 01:10:35 centos8 httpd[5159]: AH00558: httpd: Could not reliably determine the server's fully qualified domain name, using fe80::200:45>
Oct 07 01:10:35 centos8 systemd[1]: Started The Apache HTTP Server.
Oct 07 01:10:35 centos8 httpd[5159]: Server configured, listening on: port 80
At this point, Apache web server is configured to serve Cacti. You can now proceed to the next step.
Configure Firewall and SELinux
Next, you will need to allow http and https services through the firewalld. You can allow them with the following command:
firewall-cmd --permanent --zone=public --add-service=http
firewall-cmd --permanent --zone=public --add-service=https
firewall-cmd --reload
Next, you will also need to disbale the SELinux in your system.
You can disable the SELinux by editing /etc/selinux/config file:
nano /etc/selinux/configFind the following line:
SELINUX=enforcing
And, replace it with the following line:
SELINUX=permissiveSave and close the file then reboot the system to apply the changes.
Access Cacti Web Interface
Now, open your web browser and access the Cacti web interface using the URL http://your-server-ip/cacti. You will be redirected to the Cacti login page:
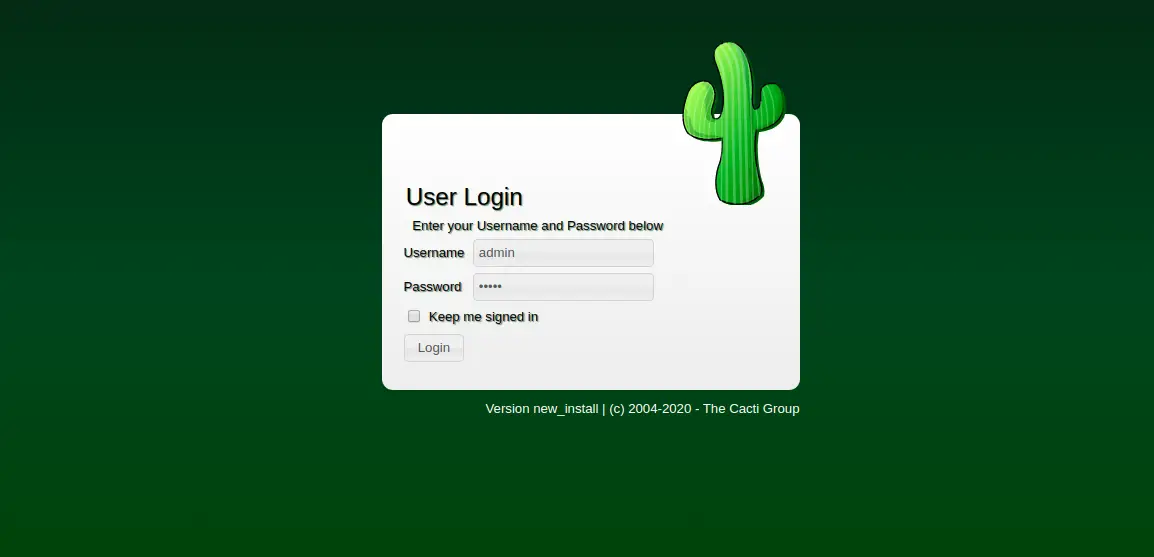
Provide default username and password as admin / admin then click on the Login button. You should see the Cacti password change screen:

Provide your default password, new password and click on the Save button. You should see the Cacti license agreement page:
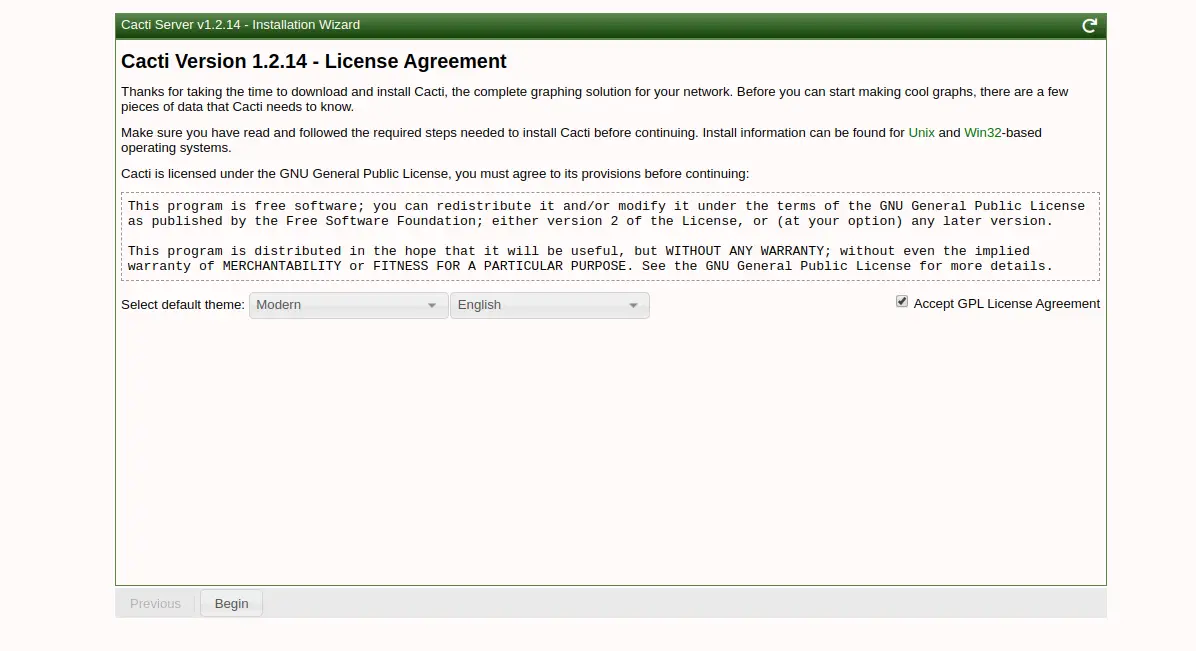
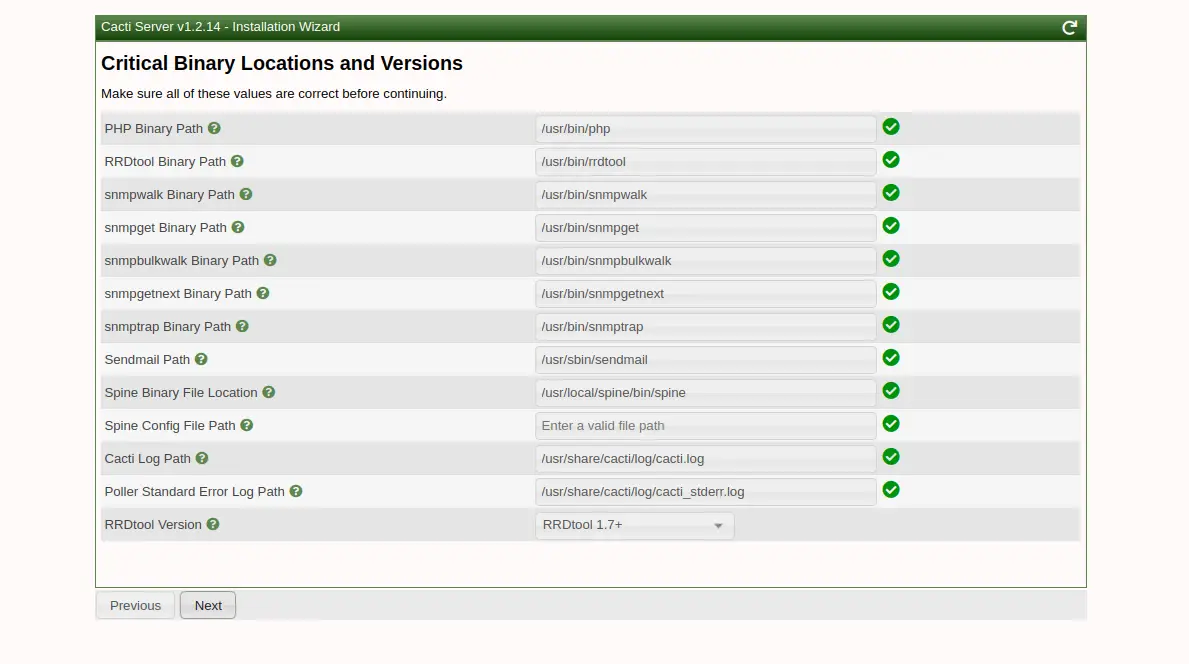
Accept the license agreement and click on the Begin button. You should see the pre-installation check page:
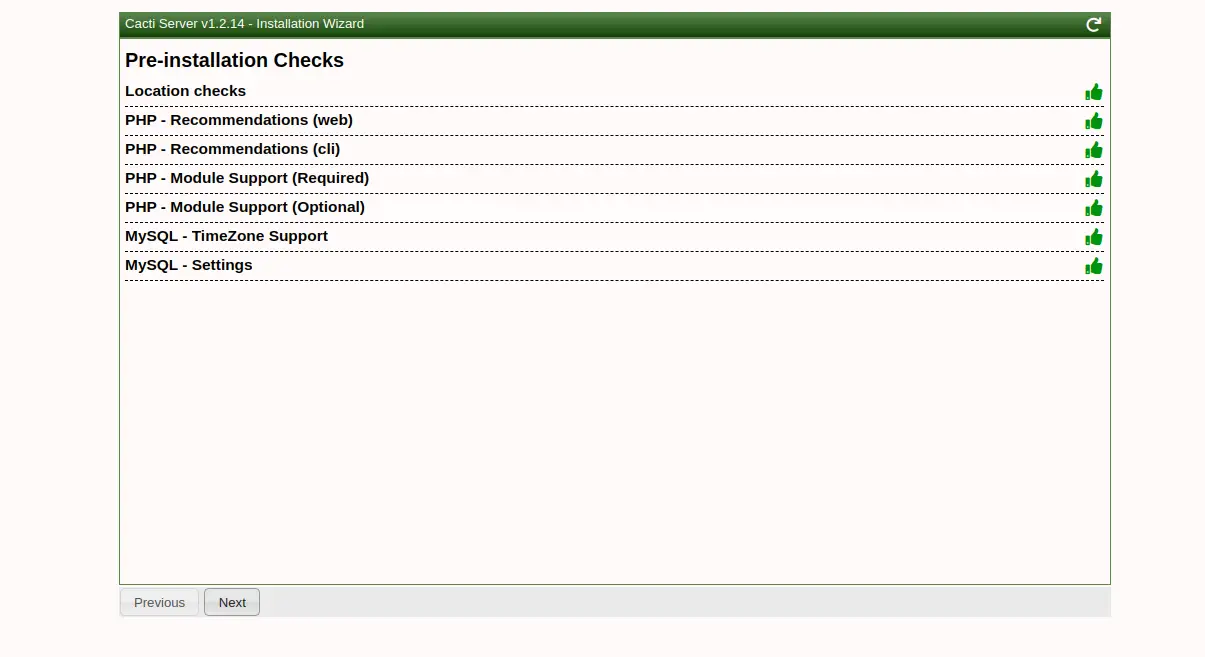
Make sure all the packages are installed then click on the Next button. You should see the following page:
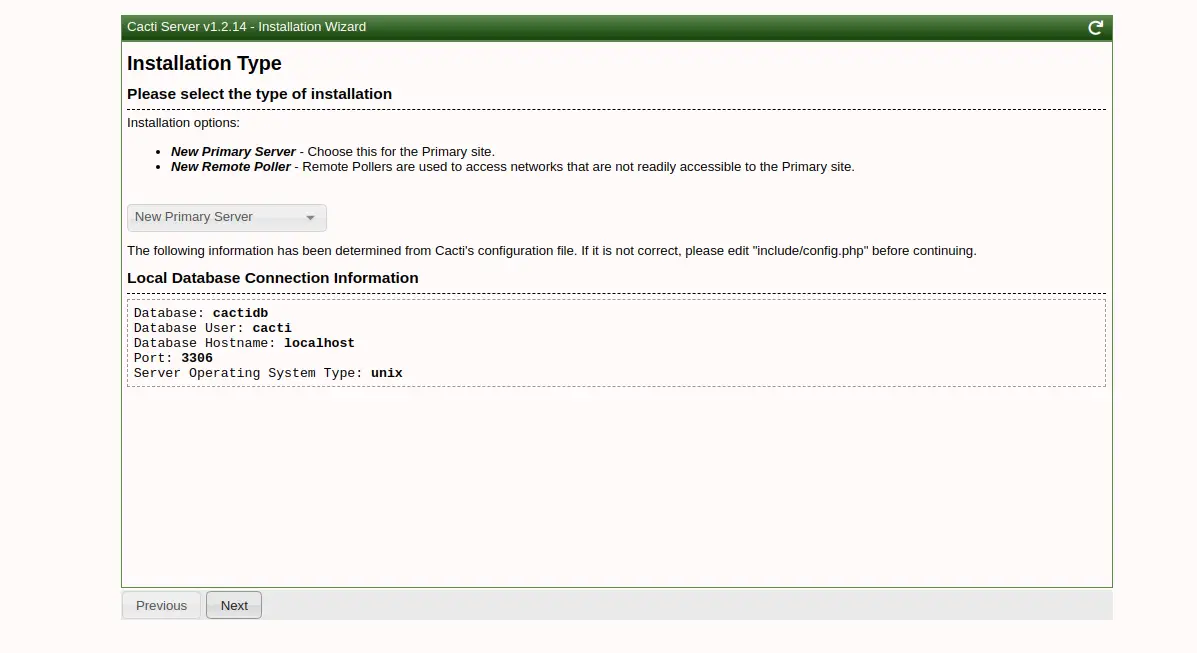
Select your installation type and click on the Next button. You should see the directory permission check page:
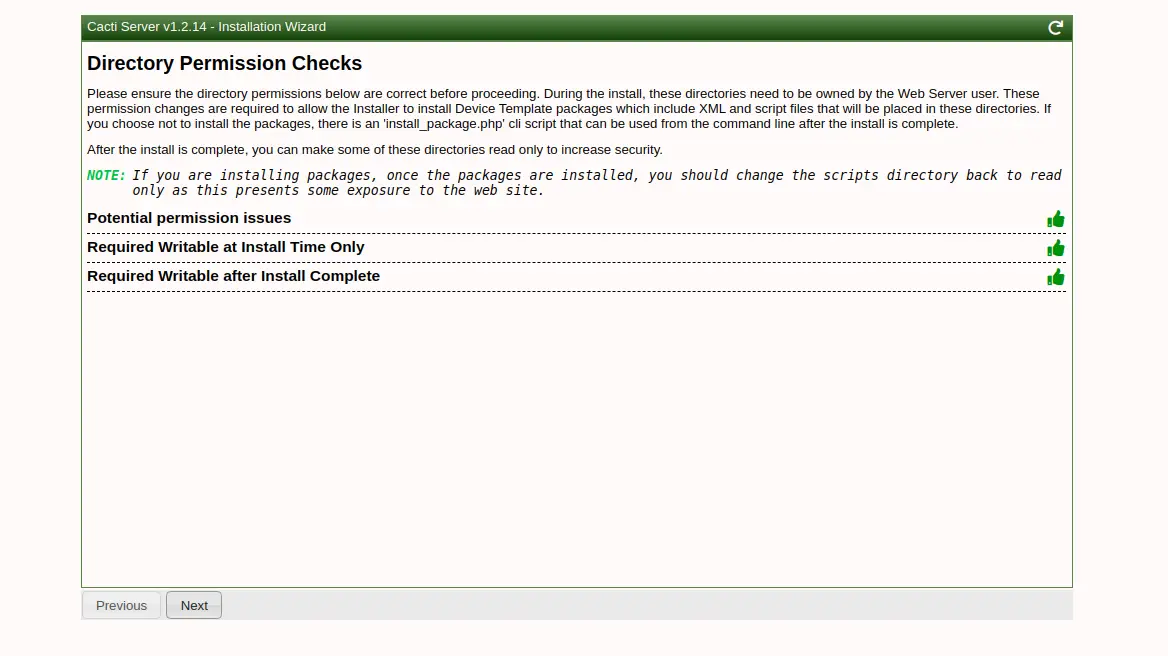
Click on the Next button. You should see the following page.
Click on the Next button. You should see the Input Validation page:
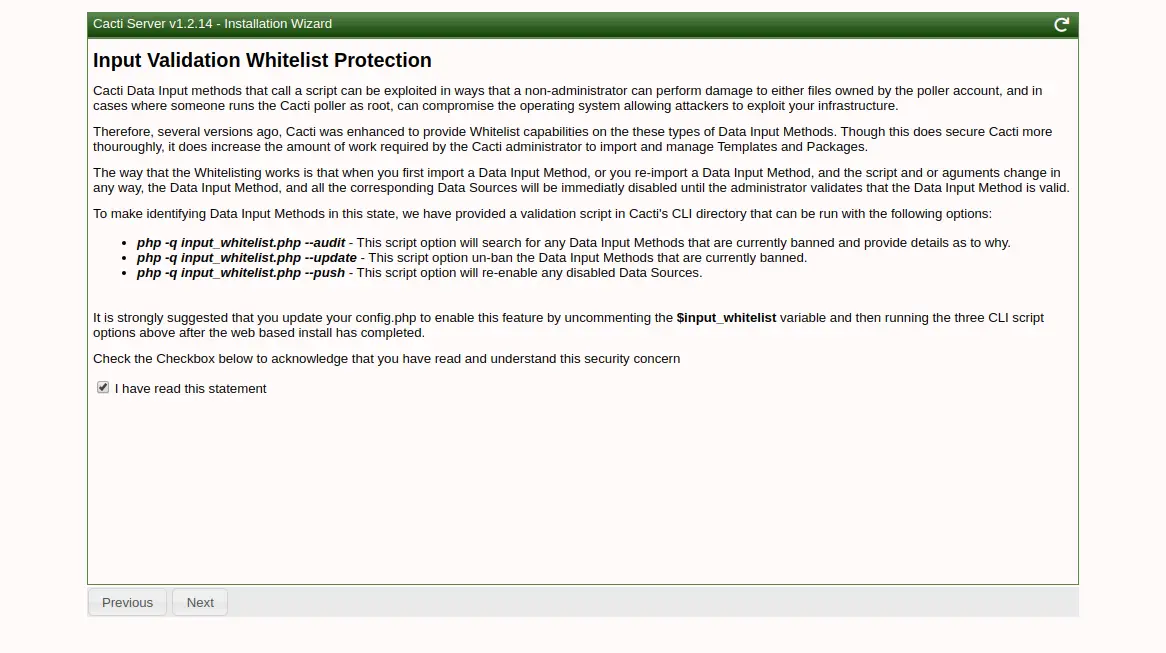
Check the checkbox and click on the Next button. You should see the Profile page:
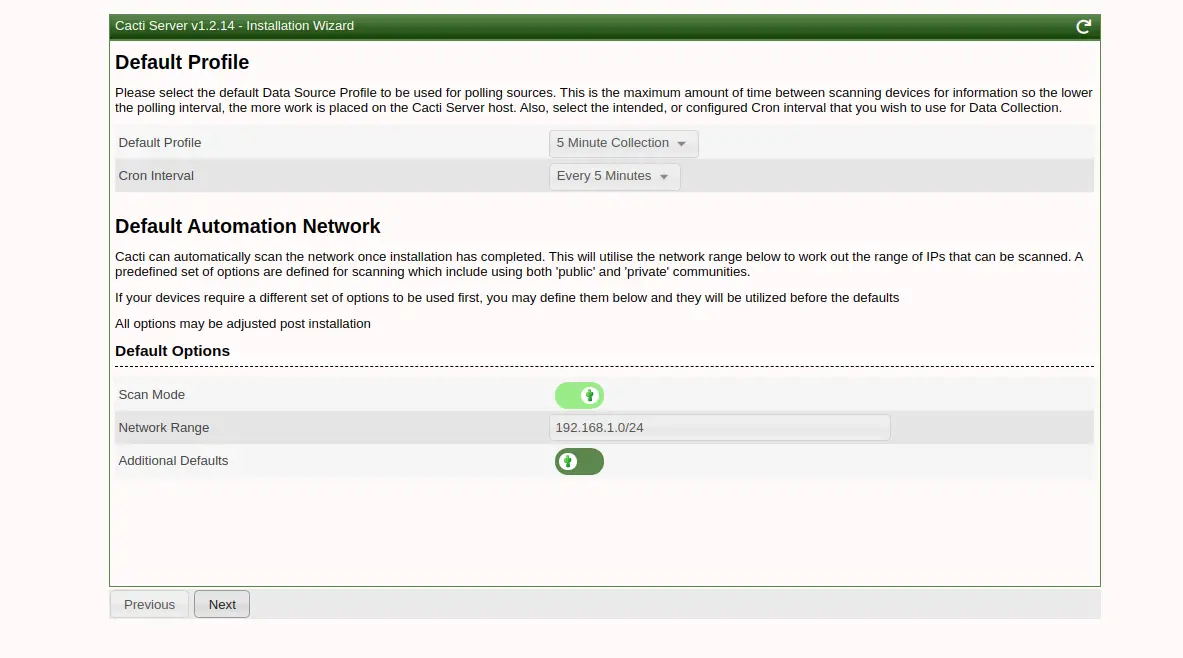
Provide your Network Range and click on the Next button. You should see the template setup page:
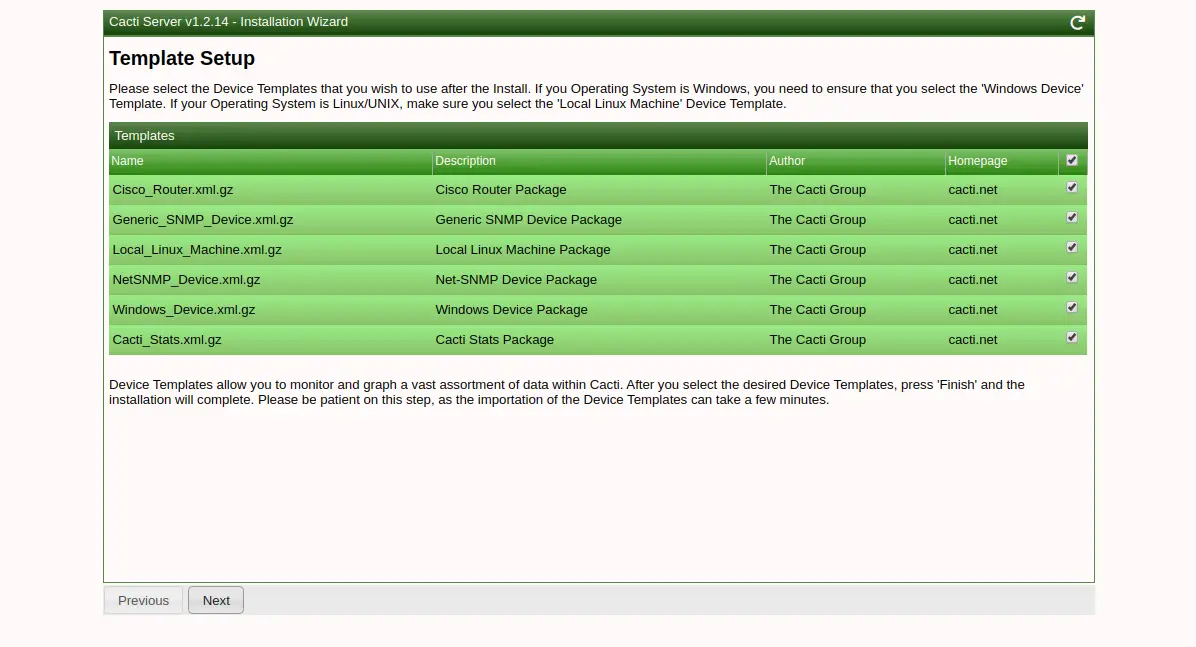
Select your required template and click on the Next button. You should see the following page:
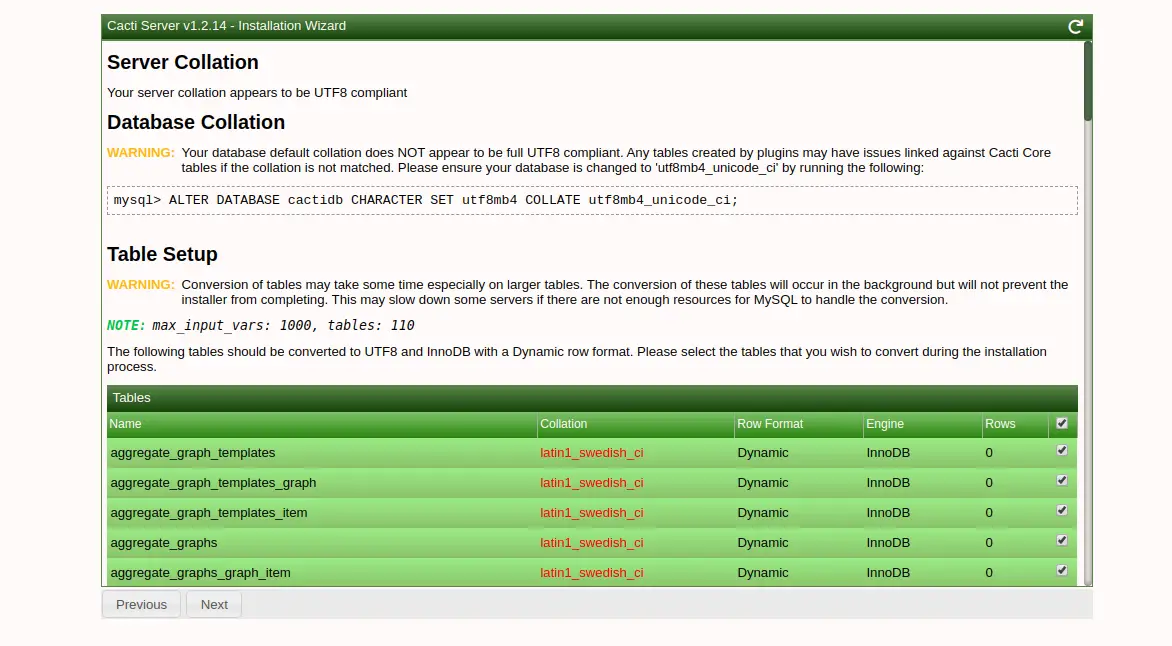
Next, open your terminal, log into MySQL shell and change the Character set by running the following command:
MariaDB [(none)]> ALTER DATABASE cactidb CHARACTER SET utf8mb4 COLLATE utf8mb4_unicode_ci;
MariaDB [(none)]> flush privileges;
MariaDB [(none)]> exit;
Next, go back to the Cacti installation wizard and click on the Next button. You should see the following page:
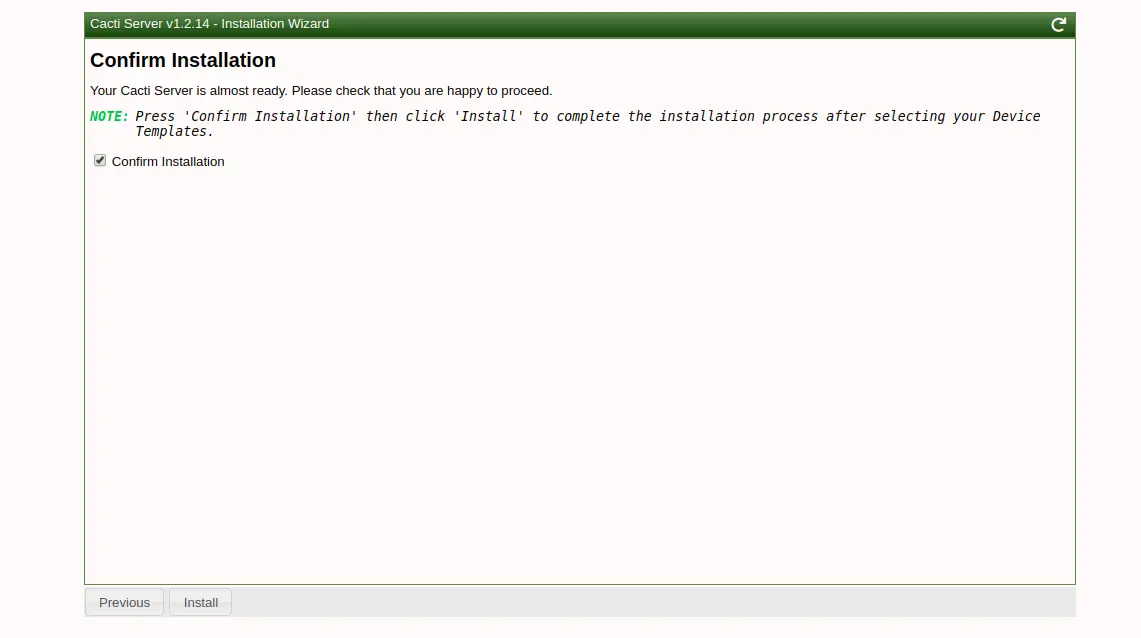
Confirm the installation and click on the Install button. Once the installation has been finished, you should see the following page:
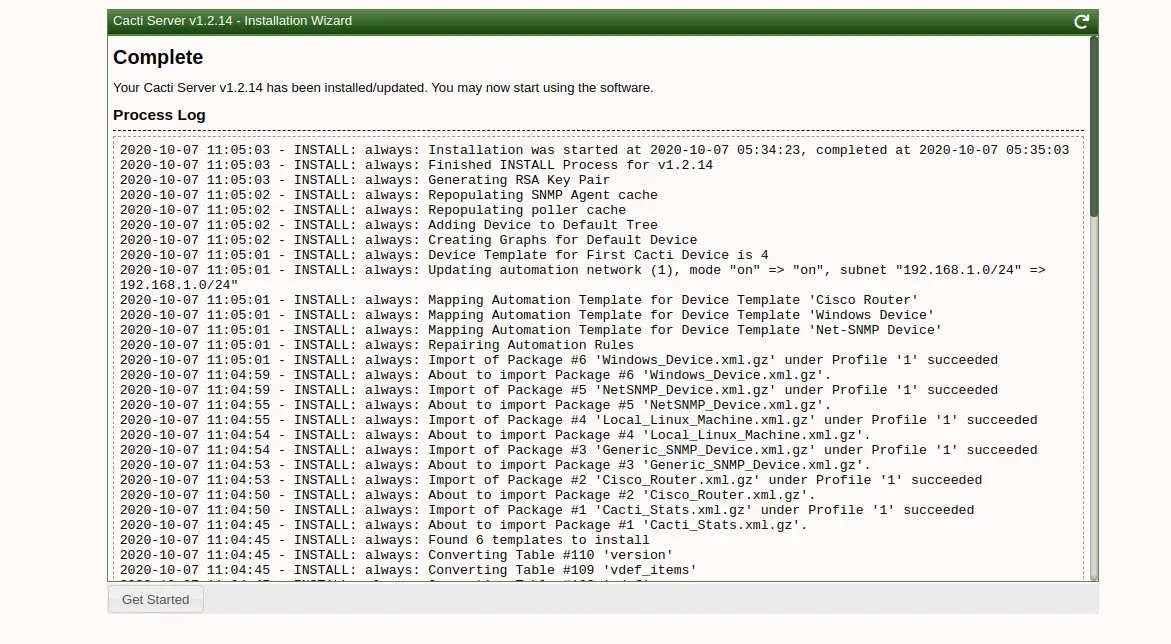
Click on the Get Started button. You should see the Cacti dashboard in the following page:
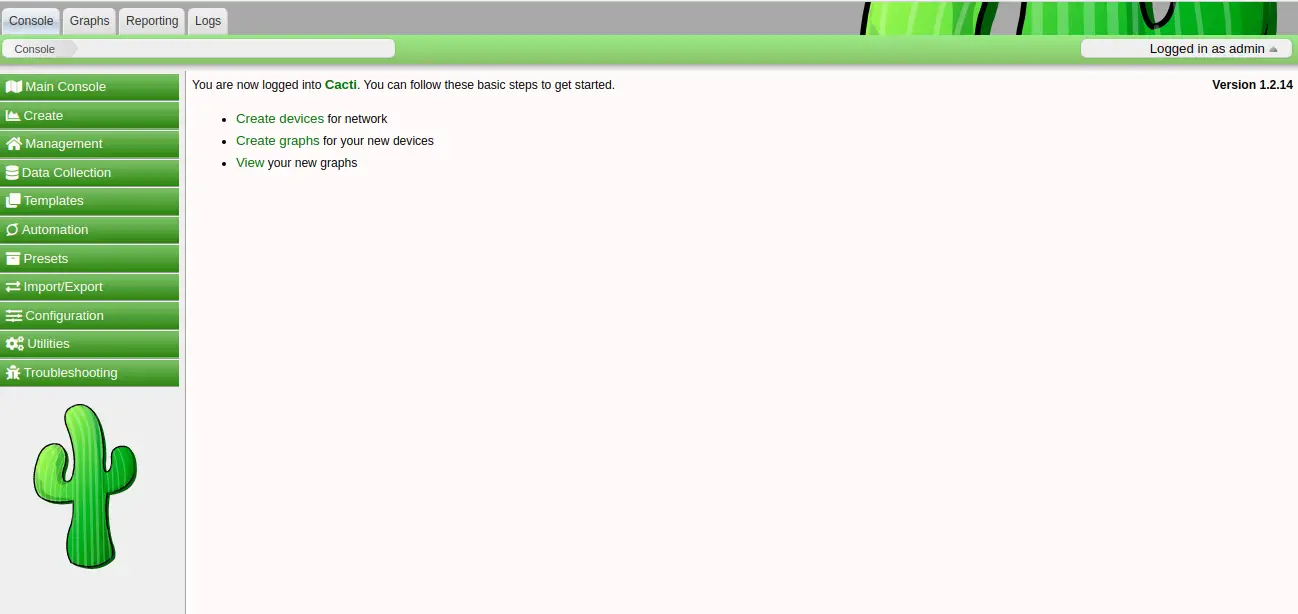
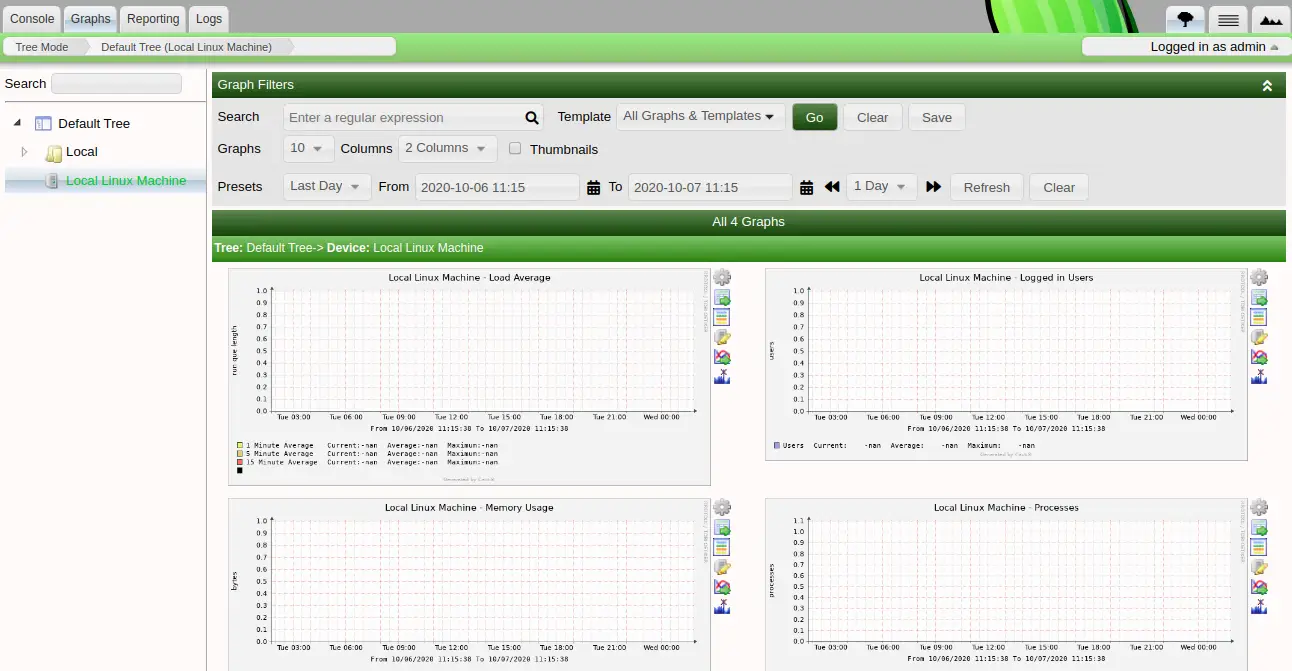
Click on the Graphs => Local Linux Machine. You should see the information about your local machine in the following page:
Conclusion
Congratulations! you have successfully installed and configured Cacti network monitoring tool on Ubuntu 20.04. You can now install Cacti agent on the client’s machine and add them to the Cacti server and start monitoring. Feel free to ask me if you have any questions.
Add Comment