


Pods usually have a single container i.e. single container pods are the most common use case and it is not necessary to have a single container in the pod. There are some use-cases when a single pod can have multiple containers inside it. The multi-container pods are the pods that contain two or more related containers that share resources like network space, shared volumes, etc and work together as a single unit.
One of the reasons to use a multi-container pod is simpler communication between containers. All the containers inside the pod share the same network space to communicate through the localhost. Another reason to use a multi-container pod is that all containers have the same lifecycle which should run on the same node. When there is a need to have all the containers the same volume mounted so that they can communicate with each other by reading and modifying files in the storage volume multiple container pods can be used.
In this article, we will create a pod with 2 containers inside it. This example will help to understand the creation of a pod with multiple containers.
Pre-requisites
- Kubernetes Cluster with at least 1 worker node.
If you want to learn to create a Kubernetes Cluster, click here. This guide will help you create a Kubernetes cluster with 1 Master and 2 Nodes on AWS Ubuntu 18.04 EC2 Instances.
What will we do?
- Create a Multi-container Pod
Create a Multi-container Pod
Create a multi-container port definition file using the following content.
vim multi-container-pod-example.ymlapiVersion: v1
kind: Pod
metadata:
name: multi-container-pod
spec:
containers:
- name: container-1
image: nginx
ports:
- containerPort: 80
- name: container-2
image: alpine
command: ["watch", "wget", "-qO-", "localhost"]
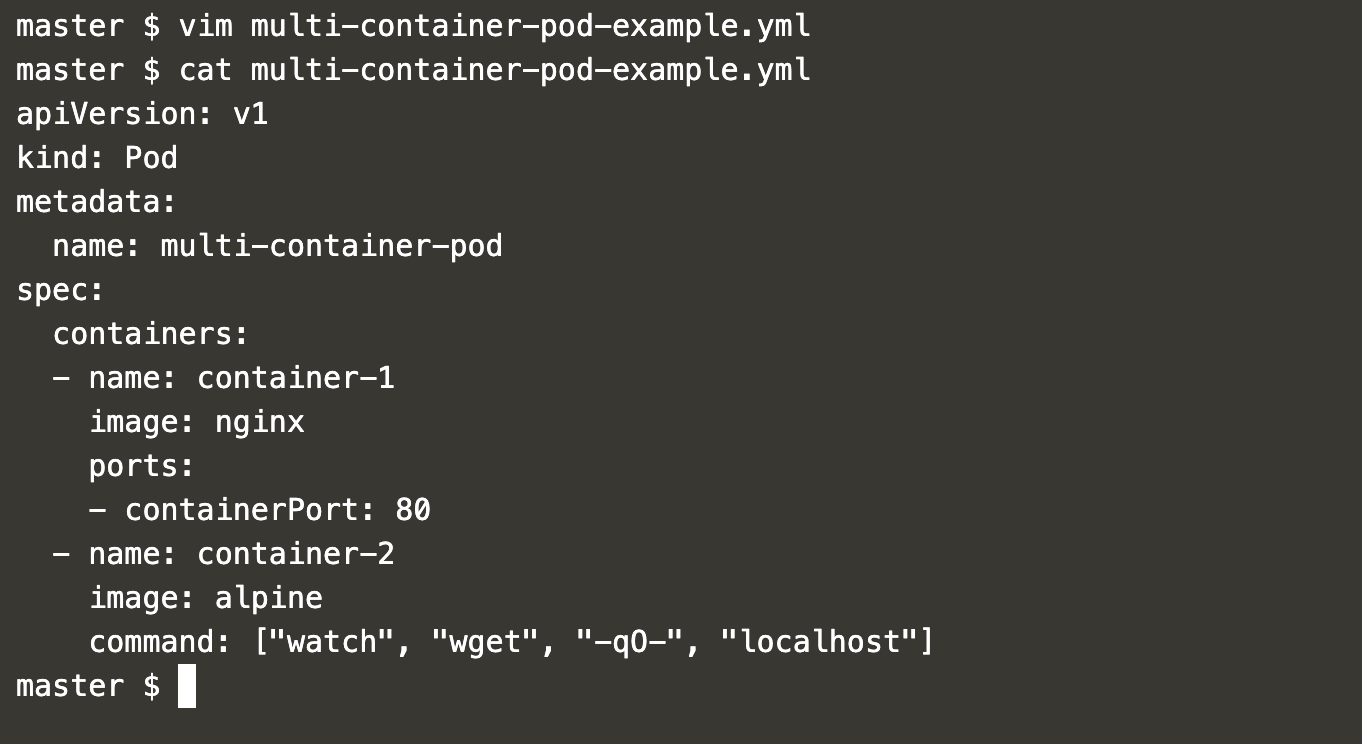
This file has a definition for 2 containers which will share the same network, resources, volume.
Get a list of existing ports and create a multi-container port using the following commands.
kubectl get pods #Get a list of existing podskubectl create -f multi-container-pod-example.yml #Create a multi container podkubectl get pods #Check the pods after creating in the above step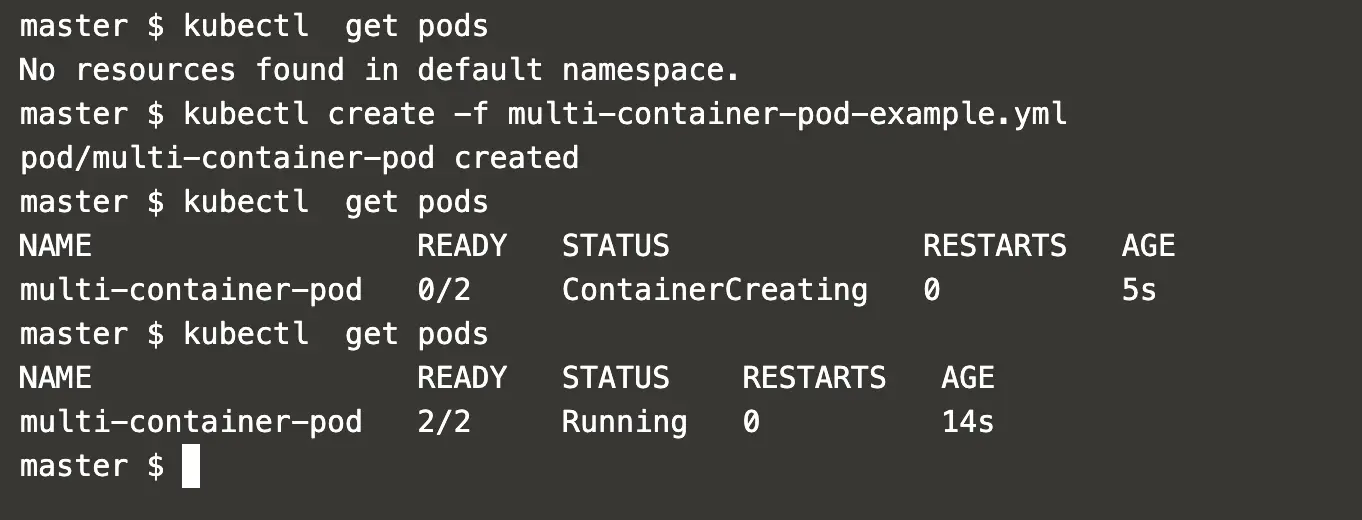
In the above screenshot, you can see that there are 2/2 pods with READY state. It means there are 2 pods and out of those 2 pods, 2 pods are running.
Get a list of pods and describe the one which we just created.
kubectl get podskubectl describe pod multi-container-pod #Get details of the Pod.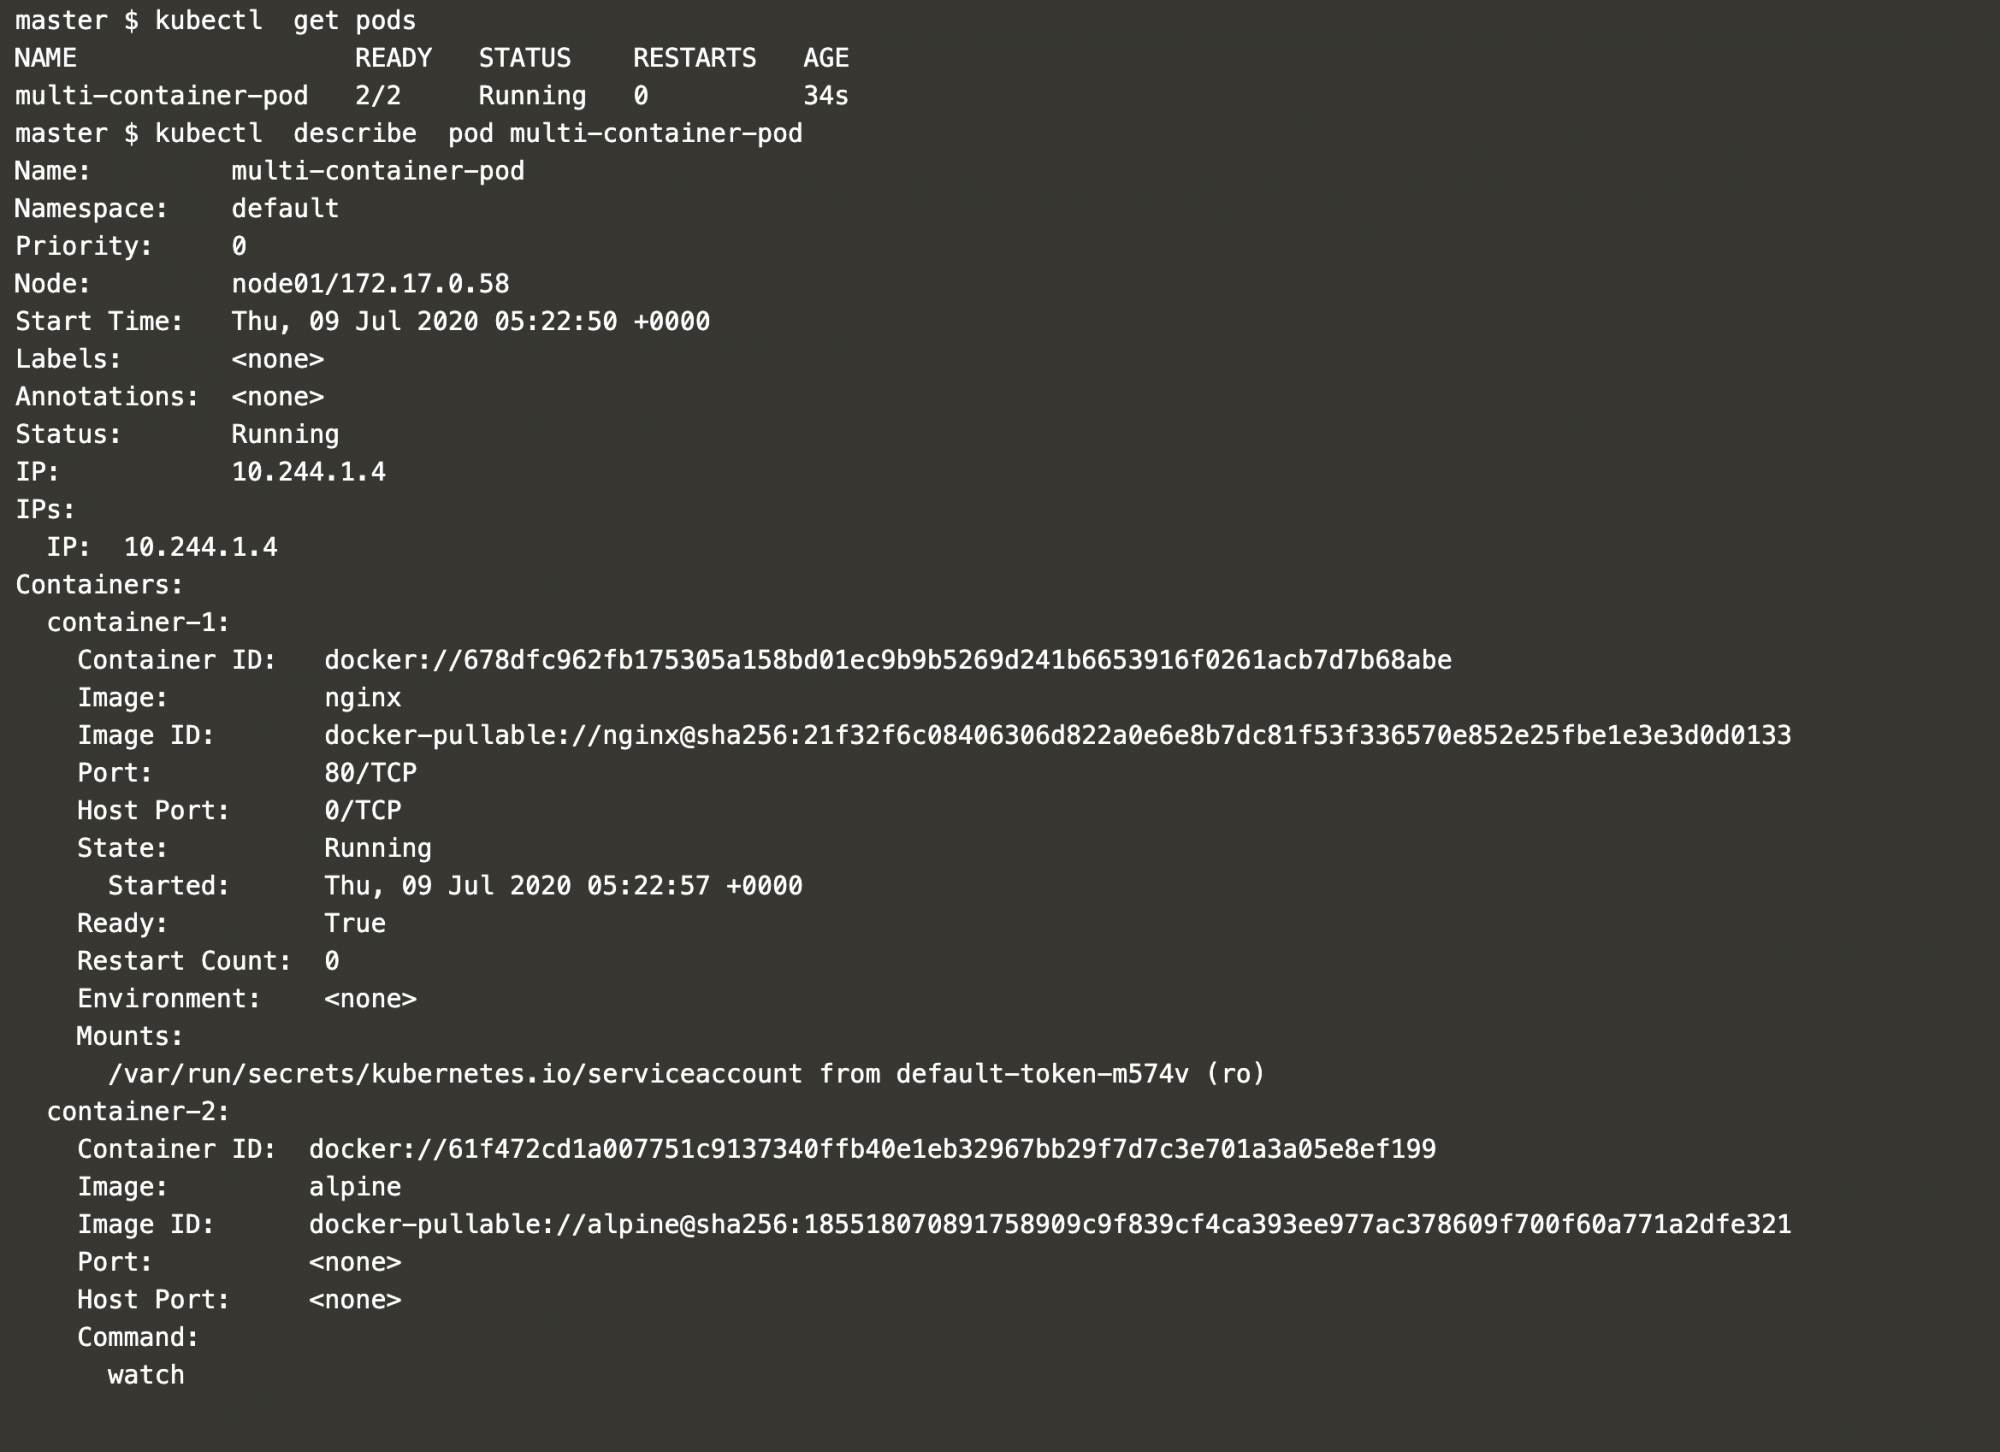
When you describe the pod, you will get details of both the containers inside it.
In the above screenshot, you can see that there are two containers container-1 and container-2. Both these containers belong to the same pod.
Now to check the logs of a particular container you can append the container name to the command we use to get the logs of the pod.
kubectl get podskubectl logs multi-container-pod #This does not workkubectl logs multi-container-pod container-1 #Specify the container name to get the logs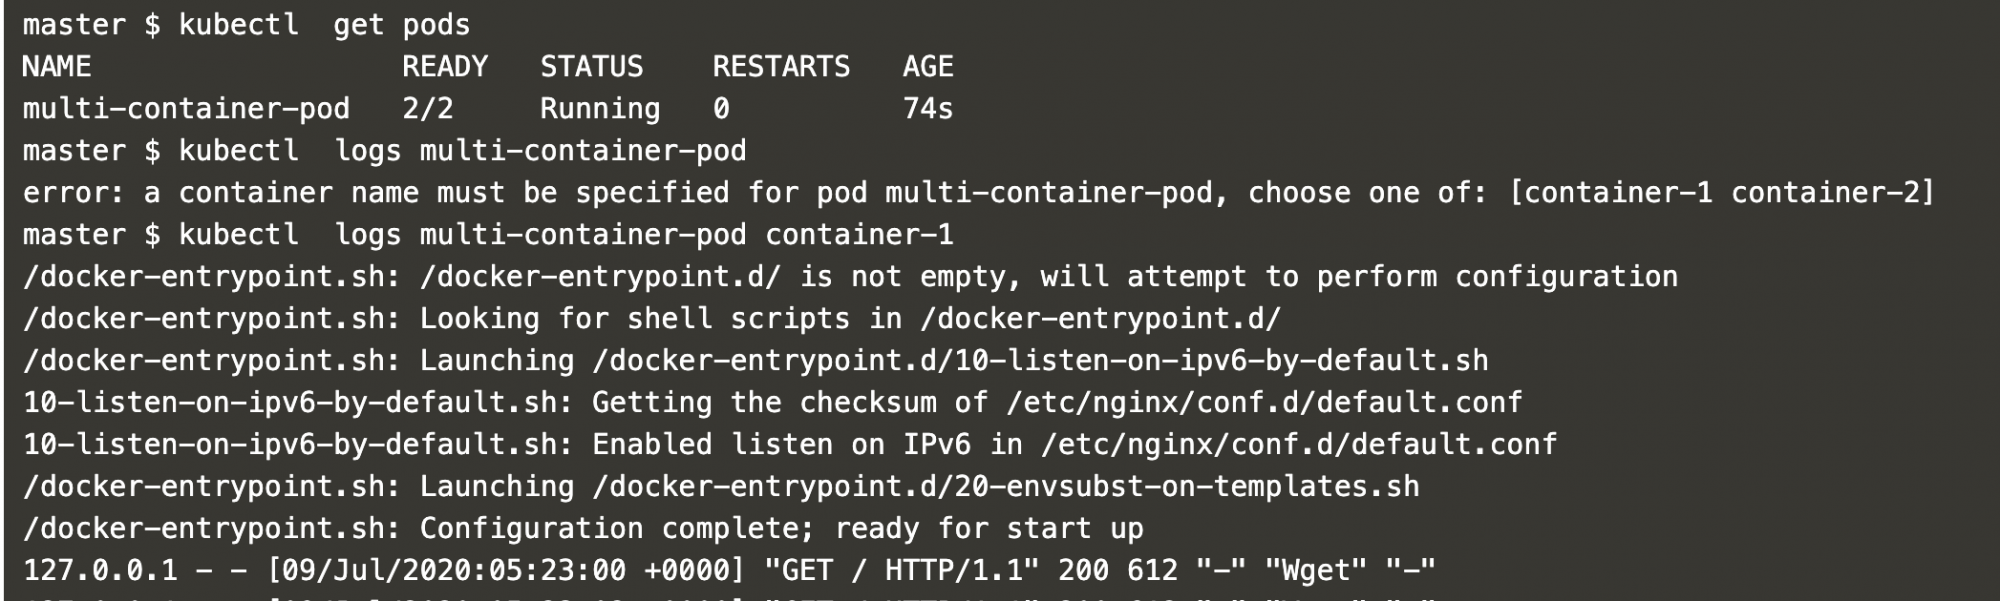
In the above screenshot, you can see that if the container name is not given to the command then you get an error in which you are told to specify the container name in the command.
You can specify the name of a single container and not the multiple containers can be specified in the command to fetch the logs.
kubectl get podskubectl logs multi-container-pod #kubectl logs multi-container-pod container-1 container-2 #Two containers can not be specified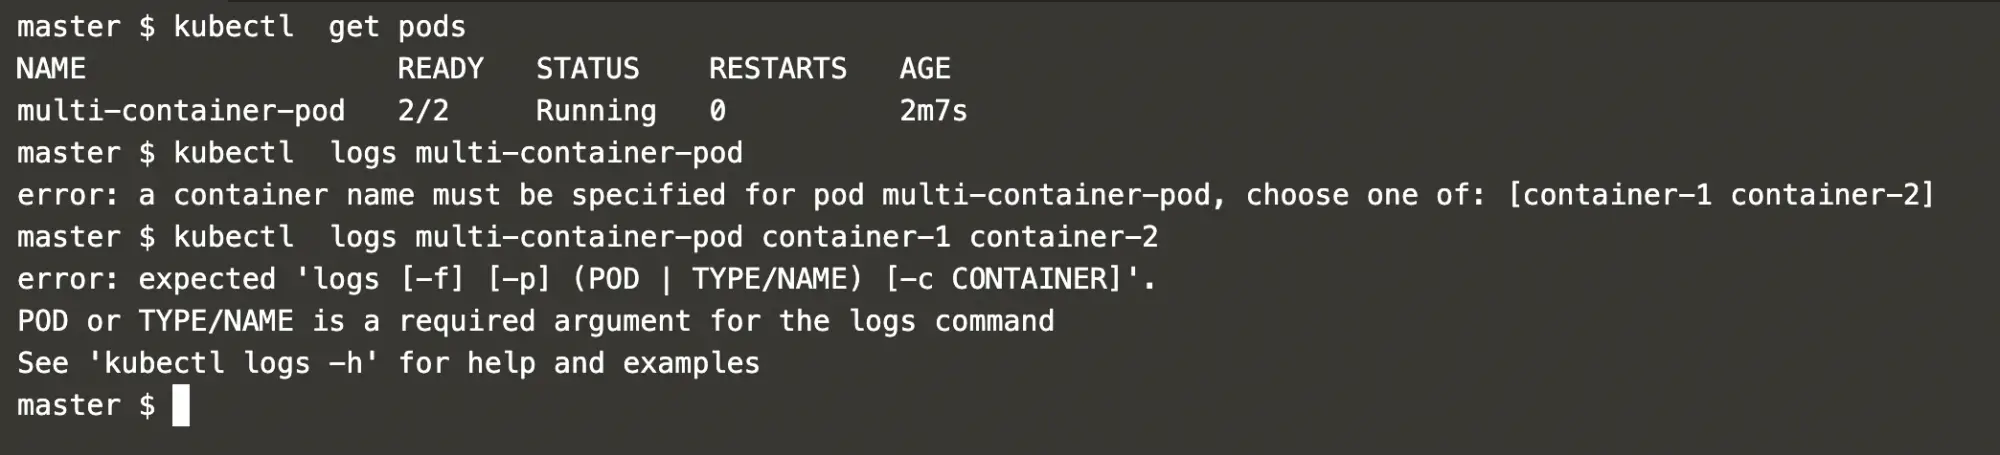
In the above screenshot, you can see that when you specify 2 containers to get the logs, the command fails.
The simple command to login into the pod does not work when there are multiple containers inside a single pod.
kubectl get podskubectl exec -it multi-container-pod /bin/bash
To login to the particular container, we need to specify the container name in the command. Also, you can not log in to 2 pods at the same time.
kubectl get podskubectl exec -it multi-container-pod -c container-1 /bin/bash #Login into the container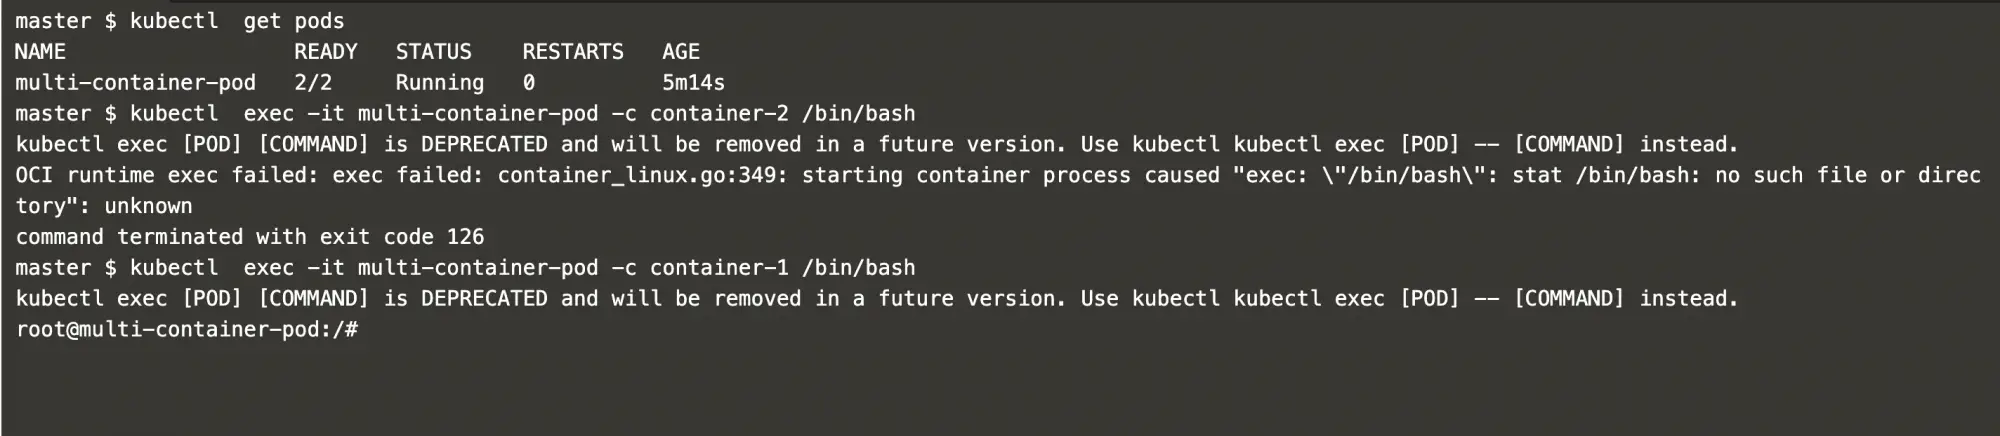
When you no longer need You poured it can be deleted using the following command.
kubectl get podkubectl delete pod multi-container-pod #Delete the pod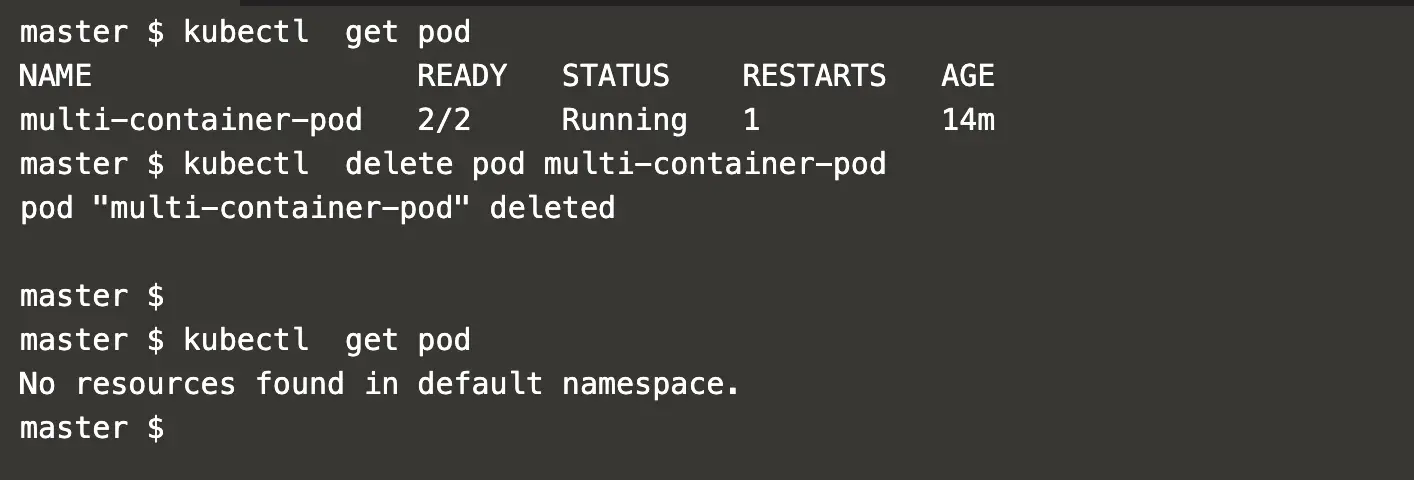
Conclusion
In this article, we learned how a multi-container pod can be created. We also saw how to fetch logs of a particular container and log in to a single container. A Multi-Container pod helps us to have dependent containers in the same pod.

Add Comment