


Setup a Kubernetes Cluster on AWS EC2 Instance with Ubuntu using kubeadm
In this article, we will see how to set up a Kubernetes cluster with 2 Worker Nodes and 1 Master Node on Ubuntu 18.04 LTS Servers. We will use the “kubeadm” tool to set up the cluster. Kubeadm is a tool built to provide “kubeadm init” and “kubeadm join” for creating Kubernetes clusters. Before we proceed with the creation of the cluster let’s understand a few terms in brief.
- Docker:
Docker is an open platform for developing, shipping, and running applications. Docker enables you to separate your applications from your infrastructure so you can deliver software quickly. With Docker, you can manage your infrastructure in the same ways you manage your applications. - Image:
An image is a read-only template with instructions for creating a Docker container. Often, an image is based on another image, with some additional customization - Container:
A container is a runnable instance of an image. You can create, start, stop, move, or delete a container using the Docker API or CLI. You can connect a container to one or more networks, attach storage to it, or even create a new image based on its current state. - Kubernetes:
Kubernetes is an open-source container-orchestration system for automating application deployment, scaling, and management. - Nodes:
A node represents a single machine in the cluster.
- Pods:
A is a group of containers that are deployed together on the same host. It is the basic execution unit of a Kubernetes application. - Deployments:
A Deployment runs multiple replicas of your application and automatically replaces any instances that fail or become unresponsive. It provides declarative updates for Pods and ReplicaSets. - Replica Set:
It ensures how many replicas of a pod should be running. It can be considered as a replacement for the replication controller.
- Replication Controller:
It is a supervisor for long-running pods. It will launch a specified number of pods called replicas and makes sure that they keep running all the time.
- Service:
It is an abstraction that defines a logical set of Pods and a policy by which to access them.
API Server, etcd, Controller Manager & Scheduler, are the components of the Master and Docker, Kubelet Service & Kubernetes Proxy Service are the components of Worker Node. We shall not discuss these components in this document. If you want to know about these components then you can visit the official page of the Kubernetes here.
Pre-requisites
- 3 Ubuntu 18.04 Servers with minimum 2 GBs RAM and 2 CPUs.
- A system user with “sudo” access on each server.
What we will do
- Setup a Kubernetes Cluster with kubeadm
Setup a Kubernetes Cluster with kubeadm
Here,
We have 3 Ubuntu 18.04 LTS Servers.
Server 1= node1
Server 2= node2
Server 3= master
Before we proceed with the actual installation, let’s change the hostname of the servers.
You can use the following commands to set a hostname on each server. After executing the following commands on each server, re-login to the servers so that the servers will get a new Hostname.
sudo hostnamectl set-hostname "master"
sudo hostnamectl set-hostname "node1"
sudo hostnamectl set-hostname "node2"
Follow the steps mentioned below to bring up the working Kubernets cluster.
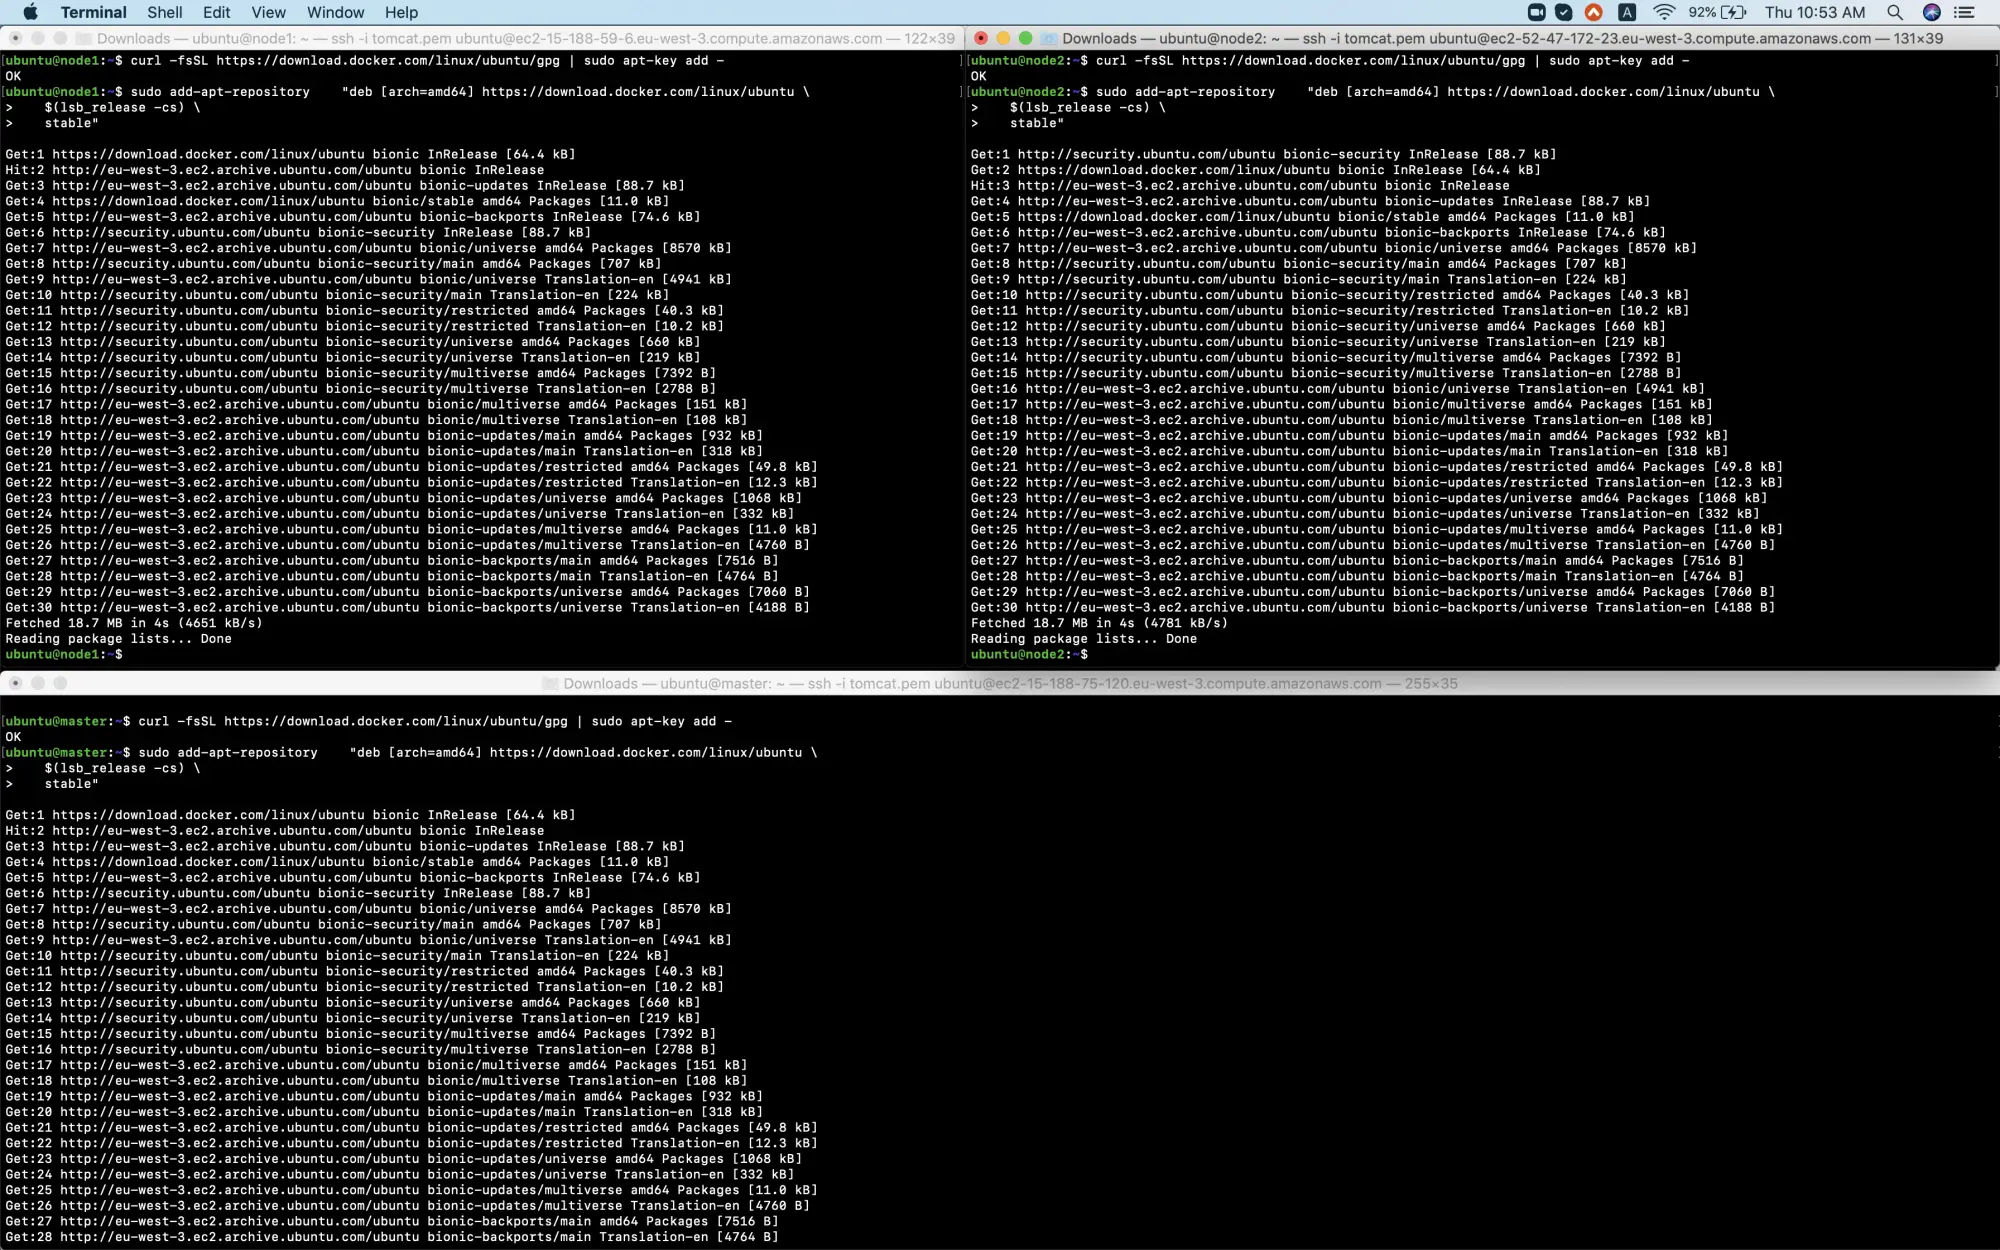
Get the Docker gpg key (Execute the following command on All the Nodes):
curl -fsSL https://download.docker.com/linux/ubuntu/gpg | sudo apt-key add -
Add the Docker repository(Execute the following command on All the Nodes):
sudo add-apt-repository    "deb [arch=amd64] https://download.docker.com/linux/ubuntu
   $(lsb_release -cs)
  stable"
Get the Kubernetes gpg key(Execute the following command on All the Nodes):
curl -s https://packages.cloud.google.com/apt/doc/apt-key.gpg | sudo apt-key add -
Add the Kubernetes repository(Execute the following command on All the Nodes):
cat << EOF | sudo tee /etc/apt/sources.list.d/kubernetes.list
deb https://apt.kubernetes.io/ kubernetes-xenial main
EOF

Update your packages(Execute the following command on All the Nodes):
sudo apt-get update
Install Docker, kubelet, kubeadm, and kubectl(Execute the following command on All the Nodes):
sudo apt-get install -y docker-ce=18.06.1~ce~3-0~ubuntu kubelet=1.15.7-00 kubeadm=1.15.7-00 kubectl=1.15.7-00

Hold them at the current version(Execute the following command on All the Nodes):
sudo apt-mark hold docker-ce kubelet kubeadm kubectl
Add the iptables rule to sysctl.conf (Execute the following command on All the Nodes):
echo "net.bridge.bridge-nf-call-iptables=1" | sudo tee -a /etc/sysctl.conf
Enable iptables immediately(Execute the following command on All the Nodes:
sudo sysctl -p

On Master:
Initialize the cluster (Execute the following command only on the Master node):
sudo kubeadm init --pod-network-cidr=10.244.0.0/16
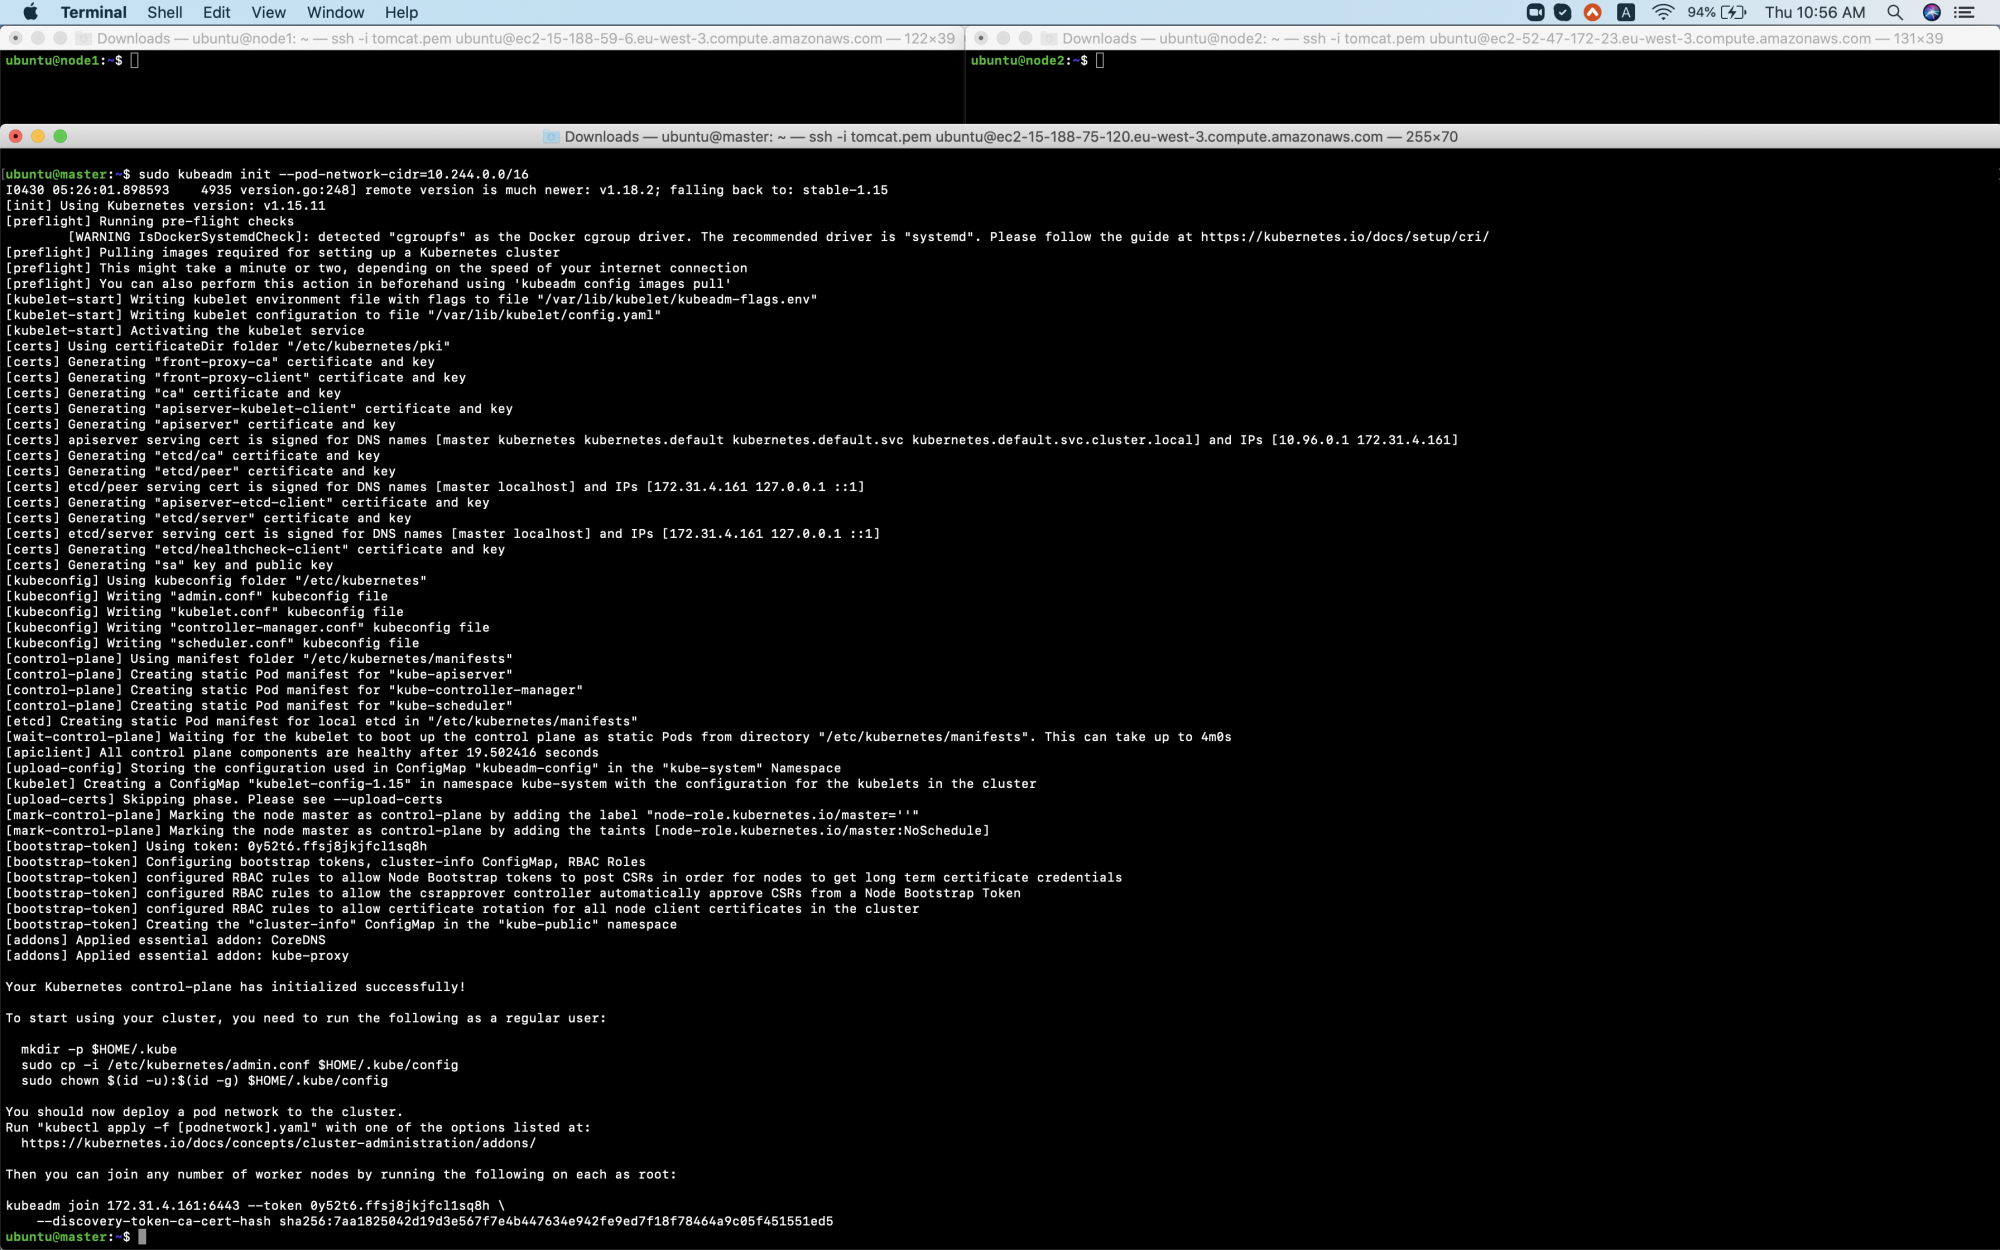
Set up local kubeconfig(Execute the following command only on the Master node):
mkdir -p $HOME/.kube
sudo cp -i /etc/kubernetes/admin.conf $HOME/.kube/config
sudo chown $(id -u):$(id -g) $HOME/.kube/config
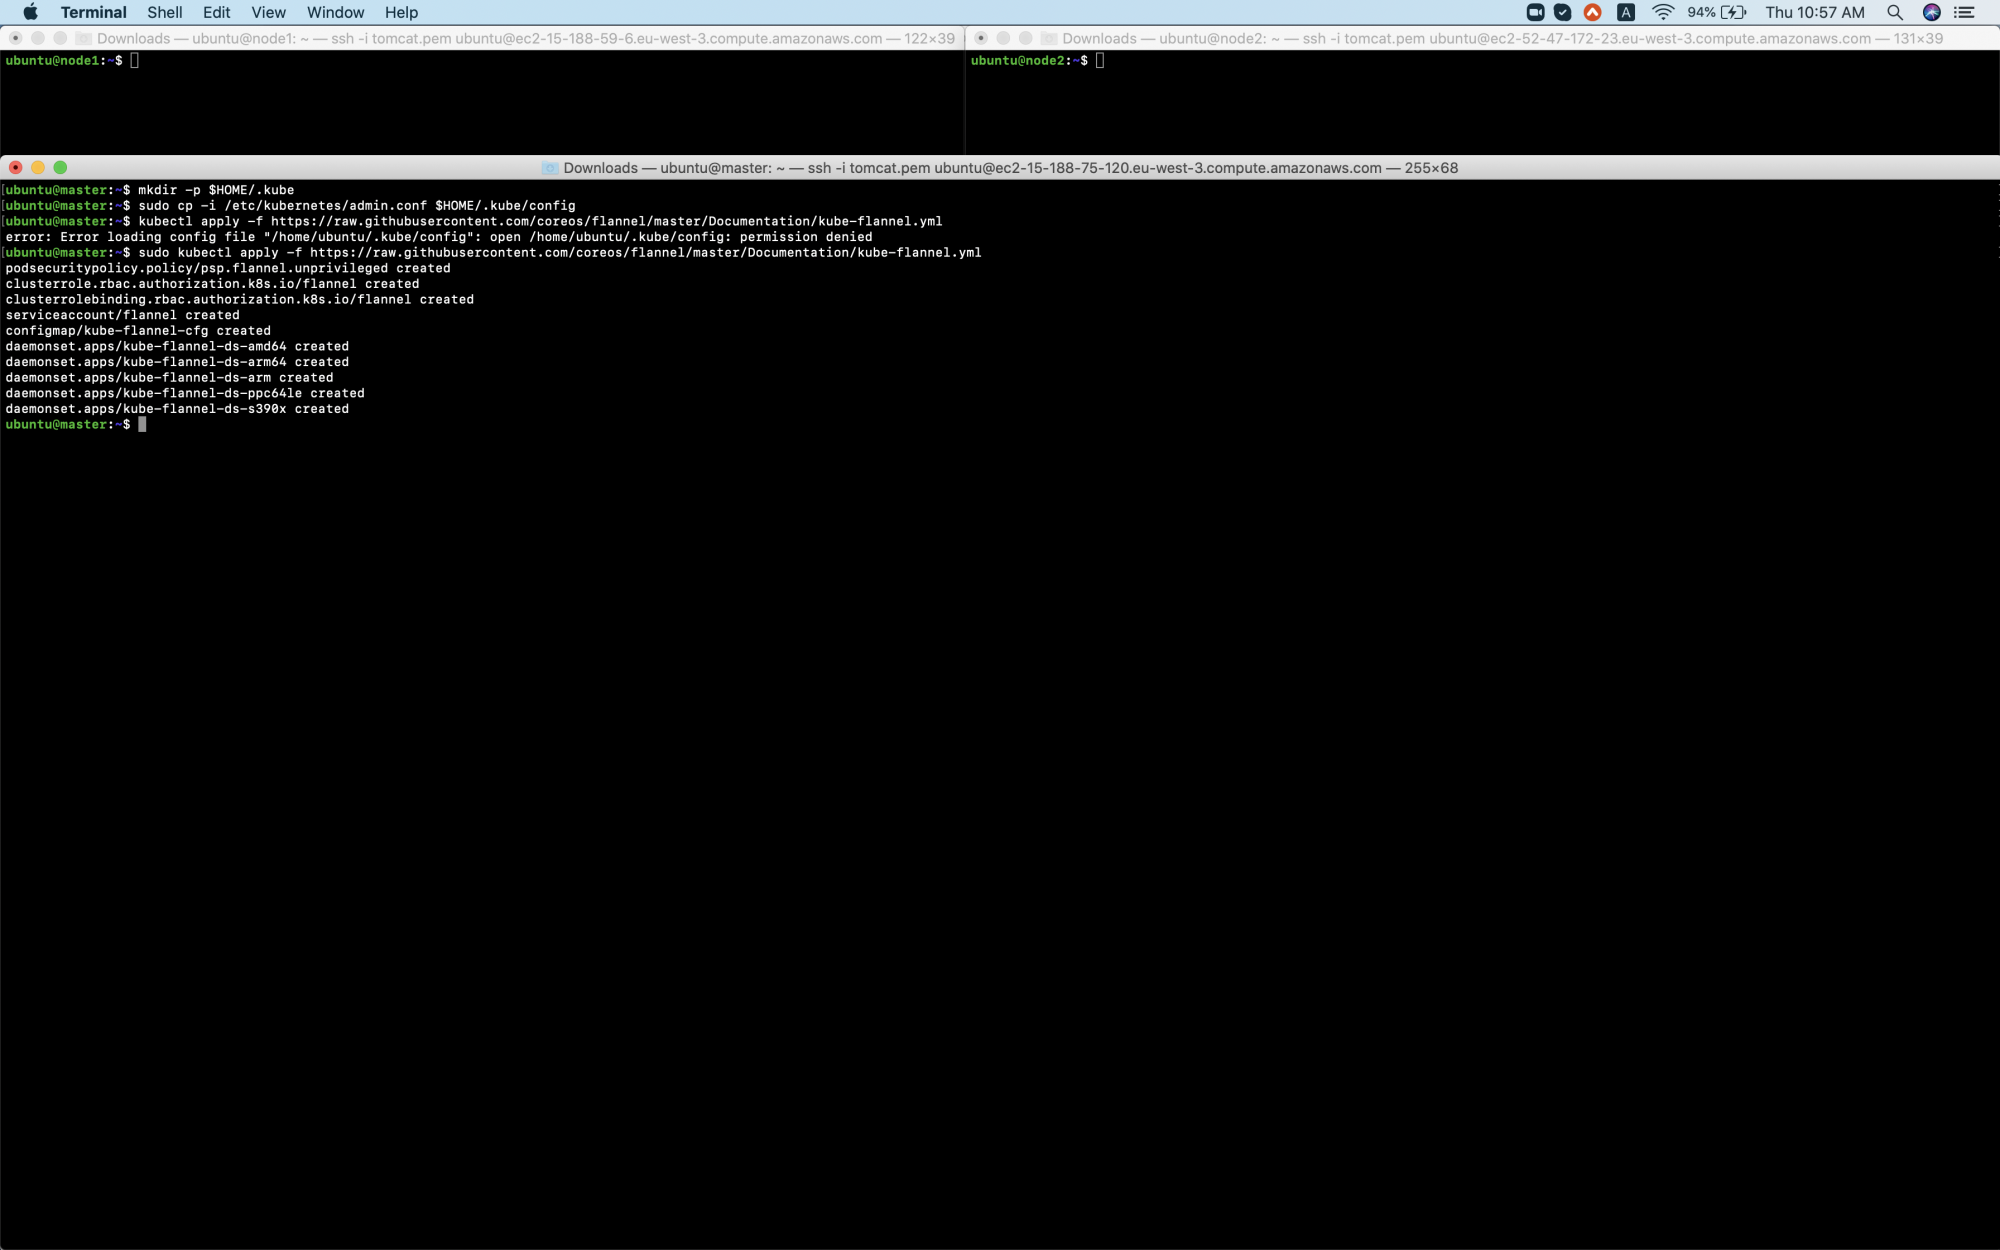
Apply Flannel CNI network overlay(Execute the following command only on the Master node):
sudo kubectl apply -f https://raw.githubusercontent.com/coreos/flannel/master/Documentation/kube-flannel.yml
On Node1 and Node 2:
Join the worker nodes to the cluster (Execute the following command only on Node1 and Node2):
sudo kubeadm join 172.31.4.161:6443 --token 0y52t6.ffsj8jkjfcl1sq8h
   --discovery-token-ca-cert-hash sha256:7aa1825042d19d3e567f7e4b447634e942fe9ed7f18f78464a9c05f451551ed5
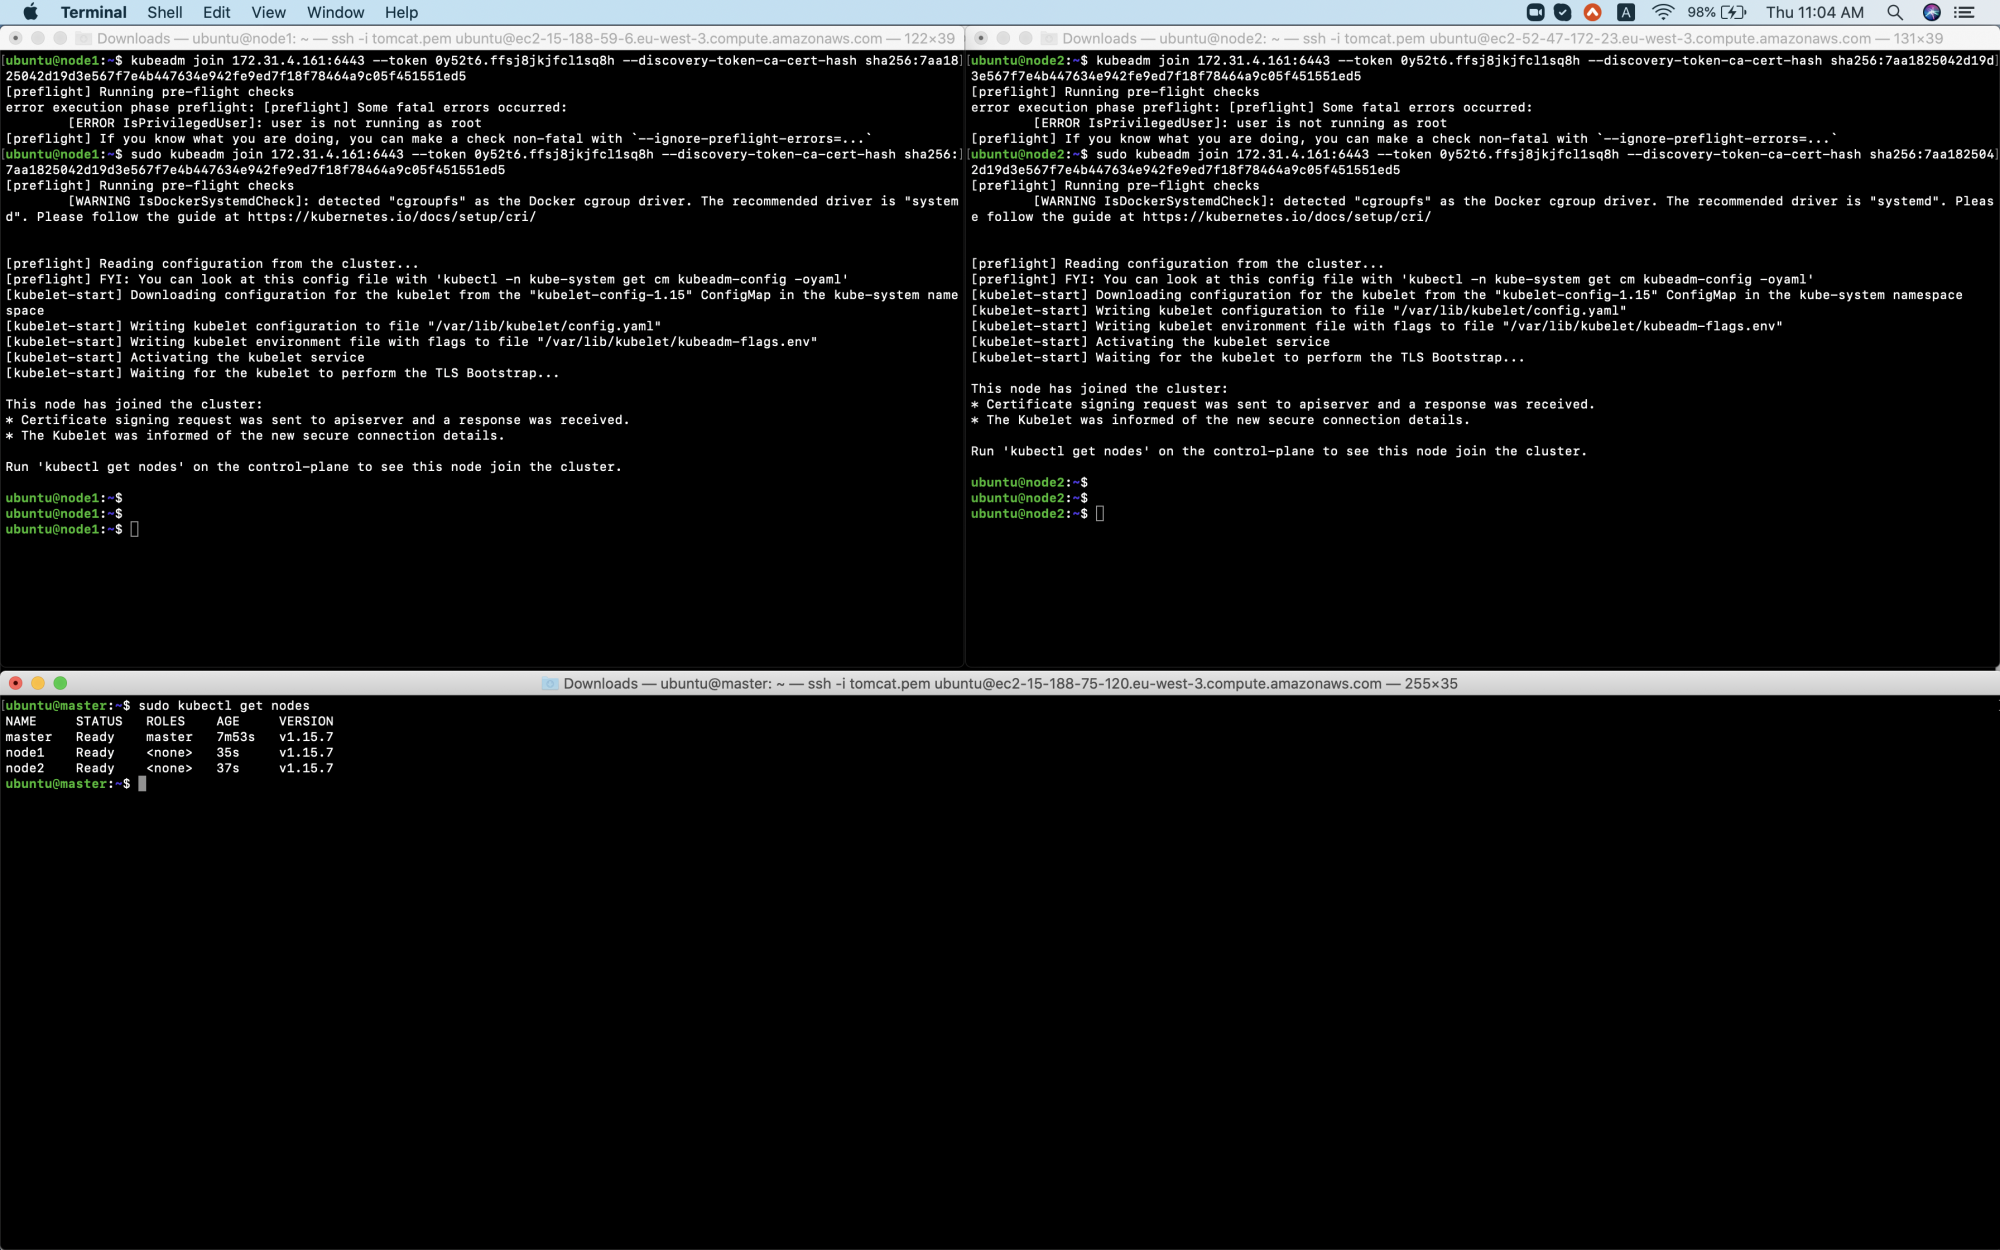
Verify the worker nodes have joined the cluster successfullyExecute the following command on the Master Node):
kubectl get nodes

Conclusion:
In this article, we learned to set up a Kubernetes Cluster with the kubeadm tool. We saw how easily a cluster can be created if the steps are not missed and proper installation is done.

Add Comment