phpMyAdmin Installation on Ubuntu 24.04
phpMyAdmin is a free and open-source tool for managing and administering MySQL servers. It allows you to manage MySQL data from a web browser, and you can manage databases, tables, columns, indexes, relations, users, permissions, etc., from a single dashboard UI on your web browser.
With the phpMyAdmin, you can import and export data to the MySQL server. You can import CSV and SQL data to your MySQL and also export your data to multiple formats such as CSV, SQL, XML, Latex, XML, PDF, and OpenDocument text and Spreadsheet.
This tutorial will show you how to install phpMyAdmin on Ubuntu 24.04. You will install phpMyAdmin and then secure it via the Apache basic_auth module.
Prerequisites
Before you go any further, confirm that you have the following:
- An Ubuntu 24.04 server.
- A non-root user with administrator privileges.
- A LAMP Stack (Linux, Apache, MySQL/MariaDB, and PHP) was installed.
Setting up MySQL/MariaDB user
Before installing phpMyAdmin, let’s create a dedicated MySQL/MariaDB user to manage databases via phpMyAdmin. This user will have privileges to access all databases on the MySQL/MariaDB server, so make sure to use a strong password.
Log in to your MySQL/MariaDB server with the following ‘mysql‘ command. Type your MySQL/MariaDB root password when prompted.
sudo mysql -u root -p
Once logged in, run the following queries to create a new MySQL/MariaDB user. In this case, you will create a user ‘newuser‘ with the password ‘mystrongpassword‘. This user will be used for managing databases via phpMyAdmin.
CREATE USER newuser@localhost IDENTIFIED BY 'mystrongpassword';
GRANT ALL PRIVILEGES ON *.* TO newuser@localhost;
FLUSH PRIVILEGES;
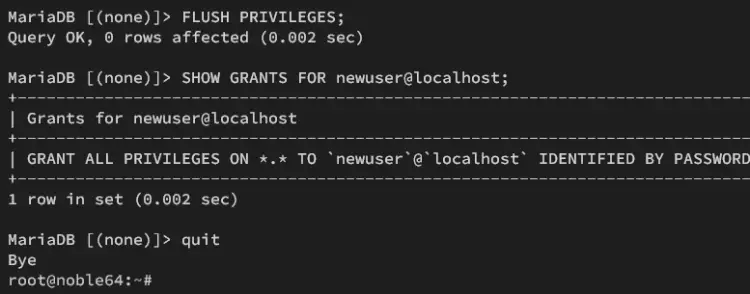
Now verify user ‘newuser‘ with the following query. Make sure that user ‘newuser‘ can access all databases ‘*.*’ within your MySQL/MariaDB server.
SHOW GRANTS FOR newuser@localhost;
Type quit to exit when finished.
Installing phpMyAdmin via Ubuntu repository
On Ubuntu, the phpMyAdmin can be installed two ways, via the official Ubuntu repository and manually from the source code. In this section, you will install phpMyAdmin via the Ubuntu repository, which requires the LAMP Stack (Linux, Apache, MySQL/MariaDB) to be installed.
First, update your Ubuntu package index with the following command.
sudo apt update
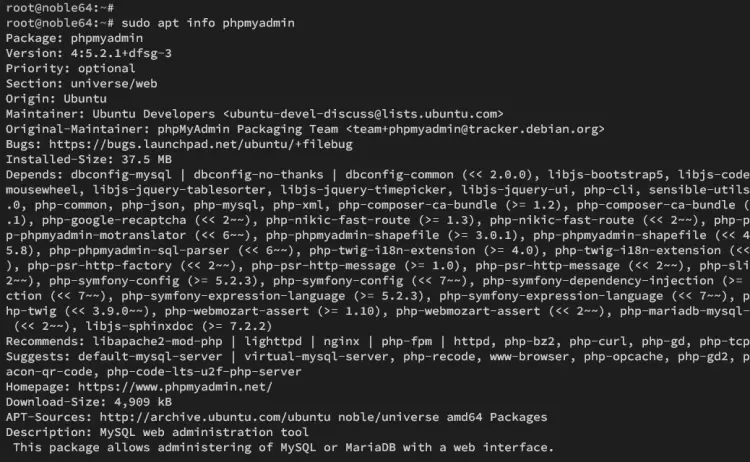
Check the phpmyadmin package with the following ‘apt info‘ command.
sudo apt info phpmyadmin
As you can see below, the phpMyAdmin 5.2.1 is available on the Ubuntu universe/web repository. the phpMyAdmin package required php-mysql and dbconfig-common packages for the installation.
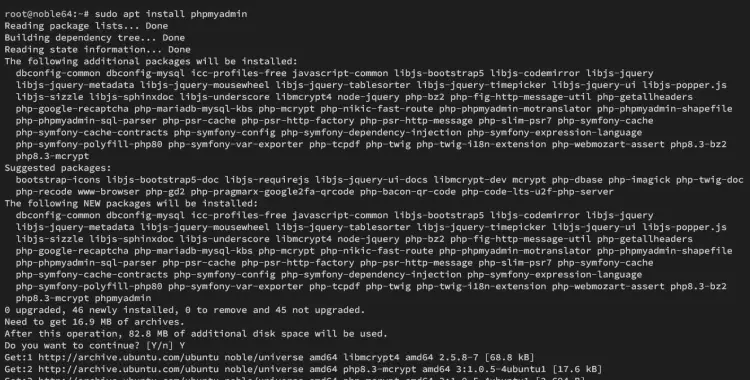
Now install phpMyAdmin to your Ubuntu server with the following ‘apt install’ command. Type Y to confirm the installation.
sudo apt install phpmyadmin
Select the default web server to ‘apache2‘, then OK.
Select Yes to confirm the database for phpMyAdmin via dbconfig-common.
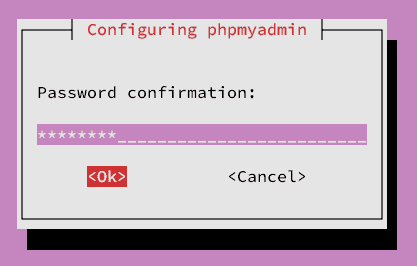
Now input the new password for phpMyAdmin user and repeat the password.
Repeat your password:
After the installation is complete, your phpMyAdmin installation should be available at:
- /etc/phpmyadmin/: This is the main configuration directory for phpMyAdmin.
- /usr/share/phpmyadmin: This is where phpMyAdmin source code is stored.
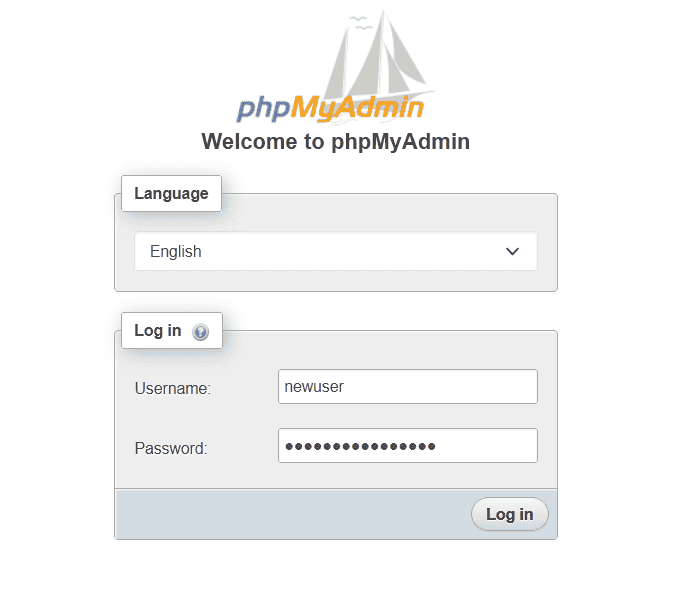
Lastly, open your web browser and visit http://192.168.5.30/phpmyadmin. If your installation is successful, you will be presented with the phpMyAdmin login page.
Log in with the new MySQL/MariaDB user that you have created, then click Login to confirm.
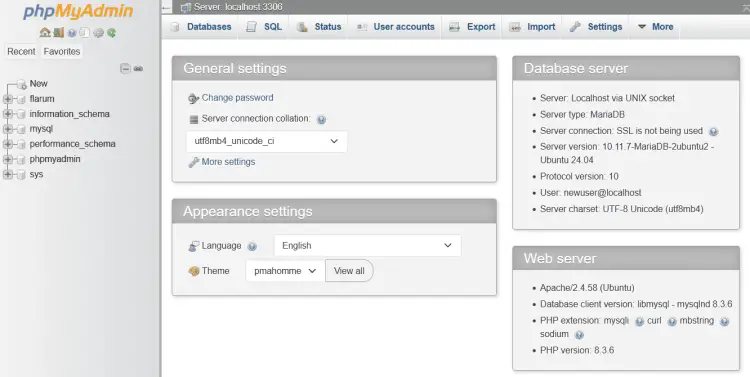
If your authentication is successful, you should get the phpMyAdmin dashboard like the following:
Securing phpMyAdmin installation
Now that you have phpMyAdmin installed, you will be securing your phpMyAdmin by changing the default installation path and implementing the Apache basic_auth module. This will add new authentication to your phpMyAdmin,
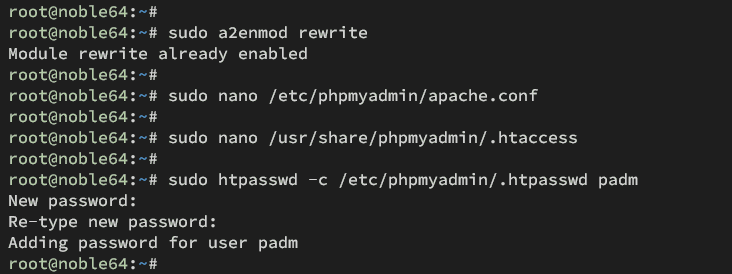
First, enable the rewrite module for the Apache web server with the following command.
sudo a2enmod rewrite
Open the default Apache snippet for phpMyAdmin ‘/etc/phpmyadmin/apache.conf‘ using the following nano editor.
sudo nano /etc/phpmyadmin/apache.conf
At the top of the line, change the installation path of phpMyAdmin. In this case, the phpMyAdmin path will be changed to ‘/padm‘.
Alias /padm /usr/share/phpmyadmin
Add the option ‘AllowOverride All‘ to the phpMyAdmin directive ‘<Directory /usr/share/phpmyadmin>…<Directory>‘. This allows you to override this directive configuration via the .htaccess file.
<Directory /usr/share/phpmyadmin>
 ...
 ...
 AllowOverride All
...
...
<Directory>
when finished, save the file and exit the editor.
Now create a new .htaccess file within the phpMyAdmin directory ‘/usr/share/phpmyadmin/’ with the following nano editor.
sudo nano /usr/share/phpmyadmin/.htaccess
Insert the following configuration into the file. With this, you will secure the phpMyAdmin directive via the Apache basic_auth module.
AuthType Basic
AuthName "Restricted Files"
AuthUserFile /etc/phpmyadmin/.htpasswd
Require valid-user
Save the file and exit the editor when finished.
Next, run the following command to generate a new password file ‘/etc/phpmyadmin/.htpasswd’ for basic authentication. In this example, you will create a new first user ‘padm‘. Then, input your password and repeat when prompted.
sudo htpasswd -c /etc/phpmyadmin/.htpasswd padm
Now run the following command to verify your Apache configuration. Make sure you have proper syntax and you will get the output ‘Syntax is OK‘.
sudo apachectl configtest
Lastly, run the command below to restart the Apache web server and apply your new Apache configuration.
sudo systemctl restart apache2
Testing your phpMyAdmin installation
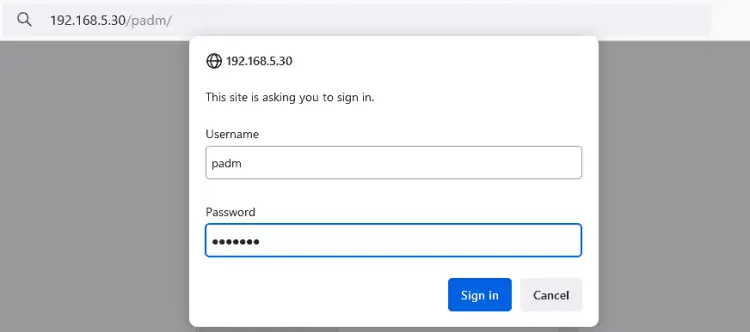
Open up your web browser and visit your phpMyAdmin installation with the new path, such as http://192.168.5.30/padm. If your configuration is successful, you will be prompted for password authentication from the Apache basic_auth module.
Input your user and password and click Sign In.
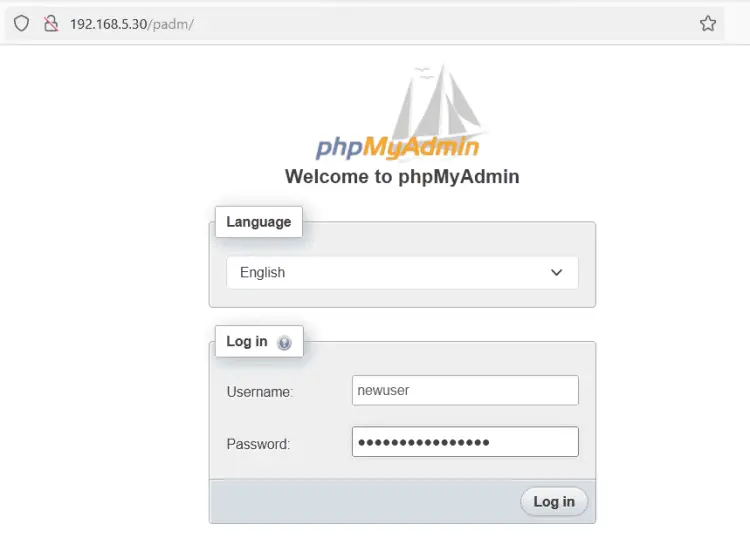
If the authentication is successful, you will see the phpMyAdmin login page. Otherwise, you will see the Unauthorized page.
Log in to the phpMyAdmin with your MySQL/MariaDB user and password, then click Login to confirm.
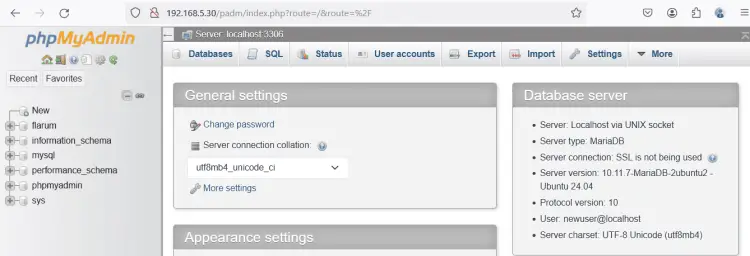
Now you will see the phpMyAdmin is running on custom path ‘/padm‘.
You have now completed the installation of phpMyAdmin on the Ubuntu 24.04 server and secured phpMyAdmin by changing the default installation and implementing the Apache basic-auth module, which adds new authentication before accessing the phpMyAdmin login page.
This installation lets you quickly access phpMyAdmin from any virtual host or domain name. So, if HTTPS is enabled on your domain name, you can also access phpMyAdmin via secure HTTPS.
Đăng ký liền tay Nhận Ngay Bài Mới
Subscribe ngay
Cám ơn bạn đã đăng ký !
Lỗi đăng ký !









Add Comment