


An Azure Snapshot is a read-only copy of the existing disk in the Microsoft Azure Cloud. We can create a snapshot of the OS or Data disk. This snapshot can be used as a backup. The snapshot can also be used to create a Virtual Machine. To create a Virtual Machine using a snapshot, it is better to shut down the VM before taking its snapshot.
We can create a full snapshot or an incremental snapshot.
- Full Snapshot:
It makes a complete read-only copy of the selected disk. - Incremental Snapshot:
It saves on storage costs by making a partial copy based on the difference between the last snapshot. This does not make the complete copy of the existing disk each time
In this article, we will create a snapshot of the disk of the existing Virtual Machine.
Pre-requisites
- Azure Account (Create if you don’t have one).
- Azure Virtual Machine
What will we do?
- Login to Azure.
- Create a Snapshot of the existing Virtual Machine
Login to Azure
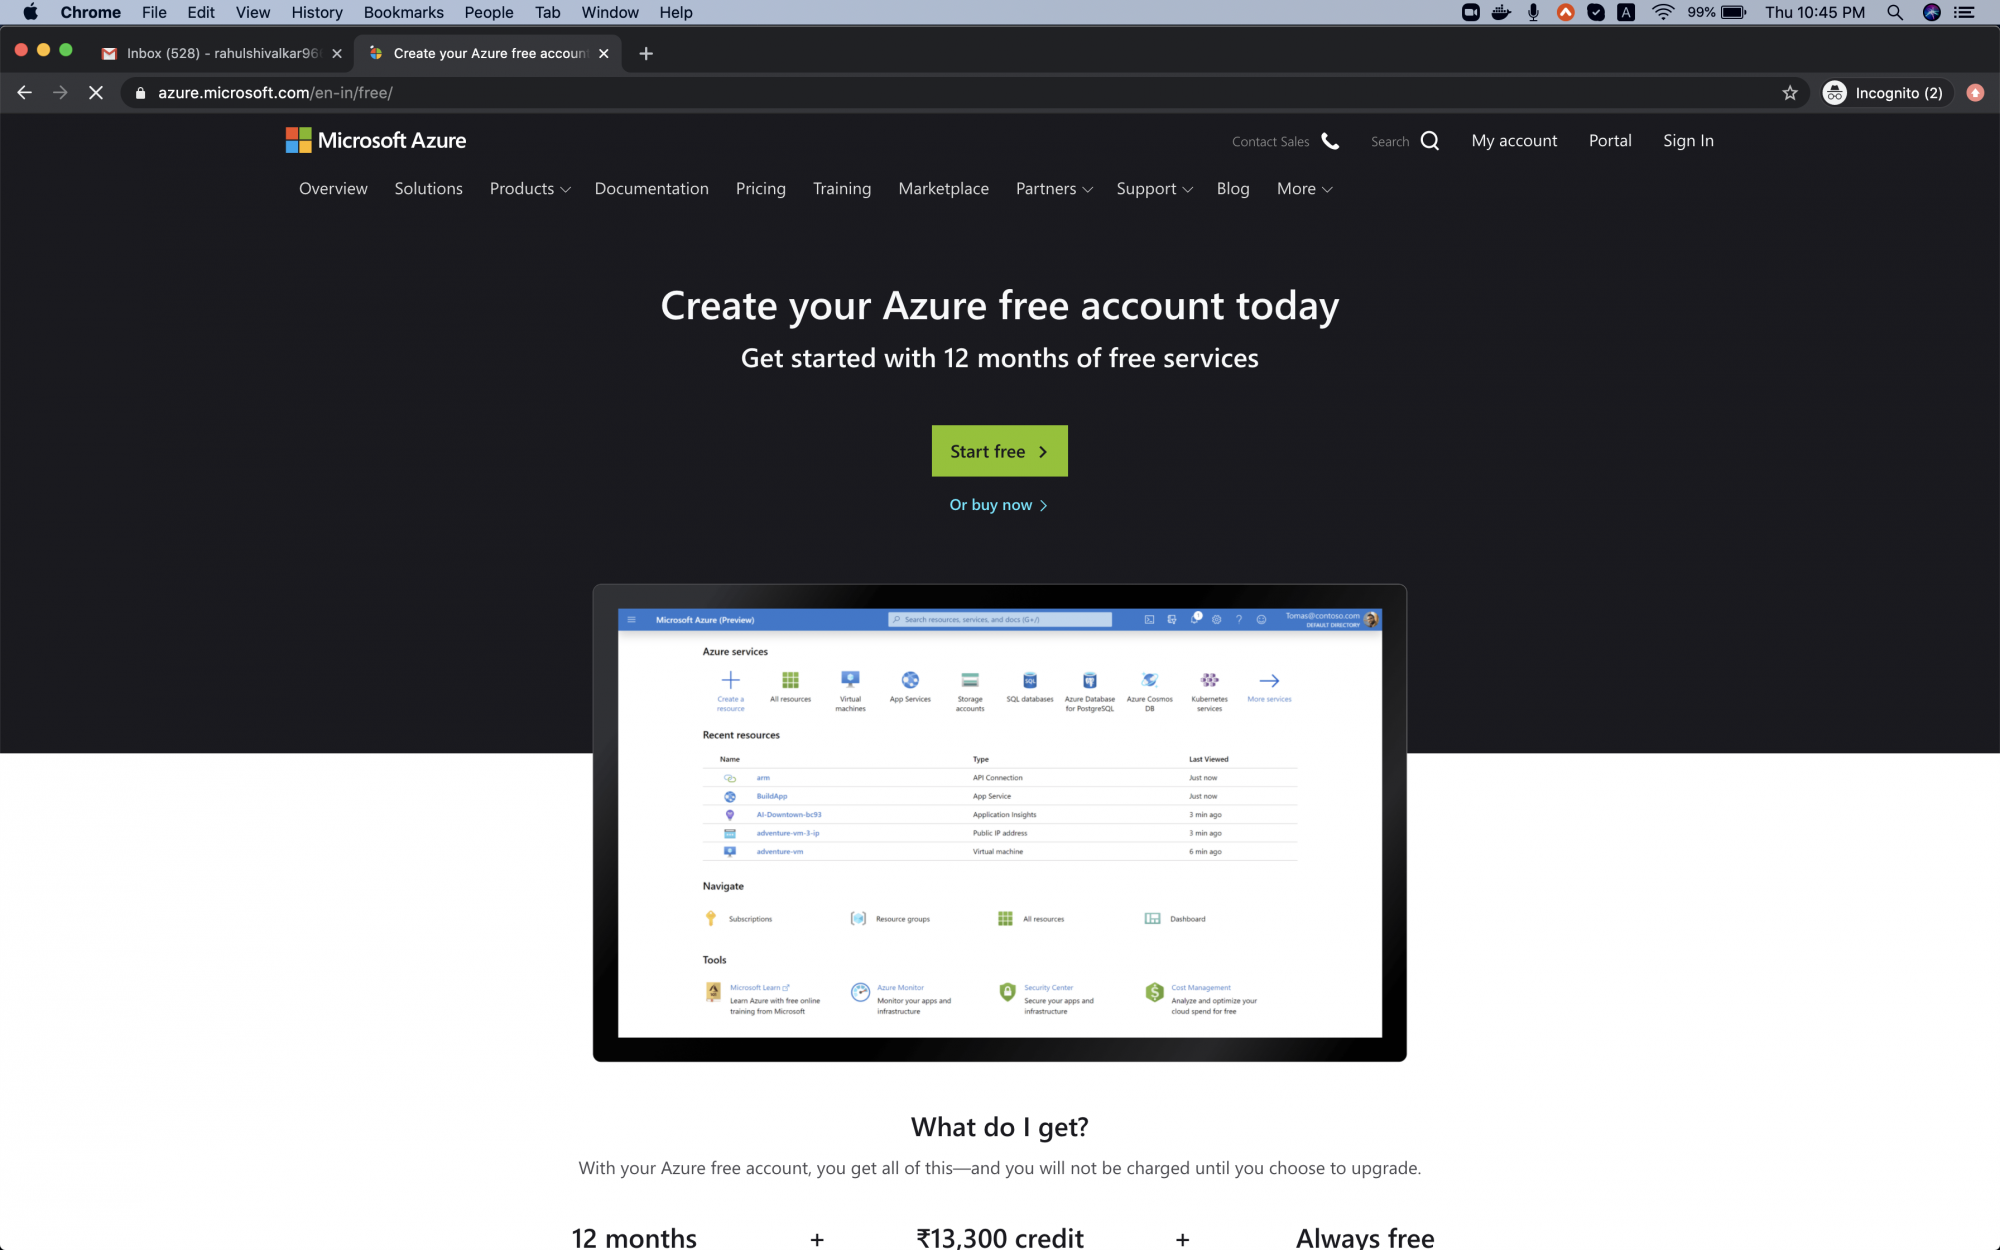
Click here to go Azure portal and click on Sign in.
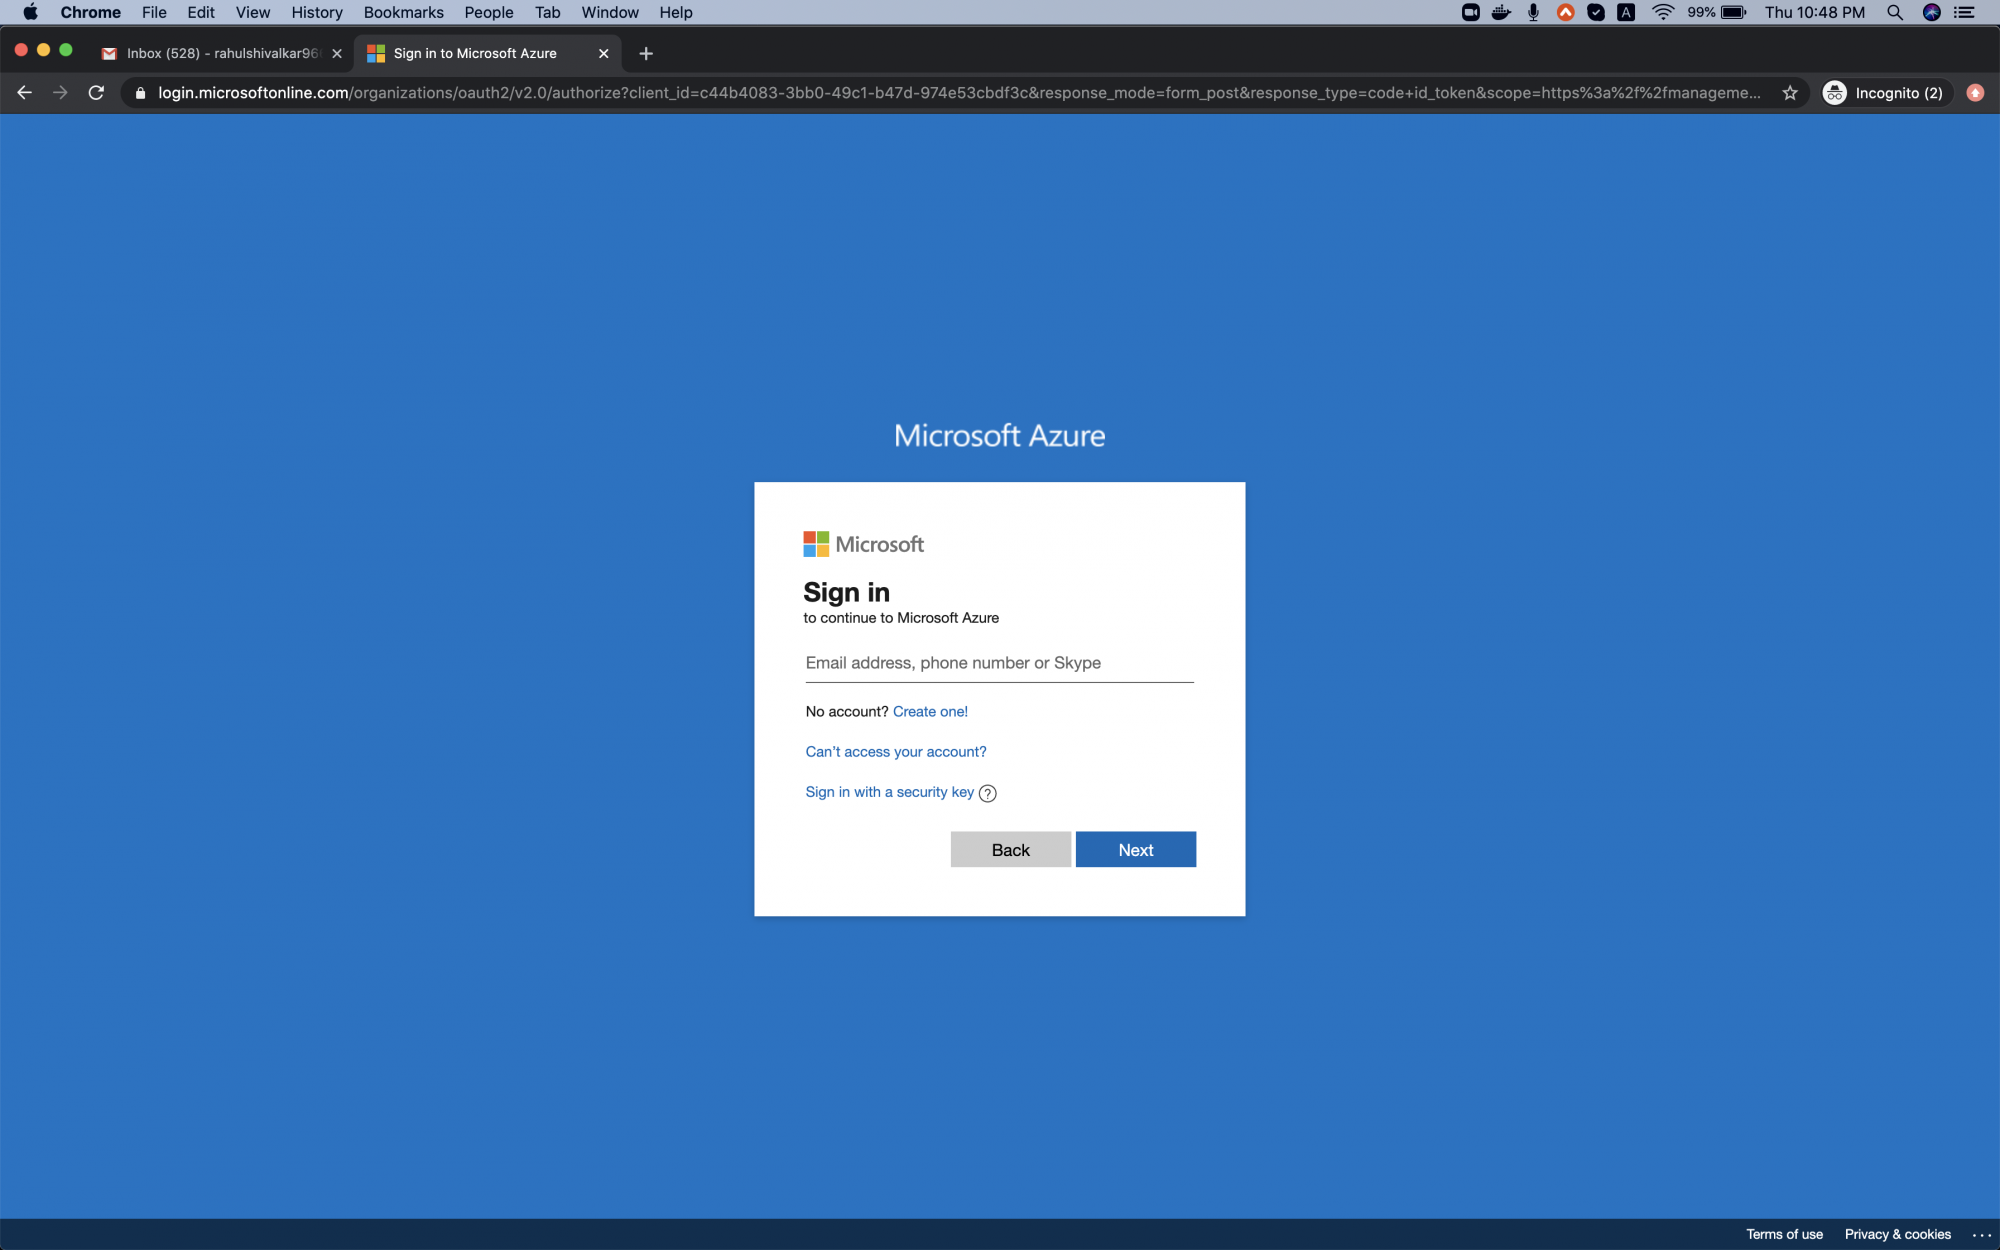
Use your credentials to log in to the account.
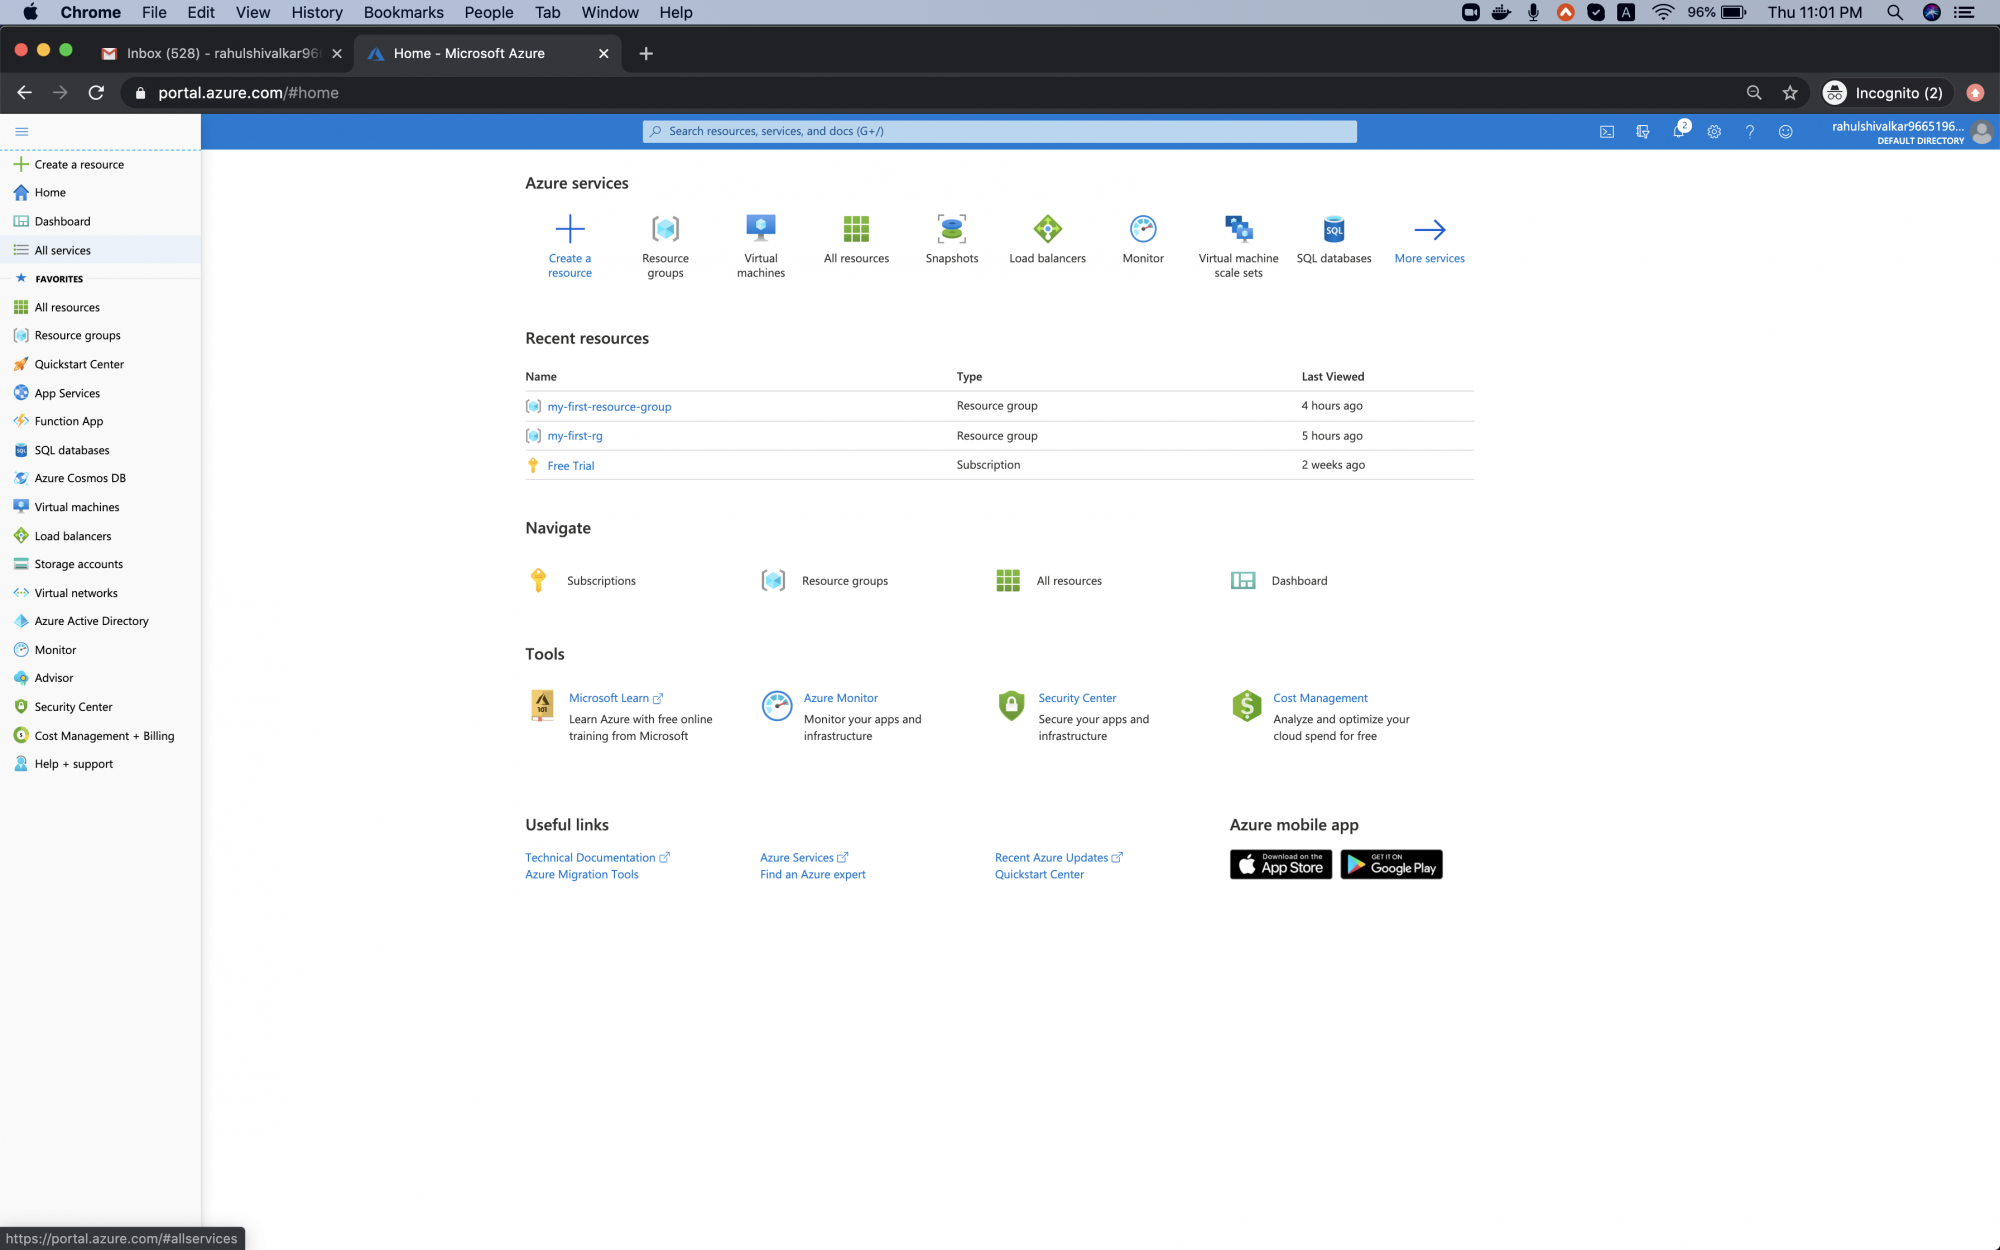
You will see the main page as follows once you successfully login to your account. Click on 3 lines near “Microsoft Azure” in the upper left-hand corner of the Azure portal to show the portal menu.

Create a snapshot of the existing Virtual Machine
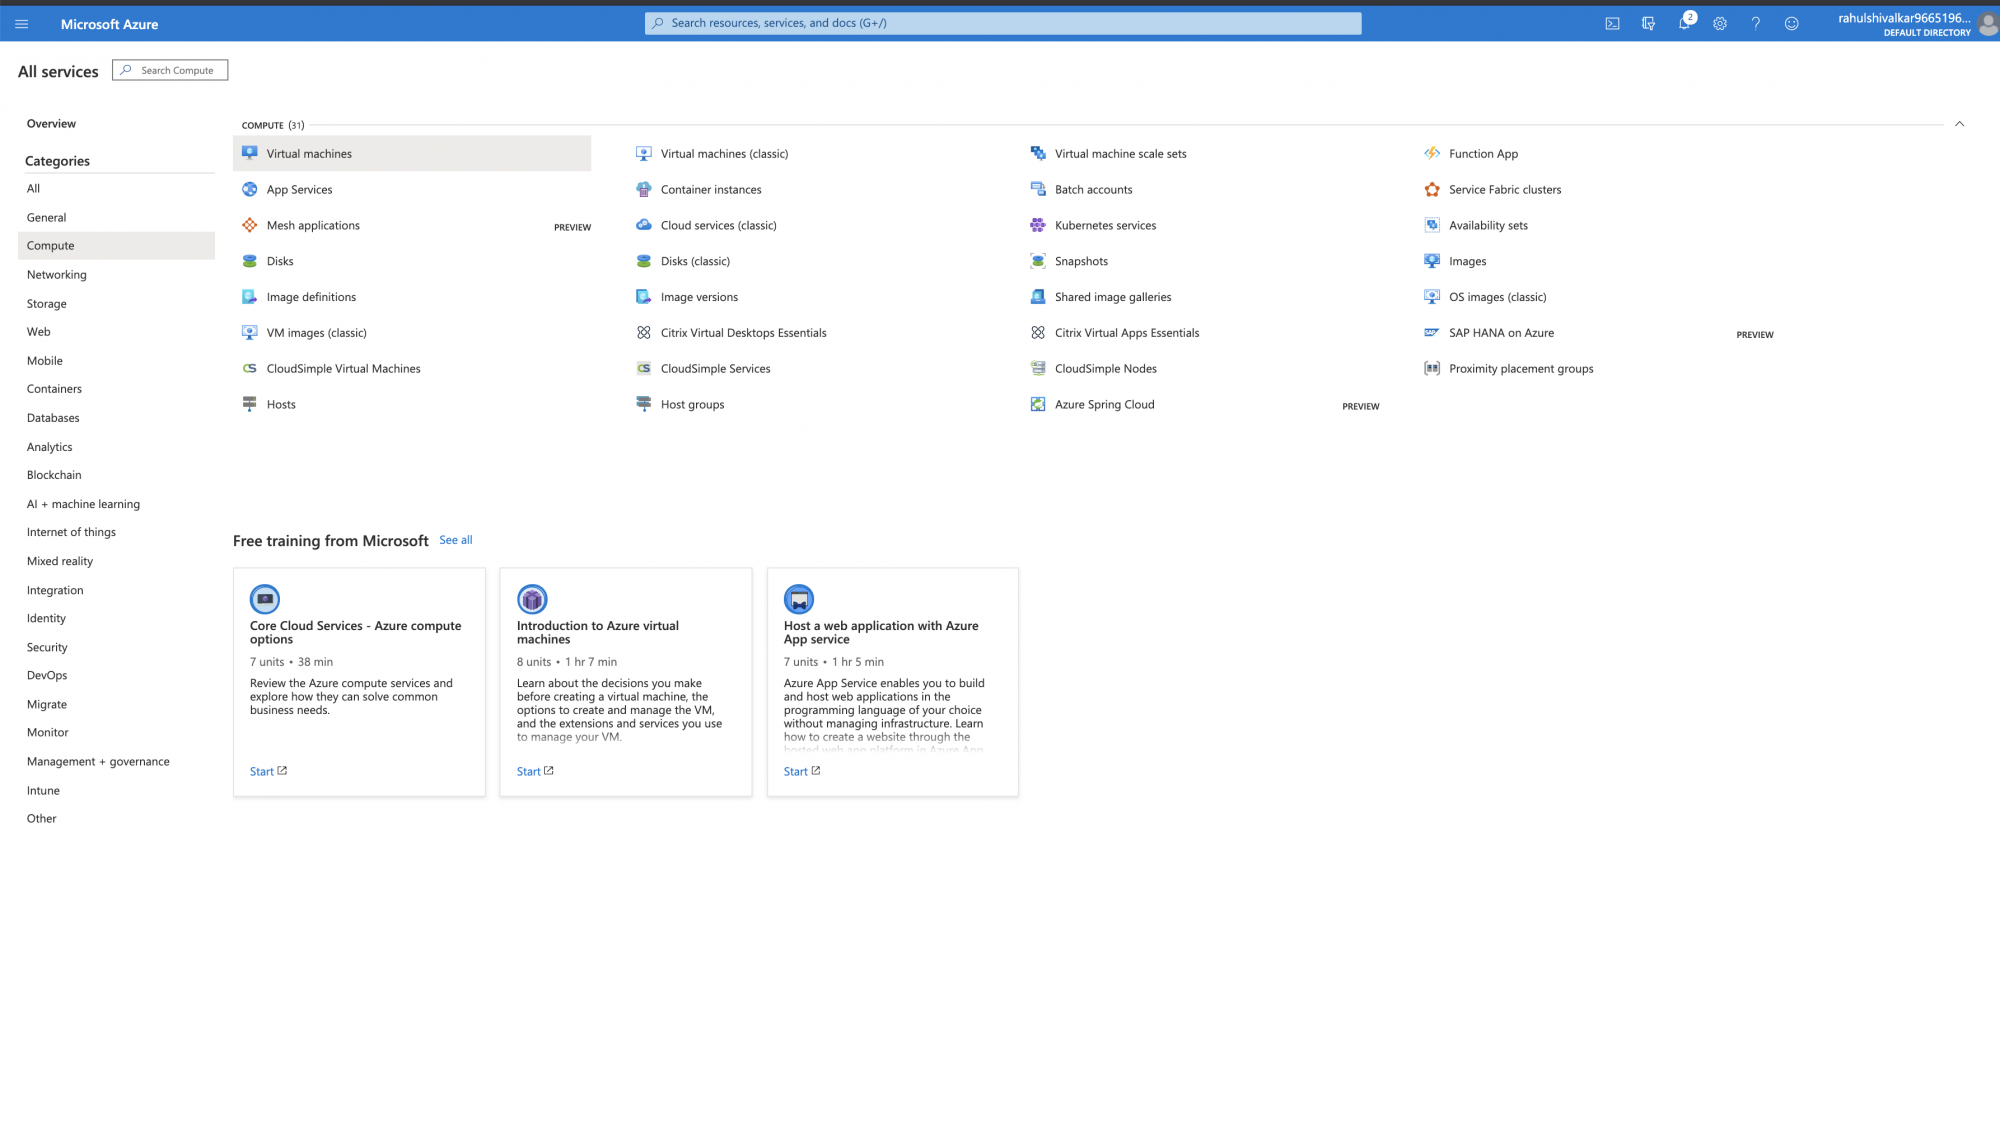
Click on “All services” in the left panel.
You will see a screen with all the services, click on Compute – > Virtual Machine.
You will see the list of existing Virtual Machines. Click on the Virtual Machine.

Click on Disk on the left panel and then click on OS Disk.
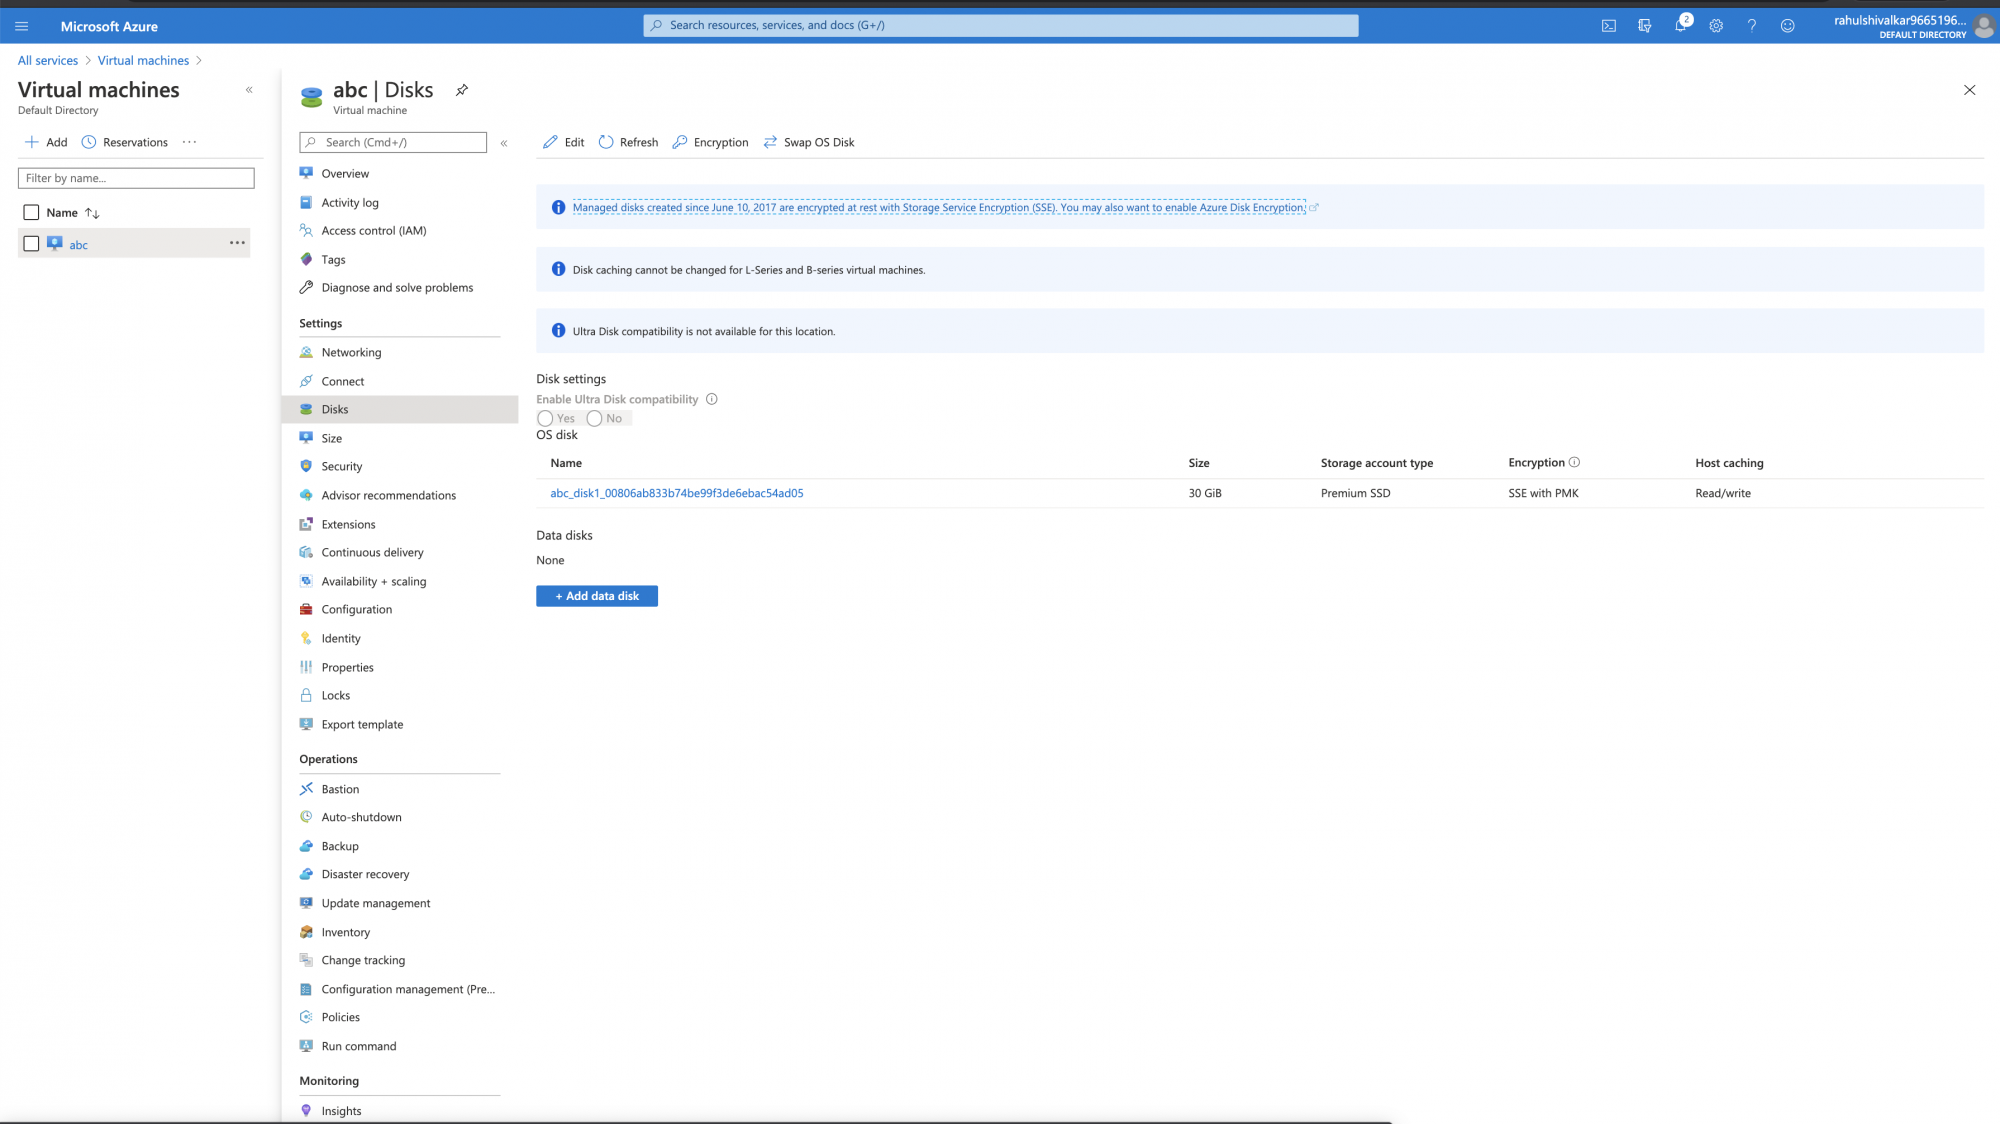
You will see the screen as follows when you open the Disk.
On this screen click on “Create Snapshot”.

Select the resource group, give a Name to the snapshot and click on “Next: Encryption”.

Proceed with the default configuration which uses Platform managed key to do data encryption. Click on “Next: Tags”

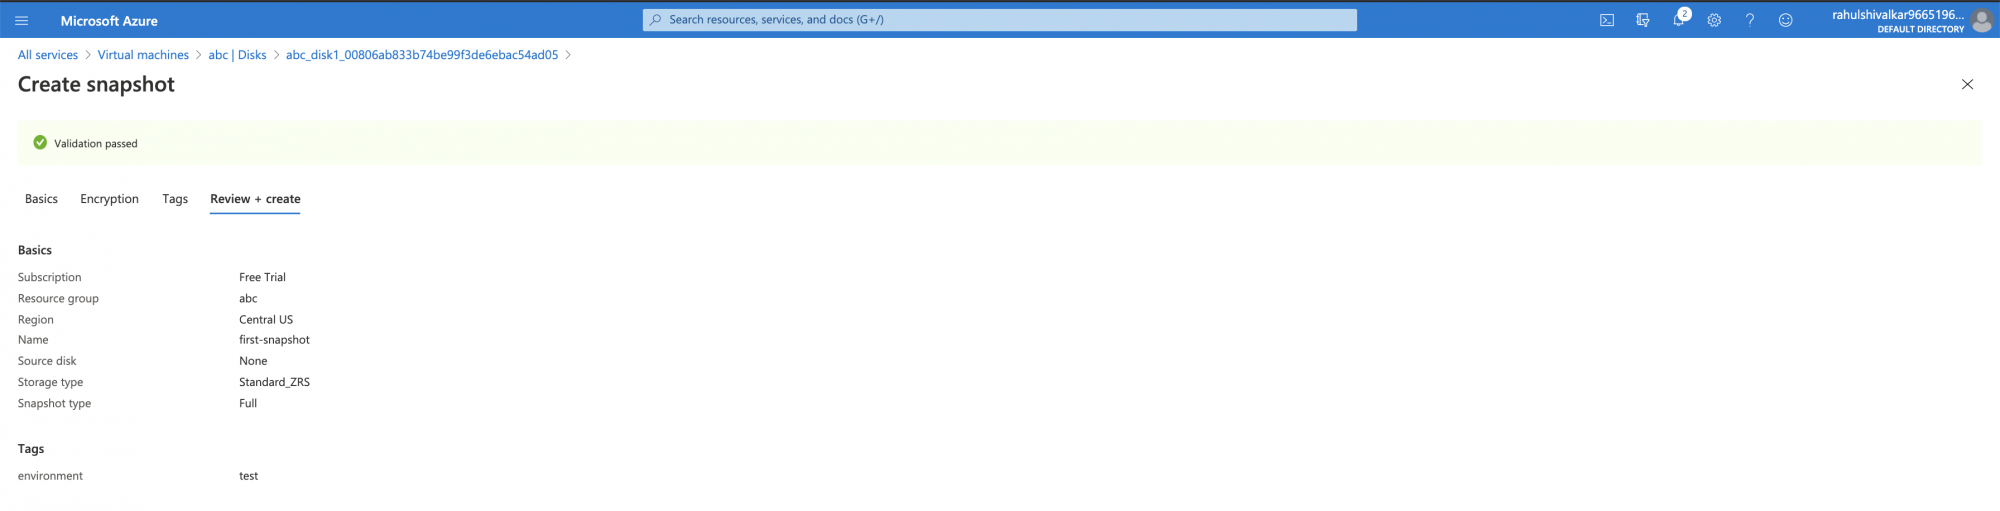
Add a tag “environment: test” and click on “Review + create”.

If you get a message “Validation passed”, click on “Create”.
After some time, depending on the size of the disk, you will see a message as “Your deployment is ready”. Click on “Go to resources” to check if the snapshot is there.
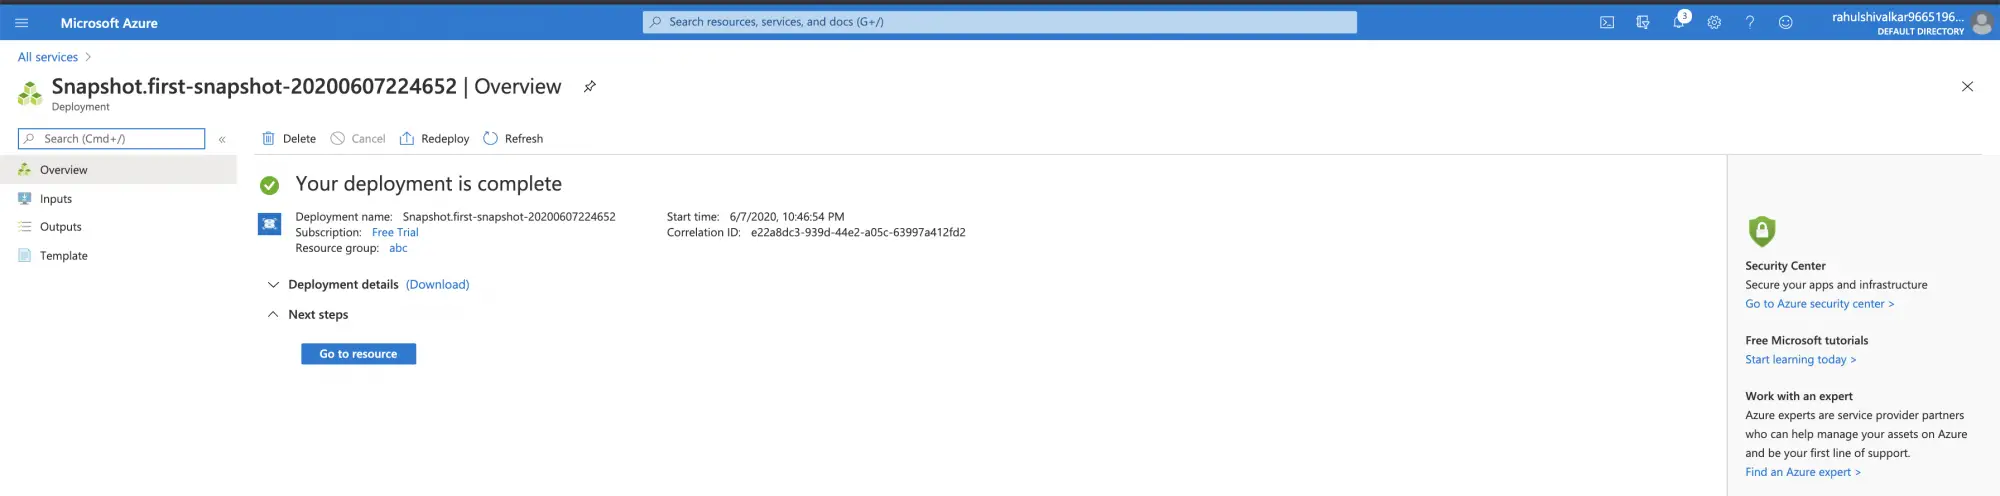
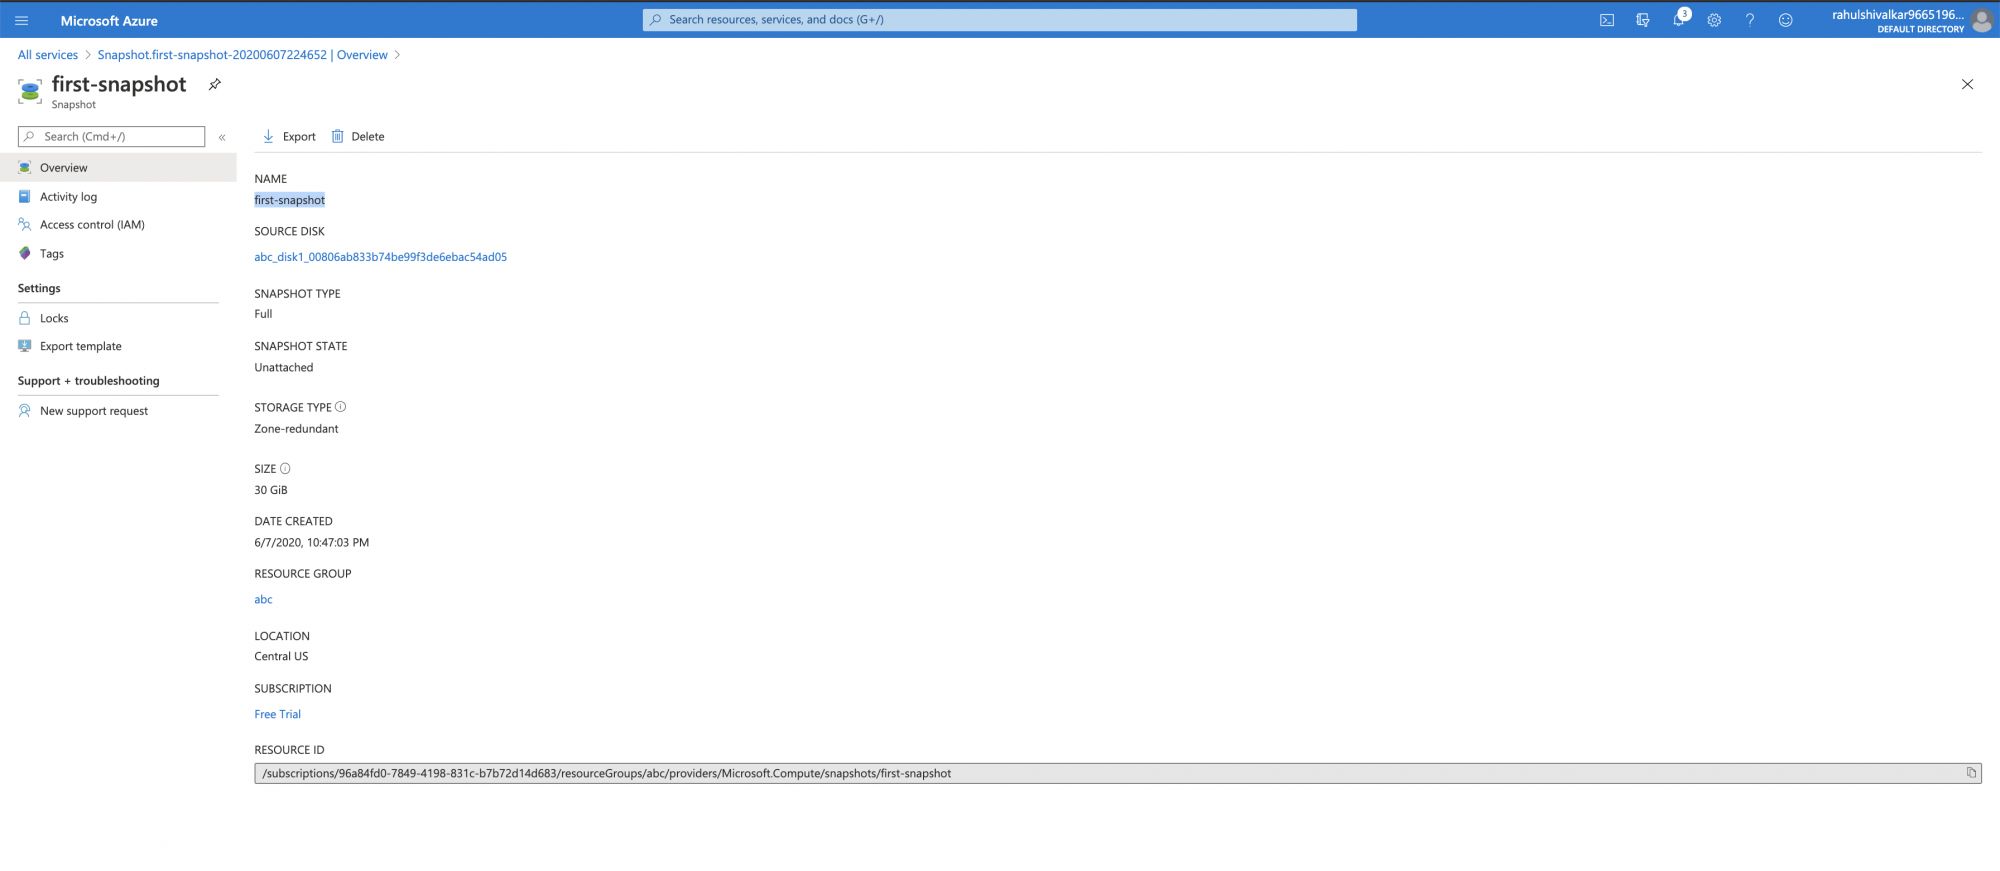
You can see that the snapshot is there with the name we specified.
Conclusion
In this article, we saw the steps to create a snapshot of the existing disk which can be used as a backup or to create a Virtual Machine.


Add Comment