


How to Setup a Centralized Log System with Graylog on Debian 11
Graylog is a free and open-source log-management platform for capturing, storing and enabling real-time analysis of your data and logs. It’s written in Java and built on top of other open-source software like MongoDB and Elasticsearch. Graylog provides one of the most efficient, fast, and flexible centralized log management platforms.
Using Graylog, you can send and analyze both structured and unstructured data from almost any data source.
In this tutorial, we will show you how to install and configure Graylog as a centralized logging system on the Debian 11 system. Also, we will show you how to set up the Nginx web server as a reverse proxy for the Graylog server.
Prerequisites
- A Linux Debian 11 server – at least with 4GB of RAM.
- A non-root user with sudo or administrator privileges.
Install Basic packages Dependencies
In the first stage of this tutorial, you will be installing some basic package dependencies, including Java and GnuPG.
Before start installing any packages, run the apt command below to update and refresh your current Debian repository.
sudo apt update
Now install some package dependencies for Graylog using the below command.
sudo apt install apt-transport-https openjdk-11-jre-headless uuid-runtime pwgen dirmngr gnupg wget
Input Y to confirm the installation and press ENTER to continue.

After installation is completed, move to the next step to install another Graylog dependency MongoDB and Elasticsearch.
Installing MongoDB
Graylog uses the NoSQL MongoDB database to store all information Graylog configuration, streams, alerts, users, cached streams, etc. All information you see on the Graylog web interfaces is stored on the MongoDB NoSQL database, except for logs themself. The current version of Graylog required MongoDB v4 up to v4.4.
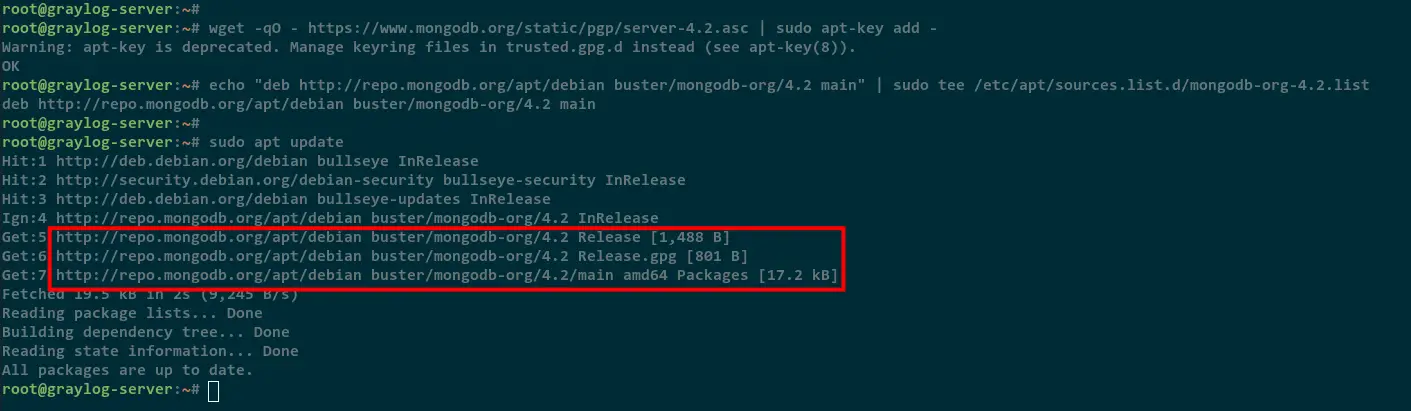
Run the below commands to add the MongoDB GPG key and the repository to your Debian server.
wget -qO - https://www.mongodb.org/static/pgp/server-4.2.asc | sudo apt-key add -
echo "deb http://repo.mongodb.org/apt/debian buster/mongodb-org/4.2 main" | sudo tee /etc/apt/sources.list.d/mongodb-org-4.2.list
Refresh your Debian repository using the following command.
sudo apt update
As you can see on the screenshot below, the MongoDB repository is added to your Debian server.
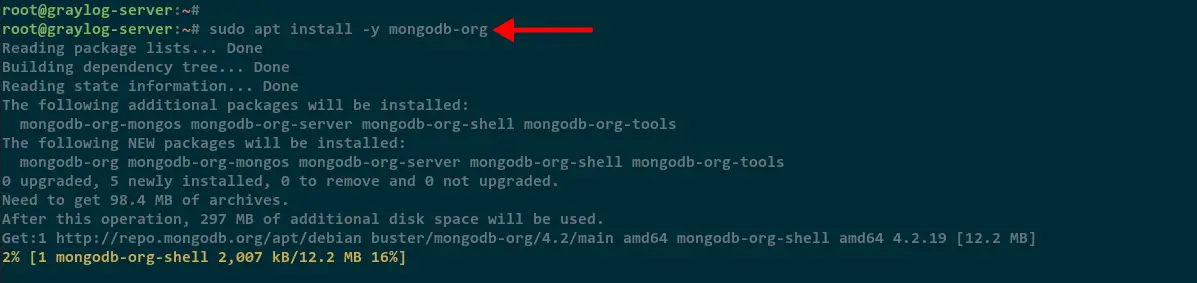
Next, install MongoDB packages using the apt command below.
sudo apt install -y mongodb-org
The installation of the MongoDB database will begin.
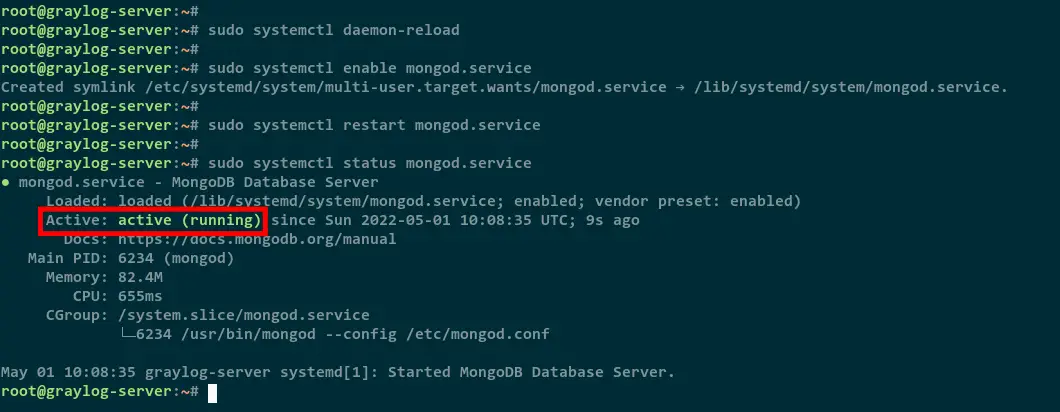
After MongoDB installation is completed, run the following command to reload the systemd manager. This is needed before you start the MongoDB service.
sudo systemctl daemon-reload
Now run the below command to enable and restart the MongoDB service. The MongoDB service will be starting and will automatically run at system startup.
sudo systemctl enable mongod.service
sudo systemctl restart mongod.service
Verify the MongoDB service using the following command.
sudo systemctl status mongod
As you can see on the following screenshot, the MongoDB service is running and it’s enabled.
Now move to the next stage for installing Elasticsearch.
Installing Elasticsearch
After installing the MongoDB NoSQL database, you will now be required to install the Elasticsearch. The Graylog server uses Elasticsearch as a search engine for searching logs. At the current version, Graylog required the Elasticsearch v6.8 or v7.x up to v7.10.
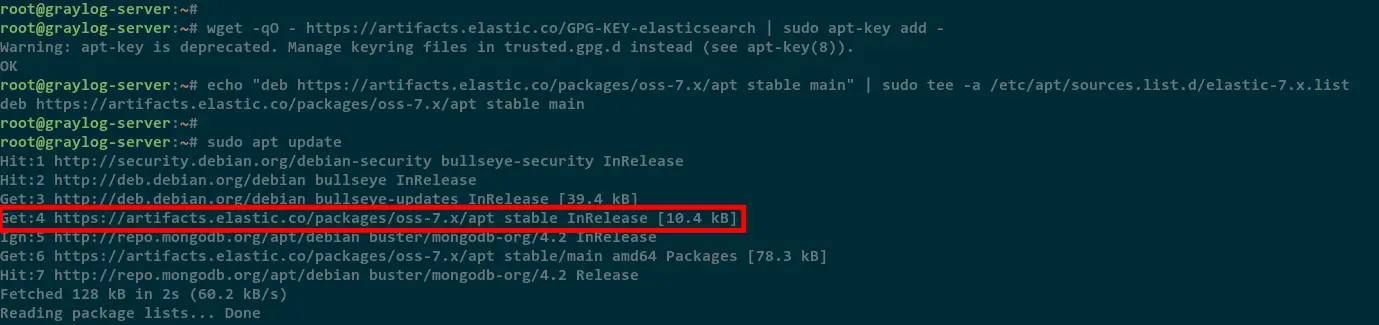
Before installing Elasticsearch, run the following command to add the Elasticsearch GPG key and repository to your Debian system.
wget -qO - https://artifacts.elastic.co/GPG-KEY-elasticsearch | sudo apt-key add -
echo "deb https://artifacts.elastic.co/packages/oss-7.x/apt stable main" | sudo tee -a /etc/apt/sources.list.d/elastic-7.x.list
Now update and refresh your Debian repository.
sudo apt update
In the below screenshot, the Elasticsearch repository is added to the Debian server.
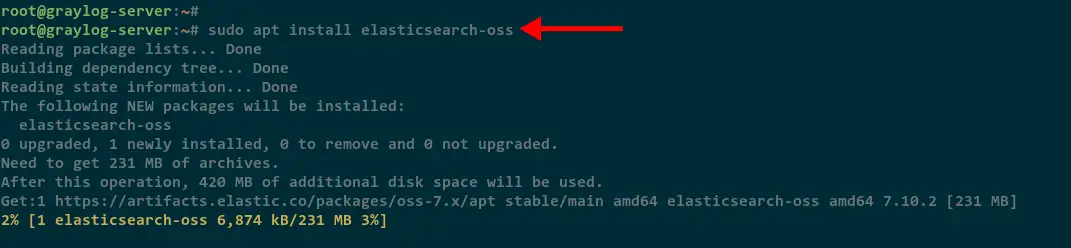
Next, install Elasticsearch packages using the apt command below.
sudo apt install elasticsearch-oss
The Elasticsearch installation will be starting.
After installation is completed, run the below command to add the configuration to the Elasticsearch config file /etc/elasticsearch/elasticsearch.yml. The following configuration will create a new Elasticsearch cluster with the name “graylog” and disable the automatically creating an index on Elasticsearch.
sudo tee -a /etc/elasticsearch/elasticsearch.yml > /dev/null << EOT
cluster.name: graylog
action.auto_create_index: false
EOT

Before you start the Elasticsearrch service, run the below command to reload the systemd manager.
sudo systemctl daemon-reload
Now run the following commands to enable and restart the Elasticsearch service. This will add the Elasticsearch to the system startup and start the service.
sudo systemctl enable elasticsearch.service
sudo systemctl restart elasticsearch.service
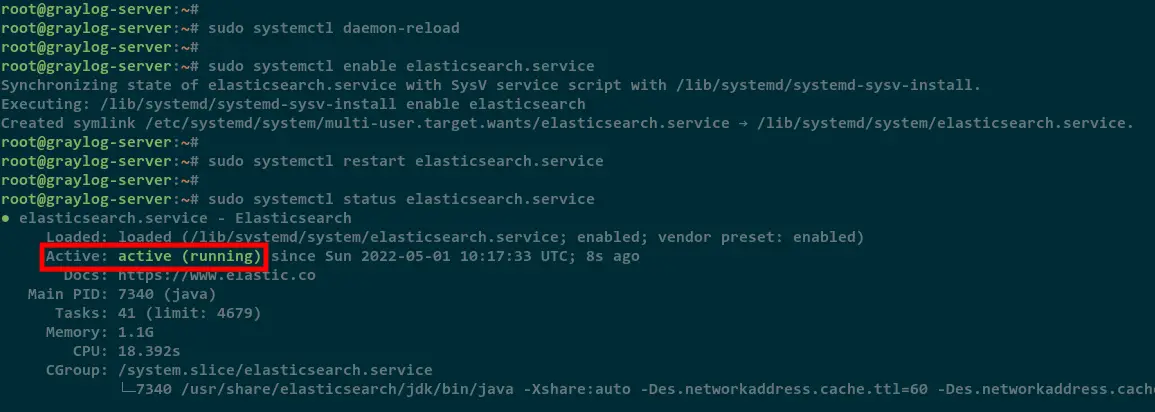
Lastly, verify the Elasticsearch service using the below command.
sudo systemctl status elasticsearch.service
In the below screenshot, you will see the Elasticsearch service is running and enabled.
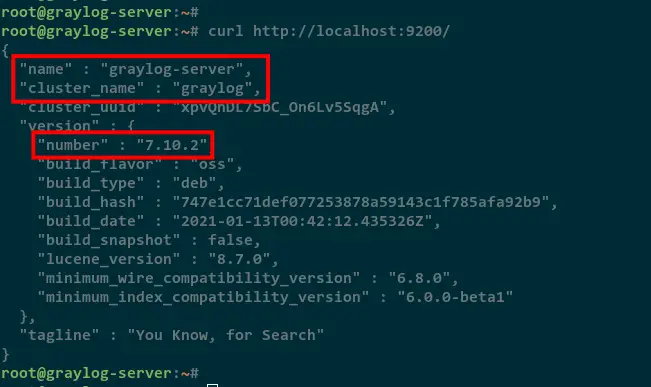
Additionally, you can also verify the Elasticsearch installation by accessing the Elasticsearch using curl. The Elasticsearch is running on the default port 9200, so run the curl command below.
curl http://localhost:9200/
Now you will see the output message like the following. The Elasticsearch v7.x with the cluster named graylog is installed on the Debian server.
At this point, you are now ready to install the Graylog server to the Debian server.
Installing and Configuring Graylog Server
To start the Graylog installation, you will need to download the Graylog repository .deb file and install it using the following command.
wget https://packages.graylog2.org/repo/packages/graylog-4.2-repository_latest.deb
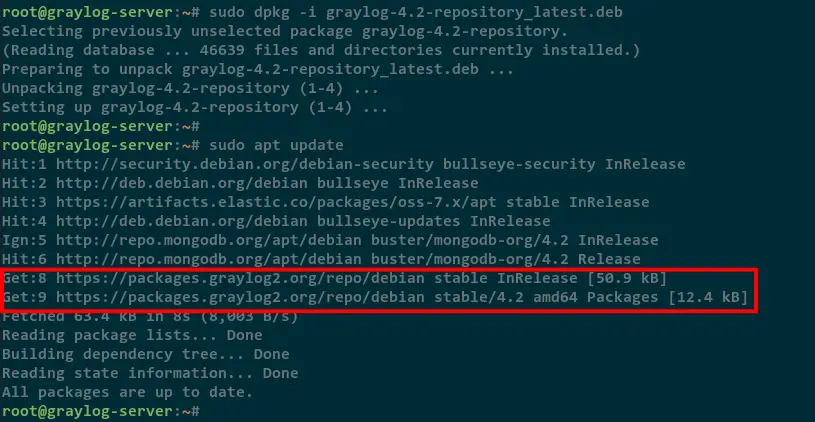
sudo dpkg -i graylog-4.2-repository_latest.deb
Now update and refresh your Debian repository.
sudo apt update
Below you can see the Graylog repository is added to the Debian server.
Next, install Graylog packages to your Debian server using the apt command below.
sudo apt install graylog-server graylog-enterprise-plugins graylog-integrations-plugins graylog-enterprise-integrations-plugins
The Graylog installation will now be starting.

After installation is completed, run the following command to generate Graylog password_secret that will be used for password encryption and salting. The Graylog password_secret must be the same if you are running a Graylog cluster with multiple nodes. Also, you will need a random string and number min 65 for the Graylog password_secret.
pwgen -N 1 -s 96
Now copy the generated random string for the Graylog password_secret to your note.
Next, run the below command to generate the encrypted password with sha256. This password will be used as the Graylog administration password.
echo -n "Enter Password: " && head -1 </dev/stdin | tr -d 'n' | sha256sum | cut -d" " -f1
Input your password for the Graylog administration password. And you will see the generated encrypted password sha256. Copy the encrypted password to your note.

Next, edit the Graylog server configuration /etc/graylog/server/server.conf using nano editor.
sudo nano /etc/graylog/server/server.conf
Copy and paste the generated Graylog password_secret and the Graylog administration password to root_password_sha2 as below.
password_secret = Eqq4M8EHpKbGfgi6C05t19hJ5WmF3nkVS8yjwclYHtvwsTXRulNHEsaWuy85QUTNIUc6b2ovfRjvR7yD5kwNTPAJCCw39T3d
root_password_sha2 = 05a181f00c157f70413d33701778a6ee7d2747ac18b9c0fbb8bd71a62dd7a223
Save and close the file when you are done.
Now run the below command to reload the systemd manager before starting the Graylog server service.
sudo systemctl daemon-reload
Now enable and start the Graylog server service using the below command.
sudo systemctl enable graylog-server.service
sudo systemctl start graylog-server.service

The Graylog server will be up and running, check it using the following command.
sudo systemctl status graylog-server.service
In the below screenshot, you will see the Graylog server service is running and enabled.
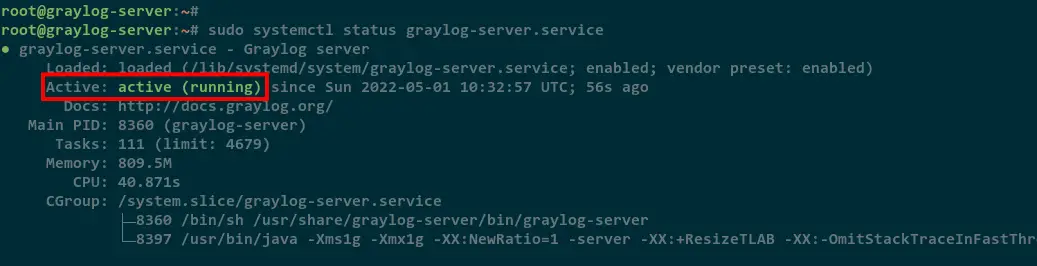
You have now completed the Graylog installation, which is running on the default localhost with port 9000.
Setup Nginx as a Reverse Proxy
After completing the Graylog server installation and configuration, now you will be installing and configuring the Nginx web server as a reverse proxy for the Graylog server. This allows you to run Graylog with your domain name.
Install the Nginx package to your Debian server using the following command.
sudo apt install nginx -y
The installation will be starting.
After installation is completed, create a new Nginx virtual host or server blocks /etc/nginx/sites-available/graylog.conf using nano editor.
sudo nano /etc/nginx/sites-available/graylog.conf
Add the following Nginx configuration. This will enable Nginx as a reverse proxy for the Graylog server that running on http://127.0.0.1:9000/.
server
{
    listen 80 default_server;
    listen [::]:80 default_server ipv6only=on;
    server_name graylog.example.org;
location / {
proxy_set_header Host $http_host;
proxy_set_header X-Forwarded-Host $host;
proxy_set_header X-Forwarded-Server $host;
proxy_set_header X-Forwarded-For $proxy_add_x_forwarded_for;
proxy_set_header X-Graylog-Server-URL http://$server_name/;
proxy_pass http://127.0.0.1:9000;
}
}
Save and close the file when you are done.
Next, run the following command to activate the configuration graylog.conf. Then verify the nginx configuration.
sudo ln -s /etc/nginx/sites-available/graylog.conf /etc/nginx/sites-enabled/
sudo nginx -t
Be sure you get the output message such as test successful.
Lastly, restart the Nginx service to apply a new virtual host configuration using the following command.
sudo systemctl restart nginx
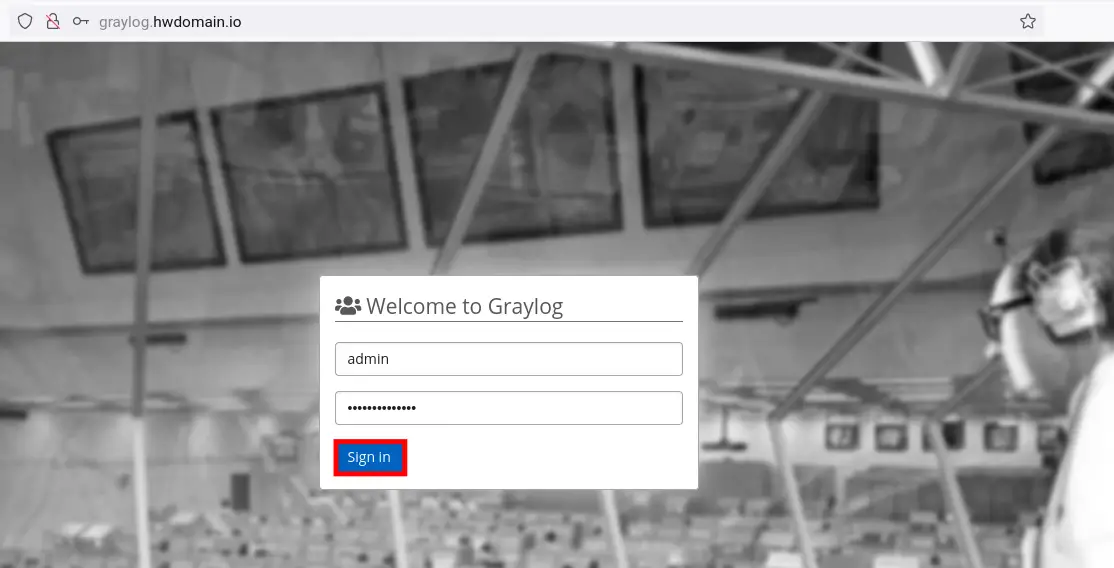
Now open your web browser and visit the domain name for the Graylog installation URL.
You will see the Graylog login page below. Input the default admin user with your password (the root_password_sha2) and click the Log In button.
After you logged in, you will see the Graylog dashboard as below.
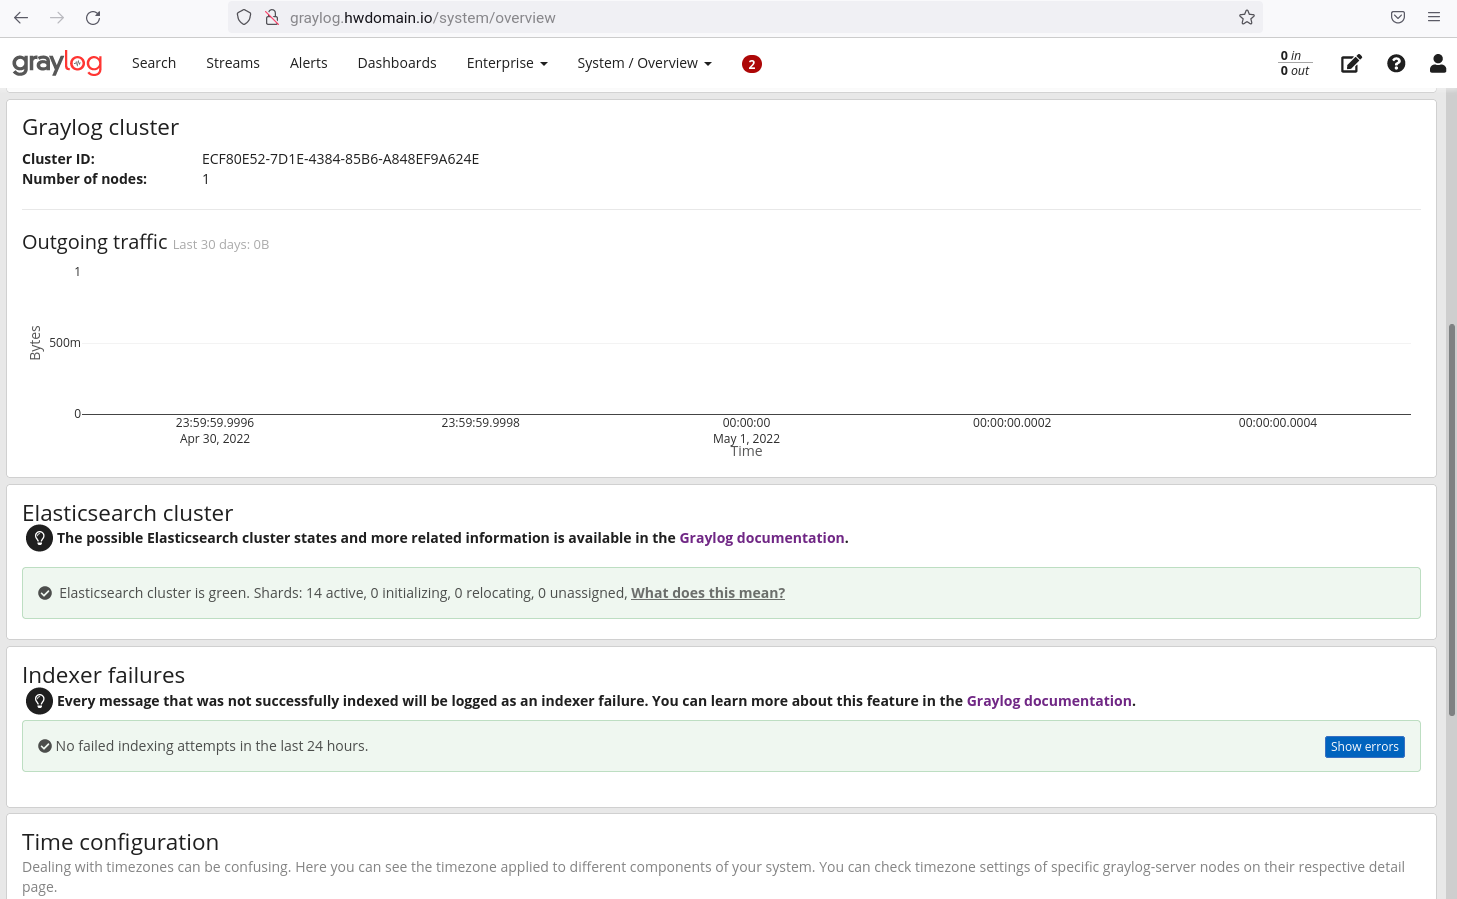
You have now completed running Graylog under the Nginx reverse proxy.
Conclusion
Congratulation! you have now completed the Graylog server installation and configuration of the Debian 11 server. Also, you have completed the Nginx configuration as a reverse proxy for the Graylog server.

Add Comment