mod_wsgi is an Apache module that provides an interface for hosting Python based web applications under Apache. It is suitable for use in hosting high-performance production web sites, as well as your average self managed personal sites running on web hosting services. You can easily deploy applications written with frameworks and tools like Django, Web.py, Werkzug, Chery.py, TurboGears, and Flask using mod_wsgi.
In this tutorial, we will learn how to install and set up of mod_wsgi with the Apache server on Ubuntu 20.04 server.
Prerequisites
- A server running Ubuntu 20.04.
- A root password is configured the server.
Getting Started
Before starting, it is a good idea to update your system with the latest version. You can update your system with the following command:
apt-get update -y
apt-get upgrade -y
After updating the system, restart it to implement the changes.
Install Python
By default, Python comes pre-installed in Ubuntu 20.04 server. If not installed, you can install it with the following command:
apt-get install python3 libexpat1 -yOnce the installation has been completed, you can proceed to the next step.
Install Apache and mod_wsgi
Next, you will need to install the Apache web server and mod_wsgi Python module on your system. You can install them by running the following command:
apt-get install apache2 apache2-utils ssl-cert libapache2-mod-wsgi -yOnce all the packages are installed, you can proceed to the next step.
Configure Apache for mod_wsgi
Next, you need to create a new Python script inside Apache default web root directory and serve it via mod_wsgi Apache module.
You can create it with the following command:
nano /var/www/html/wsgy.pyAdd the following lines:
def application(environ,start_response):
    status = '200 OK'
    html = 'html>\n' \
           '<body>\n' \
           '<div style="width: 100%; font-size: 40px; font-weight: bold; text-align: center;">\n' \
           'Welcome to mod_wsgi Test Page\n' \
           '</div>\n' \
           '</body>\n' \
           '</html>\n'
    response_header = [('Content-type','text/html')]
    start_response(status,response_header)
    return
Save and close the file. Then, change the ownership of the file to www-data with the following command:
chown www-data:www-data /var/www/html/wsgy.pyNext, create an Apache virtual host configuration file to serve this file over HTTP protocol.
nano /etc/apache2/conf-available/wsgi.confAdd the following line:
WSGIScriptAlias /wsgi /var/www/html/wsgy.py
Save and close the file. Then, enable mod-wsgi configuration and restart Apache service with the following command:
a2enconf wsgi
systemctl restart apache2
Test mod-wsgi
At this point, Apache web server is configured to serve your Python file over HTTP protocol.
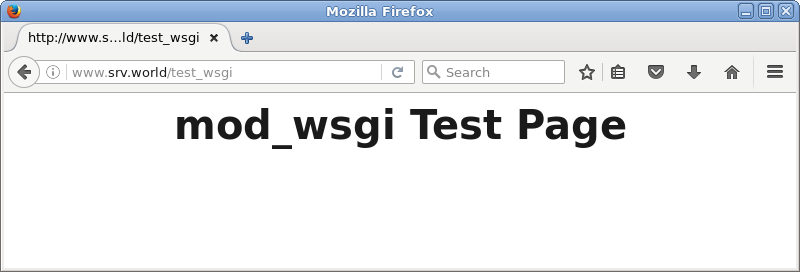
To test it, open your web browser and type the URL http://your-server-ip/wsgi. You should see the mod-wsgi test page in the following screen:
Conclusion
Congratulations! you have successfully deployed Python script over Apache web server using mod_wsgi module on Ubuntu 20.04 server. I hope you can now easily deploy any Python application with Apache and mod_wsgi in the production environment.
Đăng ký liền tay Nhận Ngay Bài Mới
Subscribe ngay
Cám ơn bạn đã đăng ký !
Lỗi đăng ký !


Add Comment