


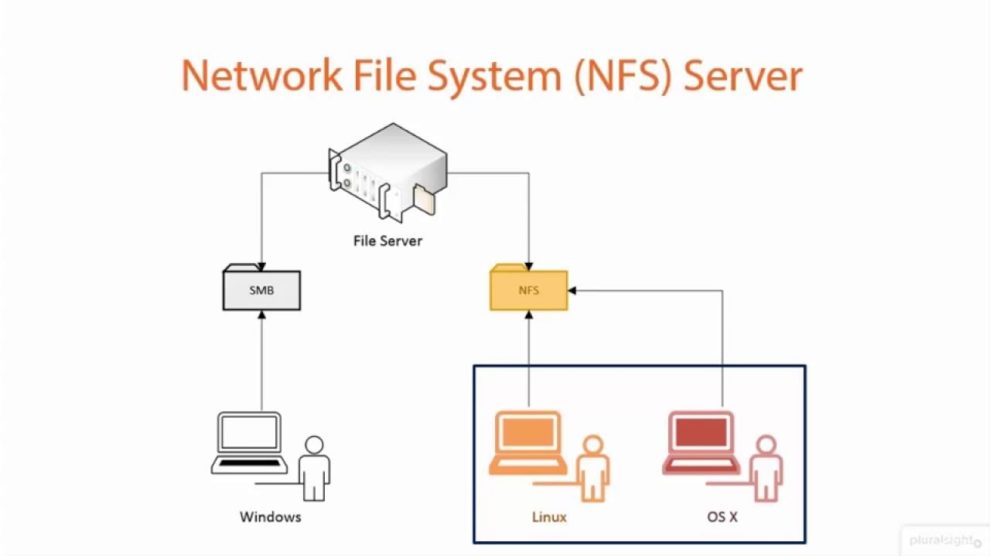
Network File System or short NFS is a distributed file system protocol that allows you to mount remote directories on your server. NFS allows you to access files and folders from a different server or client. You can write to that server from multiple clients or remote systems over a network. This technology gives you the flexibility of sharing a resource over multiple systems.
In this tutorial, we will learn how to set up an NFS Server and how to mount NFS Shares on a client using Ubuntu 20.04.
Prerequisites
- Two Ubuntu 20.04 Systems. Each server should have a non-root user with sudo privileges and UFW firewall set.
- You can set up both the server and the client over a private network. For our tutorial, I will use host_ip to denote the host_ip address and client_ip to refer to the Client’s IP address.
Step 1 – Install NFS on Server and Client
Host
We need to install the nfs-kernel-server package on the host to share your directories.
$ sudo apt update
$ sudo apt install nfs-kernel-server
Client
For the client, we will install the nfs-common package which allows the Client to mount host directory but can’t host the directory itself.
$ sudo apt update
$ sudo apt install nfs-common
Step 2 – Create Share directories on the Host
There are two ways you can grant access to directories on the host to the client. By default, the NFS server does not allow operations that require sudo privileges. This means that superusers on the client cannot write files as root, reassign ownership, or perform any tasks that require elevated privileges.
But sometimes, a client needs to perform certain operations on the host which require elevated privileges but doesn’t need superuser access for it.
First Method
This is the default way of sharing directories. It makes it difficult for a root user on the client to interact with the host using elevated privileges.
First, create the share directory.
$ sudo mkdir /var/nfs/general -p
If you perform any root operations on the client, then NFS will translate them to nobody:nogroup credentials on the host machine. Therefore, we need to give appropriate ownership to the shared directory.
$ sudo chown nobody:nogroup /var/nfs/general
Second Method
Here, we will share the host home directory with the client. This will allow root users on the client proper access to the host.
Since the home directory already exists on the host server, we don’t need to create it. There is no need to change the permissions on it either since it will create multiple issues for users on the host machine.
Step 3 – Configure NFS on the Host
It is time to configure NFS to set up sharing.
Open the file /etc/exports on the Host server.
$ sudo nano /etc/exports
Add the following lines at the bottom, one each, for each directory that you share.
/var/nfs/general    client_ip(rw,sync,no_subtree_check)
/home               client_ip(rw,sync,no_root_squash,no_subtree_check)
Let us go through all these options and what they mean.
- rw: This gives the client read and write access on the host directories.
- sync: This option is forcing NFS to write changes before replying. It means NFS will first finish writing to the host directory and then respond to the client. This ensures that the actual state of the host server is reflected but can slow down the speed of file operations.
- no_subtree_check: This option disables the Subtree check. Subtree checking is an operation where with each NFS request, the server must check that the accessed file is present and that it is in the exported tree. This operation causes problems when the files being accessed by a client are getting renamed. So it is best to leave it disabled in most cases. It has some mild security implications but can improve reliability.
- no_root_squash: By default, NFS translates all operations performed as root by the client to a non-privileged user on the server. This is done with the intent to improve security. This option disables that behavior for certain shares.
When you are finished, close the file by pressing Ctrl + X and entering Y when prompted.
Restart the NFS server to apply the changes.
$ sudo systemctl restart nfs-kernel-server
Step 4 – Configure Host Firewall
Best practice with NFS is to enable it specifically for each client’s IP address separately instead of allowing access to it from everywhere.
NFS uses port 2049. Enable access for NFS by the following command.
$ sudo ufw allow from client_ip to any port nfs
Check the status to verify.
$ sudo ufw status
Status: active

To                         Action      From
--                         ------      ----
OpenSSH                    ALLOW       Anywhere
2049                       ALLOW       167.100.34.78
OpenSSH (v6)               ALLOW       Anywhere (v6)
Step 5 – Create Mount Points on the Client
Now that our host is configured, it is time to set up the client.
Create two directories for mounts on the client.
$ sudo mkdir -p /nfs/general
$ sudo mkdir -p /nfs/home
Now that we have set everything at the host’s end, we can mount the shares using the Host’s IP address.
$ sudo mount host_ip:/var/nfs/general /nfs/general
$ sudo mount host_ip:/home /nfs/home
You can check if they have been mounted successfully with the following command.
$ df -h
Filesystem                      Size  Used Avail Use% Mounted on
udev                            448M     0  448M   0% /dev
tmpfs                            99M  664K   98M   1% /run
/dev/vda1                        25G  3.2G   21G  14% /
tmpfs                           491M     0  491M   0% /dev/shm
tmpfs                           5.0M     0  5.0M   0% /run/lock
tmpfs                           491M     0  491M   0% /sys/fs/cgroup
tmpfs                            99M     0   99M   0% /run/user/1000
123.175.112.87:/var/nfs/general  25G   18G  6.3G  74% /nfs/general
123.175.112.87:/home             25G   18G  6.3G  74% /nfs/home
You can see both the mounted shares at the bottom of the list. Since both of them were mounted from the same file system, they show the full disk usage and not the actual usage of the mounted directories.
To see how much actual space is being utilised under each mount, use the following command.
$ du -sh /nfs/general
36K     /nfs/general
Step 6 – Test NFS Sharing
Create a test file to the /var/nfs/general share.
$ sudo touch /nfs/general/general.test
Check its ownership.
$ ls -l /nfs/general/general.test
-rw-r--r-- 1 nobody nogroup 0 Aug  1 13:31 /nfs/general/general.test
This was mounted using the default NFS options and since we created the file using root from the client machine, the ownership on the host was transferred to nobody:nogroup. Here, the client user cannot perform administrative jobs on the host’s machine.
Create a test file to the /nfs/home` share.
$ sudo touch /nfs/home/home.test
Check its ownership.
$ ls -l /nfs/home/home.test
-rw-r--r-- 1 root root 0 Aug  1 13:32 /nfs/home/home.test
Here since we created the test file using root from the client machine, the ownership was retained on the host machine. This was because we used the no_root_squash flag which allowed root user on the client machine as a root user on the host machine as well.
Step 7 – Mount NFS Shares during Boot
These mounts won’t be retained once you boot the client machine. To make them permanent, we need to edit the /etc/fstab file.
Open the /etc/fstab file for editing.
$ sudo nano /etc/fstab
Paste the following lines at the bottom of the file. Each line corresponds to each directory we want to be mounted at boot time.
. . .
host_ip:/var/nfs/general    /nfs/general   nfs auto,nofail,noatime,nolock,intr,tcp,actimeo=1800 0 0
host_ip:/home               /nfs/home      nfs auto,nofail,noatime,nolock,intr,tcp,actimeo=1800 0 0
To learn about these options, check the man page of nfs.
$ man nfs
Save the file by pressing Ctrl + X and entering Y when prompted.
Reboot the server to check the mounts.
$ sudo reboot
Log in to the client-server and verify that the mounts are present.
$ df -h
Filesystem                      Size  Used Avail Use% Mounted on
udev                            448M     0  448M   0% /dev
tmpfs                            99M  664K   98M   1% /run
/dev/vda1                        25G  3.2G   21G  14% /
tmpfs                           491M     0  491M   0% /dev/shm
tmpfs                           5.0M     0  5.0M   0% /run/lock
tmpfs                           491M     0  491M   0% /sys/fs/cgroup
tmpfs                            99M     0   99M   0% /run/user/1000
123.175.112.87:/var/nfs/general  25G   18G  6.3G  74% /nfs/general
123.175.112.87:/home             25G   18G  6.3G  74% /nfs/home
Step 8 – Unmount NFS Shares
Once you have no need for NFS mounts, you can unmount them by using the following command.
$ sudo umount /nfs/home
$ sudo umount /nfs/general
A common mistake is to use unmount instead of umount which is the actual command.
Verify that they have been unmounted properly.
$ df -h
Filesystem                      Size  Used Avail Use% Mounted on
udev                            448M     0  448M   0% /dev
tmpfs                            99M  664K   98M   1% /run
/dev/vda1                        25G  3.2G   21G  14% /
tmpfs                           491M     0  491M   0% /dev/shm
tmpfs                           5.0M     0  5.0M   0% /run/lock
tmpfs                           491M     0  491M   0% /sys/fs/cgroup
tmpfs                            99M     0   99M   0% /run/user/1000
You will also need to delete their entries from the /etc/fstab file so that they don’t get remounted on boot. You can also simply uncomment their entries by placing a # character in front in case you have a need to reuse the mounts again.
Conclusion
This concludes our tutorial where we learned how to create NFS mounts on a host machine and how to access them from different client machines. If you have any queries, shoot them in the comments below.
Add Comment