


OpenShift is a free, open-source, and cloud development Platform as a Service (PaaS) developed by Red Hat that allows the developers to develop and deploy their applications on a cloud infrastructure. It is a community distribution of Kubernetes and enables faster development and release cycles for applications. It comes with a simple and easy to use web interface that allows you to monitor the container resources, container health, the nodes the containers reside on, IP addresses of the nodes, etc.
In this tutorial, we will explain how to install OpenShift Origin on Ubuntu 20.04 server.
Prerequisites
- A server running Ubuntu 20.04.
- A root password is configured on your server.
Install Docker CE
First, you will need to install the Docker CE in your system to run all OKD services in docker containers. By default, the latest version of Docker CE is available in the Ubuntu 20.04 default repository. You can install it by just running the following command:
apt-get install docker.io -yOnce the Docker is installed, start the Docker service and enable it to start at boot with the following command:
systemctl start docker
systemctl enable docker
You can also verify the status of the Docker service with the following command:
systemctl status dockerYou should see the following output:
? docker.service - Docker Application Container Engine
     Loaded: loaded (/lib/systemd/system/docker.service; disabled; vendor preset: enabled)
     Active: active (running) since Fri 2020-05-29 12:25:47 UTC; 2s ago
TriggeredBy: ? docker.socket
       Docs: https://docs.docker.com
   Main PID: 48433 (dockerd)
      Tasks: 10
     Memory: 36.5M
     CGroup: /system.slice/docker.service
             ??48433 /usr/bin/dockerd -H fd:// --containerd=/run/containerd/containerd.sock

May 29 12:25:47 ubuntu2004 dockerd[48433]: time="2020-05-29T12:25:47.215078550Z" level=warning msg="Your kernel does not support swap memory l>
May 29 12:25:47 ubuntu2004 dockerd[48433]: time="2020-05-29T12:25:47.215139097Z" level=warning msg="Your kernel does not support cgroup blkio >
May 29 12:25:47 ubuntu2004 dockerd[48433]: time="2020-05-29T12:25:47.215169580Z" level=warning msg="Your kernel does not support cgroup blkio >
May 29 12:25:47 ubuntu2004 dockerd[48433]: time="2020-05-29T12:25:47.215721944Z" level=info msg="Loading containers: start."
May 29 12:25:47 ubuntu2004 dockerd[48433]: time="2020-05-29T12:25:47.418058547Z" level=info msg="Default bridge (docker0) is assigned with an >
May 29 12:25:47 ubuntu2004 dockerd[48433]: time="2020-05-29T12:25:47.515158041Z" level=info msg="Loading containers: done."
May 29 12:25:47 ubuntu2004 dockerd[48433]: time="2020-05-29T12:25:47.545778830Z" level=info msg="Docker daemon" commit=afacb8b7f0 graphdriver(>
May 29 12:25:47 ubuntu2004 dockerd[48433]: time="2020-05-29T12:25:47.546068892Z" level=info msg="Daemon has completed initialization"
May 29 12:25:47 ubuntu2004 dockerd[48433]: time="2020-05-29T12:25:47.599029431Z" level=info msg="API listen on /run/docker.sock"
May 29 12:25:47 ubuntu2004 systemd[1]: Started Docker Application Container Engine.
At this point, Docker is installed and running. You can now proceed to the next step.
Download OpenShift Origin
At the time of writing this tutorial, the latest version of OpenShift Origin is v3.11.0. You can download it from the Git Hub repository using the following command:
wget https://github.com/openshift/origin/releases/download/v3.11.0/openshift-origin-client-tools-v3.11.0-0cbc58b-linux-64bit.tar.gzOnce the download is completed, extract the downloaded file with the following command:
tar -xvzf openshift-origin-client-tools-v3.11.0-0cbc58b-linux-64bit.tar.gzNext, change the directory to the extracted directory and copy kubectl and oc binaries to the /usr/local/bin directory.
cd openshift-origin-client-tools-v3.11.0-0cbc58b-linux-64bit
cp oc kubectl /usr/local/bin/
Next, verify the installation of OpenShift client utility using the following command:
oc versionYou should see the following output:
oc v3.11.0+0cbc58b
kubernetes v1.11.0+d4cacc0
features: Basic-Auth GSSAPI Kerberos SPNEGO
Next, you will need to create a new daemon.json file and allow the use of the Insecure Docker registry.
nano /etc/docker/daemon.jsonAdd the following line:
 {
     "insecure-registries" : [ "172.30.0.0/16" ]
 }
Save and close the file then restart Docker service to implement the changes.
systemctl restart dockerStart OpenShif Origin Cluster
Now, start the OpenShift Origin cluster by specifying your system’s IP:
oc cluster up --public-hostname=your-server-ipOnce the server started successfully, you should get the following output:
Login to server ...
Creating initial project "myproject" ...
Server Information ...
OpenShift server started.

The server is accessible via web console at:
    https://your-server-ip:8443

You are logged in as:
    User:     developer
    Password:

To login as administrator:
    oc login -u system:admin
Now, login to your cluster as administrator user with the following command:
oc login -u system:adminOnce login, you should get the following output:
Logged into "https://your-server-ip:8443" as "system:admin" using existing credentials.

You have access to the following projects and can switch between them with 'oc project ':

    default
    kube-dns
    kube-proxy
    kube-public
    kube-system
  * myproject
    openshift
    openshift-apiserver
    openshift-controller-manager
    openshift-core-operators
    openshift-infra
    openshift-node
    openshift-service-cert-signer
    openshift-web-console

Using project "myproject".
Next, change to the default project with the following command:
oc project defaultOutput:
Now using project "default" on server "https://your-server-ip:8443".
Now, verify the current status of your project with the following command:
oc statusYou should get the following output:
In project default on server https://your-server-ip:8443

svc/docker-registry - 172.30.1.1:5000
  dc/docker-registry deploys docker.io/openshift/origin-docker-registry:v3.11
    deployment #1 deployed 2 minutes ago - 1 pod

svc/kubernetes - 172.30.0.1:443 -> 8443

svc/router - 172.30.94.157 ports 80, 443, 1936
  dc/router deploys docker.io/openshift/origin-haproxy-router:v3.11
    deployment #1 deployed 2 minutes ago - 1 pod

View details with 'oc describe /' or list everything with 'oc get all'.
Create Project on OpenShift
Now, log in to OpenShift with developer user with the following command:
oc loginYou will be asked to provide a username and password as shown below:
Authentication required for https://your-server-ip:8443 (openshift)
Username: developer
Password:
Provide username as a developer and the password as a developer, and hit Enter. You should see the following output:
Login successful.

You have one project on this server: "myproject"

Using project "myproject".
To create a new project, run the following command:
oc new-project dev --display-name="Project - Dev" --description="My Project"You should see the following output:
Now using project "dev" on server "https://your-server-ip:8443".

You can add applications to this project with the 'new-app' command. For example, try:

    oc new-app centos/ruby-25-centos7~https://github.com/sclorg/ruby-ex.git

to build a new example application in Ruby.
Access the OpenShift Web Console
Now, open your web browser and type the URL https://your-server-ip:8443/console. You should see the OpenShift login page:

Provide your developer username and password, and click on the Log In button. You should see the following page:
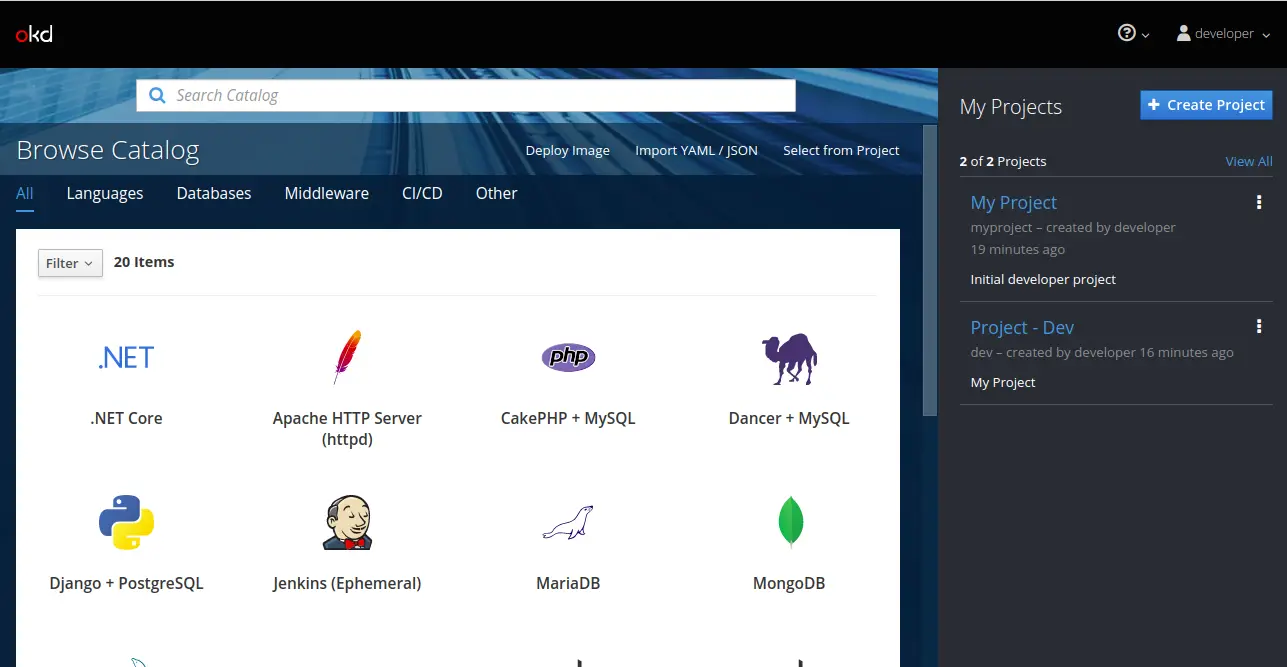
Click on the Create Project button. You should see the following page:
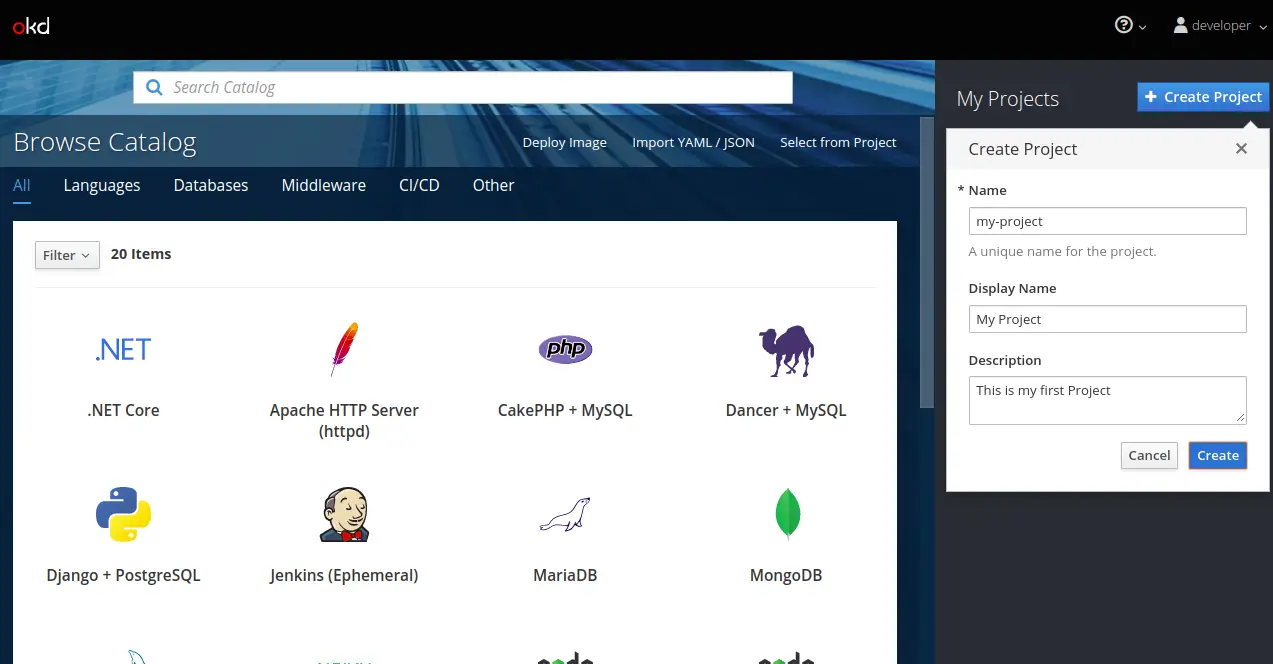
Provide all the required information and click on the Create button to create a new project.
Deploy Application on OpenShift Origin
First, login to the OpenShift with developer user by running the following command:
oc loginLogin with developer user as shown below:
Authentication required for https://your-server-ip:8443 (openshift)
Username: developer
Password:
Login successful.

You have access to the following projects and can switch between them with 'oc project ':

  * dev
    my-project
    myproject

Using project "dev".
Once login, switch the project to the my-project which you have created through OpenShift web console:
oc project my-projectOutput:
Now using project "my-project" on server "https://your-server-ip:8443".
Next, verify the status of your current project with the following command:
oc statusOutput:
In project My Project (my-project) on server https://your-server-ip:8443

You have no services, deployment configs, or build configs.
Run 'oc new-app' to create an application.
Next, tag an application image from Docker Hub registry with the following command:
oc tag --source=docker openshift/deployment-example:v2 deployment-example:latestOutput:
Tag deployment-example:latest set to openshift/deployment-example:v2.
Next, deploy an application to the OpenShift with the following command:
oc new-app deployment-exampleYou should see the following output:
--> Found image da61bb2 (4 years old) in image stream "my-project/deployment-example" under tag "latest" for "deployment-example"

    * This image will be deployed in deployment config "deployment-example"
    * Port 8080/tcp will be load balanced by service "deployment-example"
      * Other containers can access this service through the hostname "deployment-example"
    * WARNING: Image "my-project/deployment-example:latest" runs as the 'root' user which may not be permitted by your cluster administrator

--> Creating resources ...
    deploymentconfig.apps.openshift.io "deployment-example" created
    service "deployment-example" created
--> Success
    Application is not exposed. You can expose services to the outside world by executing one or more of the commands below:
     'oc expose svc/deployment-example'
    Run 'oc status' to view your app.
Now, verify the application deployment status with the following command:
oc statusYou should see the following output:
In project My Project (my-project) on server https://your-server-ip:8443

svc/deployment-example - 172.30.87.146:8080
  dc/deployment-example deploys istag/deployment-example:latest
    deployment #1 deployed 36 seconds ago - 1 pod


2 infos identified, use 'oc status --suggest' to see details.
To get information about your service, run the following command:
oc get svcOutput:
NAME                 TYPE        CLUSTER-IP      EXTERNAL-IP   PORT(S)    AGE
deployment-example   ClusterIP   172.30.87.146           8080/TCP   1m
To get detailed information, run the following command:
oc describe svc deployment-exampleOutput:
Name:              deployment-example
Namespace:         my-project
Labels:            app=deployment-example
Annotations:       openshift.io/generated-by=OpenShiftNewApp
Selector:          app=deployment-example,deploymentconfig=deployment-example
Type:              ClusterIP
IP:                172.30.87.146
Port:              8080-tcp  8080/TCP
TargetPort:        8080/TCP
Endpoints:         172.17.0.10:8080
Session Affinity:  None
Events:
You can also verify the Pods status using the following command:
oc get podsOutput:
NAME                         READY     STATUS    RESTARTS   AGE
deployment-example-1-b9prf   1/1       Running   0          2m
Now, expose the application for external access using the following command:
oc expose service/deployment-exampleOutput:
route.route.openshift.io/deployment-example exposed
To display the routes information, run the following command:
oc get routesYou should get the following output:
NAME                 HOST/PORT                                           PATH      SERVICES             PORT       TERMINATION   WILDCARD
deployment-example   deployment-example-my-project.your-server-ip.nip.io             deployment-example   8080-tcp                 None
Verify External Access
Now, your application is ready for external access. Open your web browser and type the above URL http://deployment-example-my-project.your-server-ip.nip.io. You should see your application on the following page:

If you want to delete your application, run the following command:
oc delete all -l app=deployment-exampleYou should see the following output:
pod "deployment-example-1-b9prf" deleted
replicationcontroller "deployment-example-1" deleted
service "deployment-example" deleted
deploymentconfig.apps.openshift.io "deployment-example" deleted
route.route.openshift.io "deployment-example" deleted
Conclusion
In this article, we have successfully installed and configured a single-node OpenShift Origin on Ubuntu 20.04. You can now start developing your first application in OpenShift environment. feel free to ask me if you have any questions.


Add Comment