


AWS or Amazon Web Services are a bunch of Cloud services that are provided by Amazon.
There a bunch of options to choose from for Deep learning, I prefer AWS the most because of the huge number of options that it offers.
- First you will need to set up your account by hopping over to the aws website Here
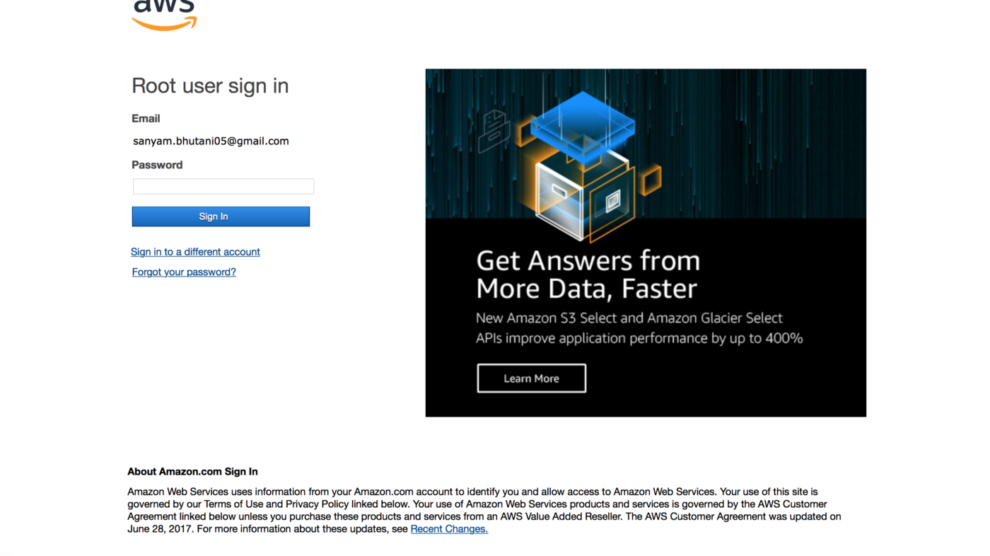
- After setting all up, login Here

- Next, we need to request for increase in the service limits, since by default all of the access to compute power is set to 0 and we need to request Amazon for access.

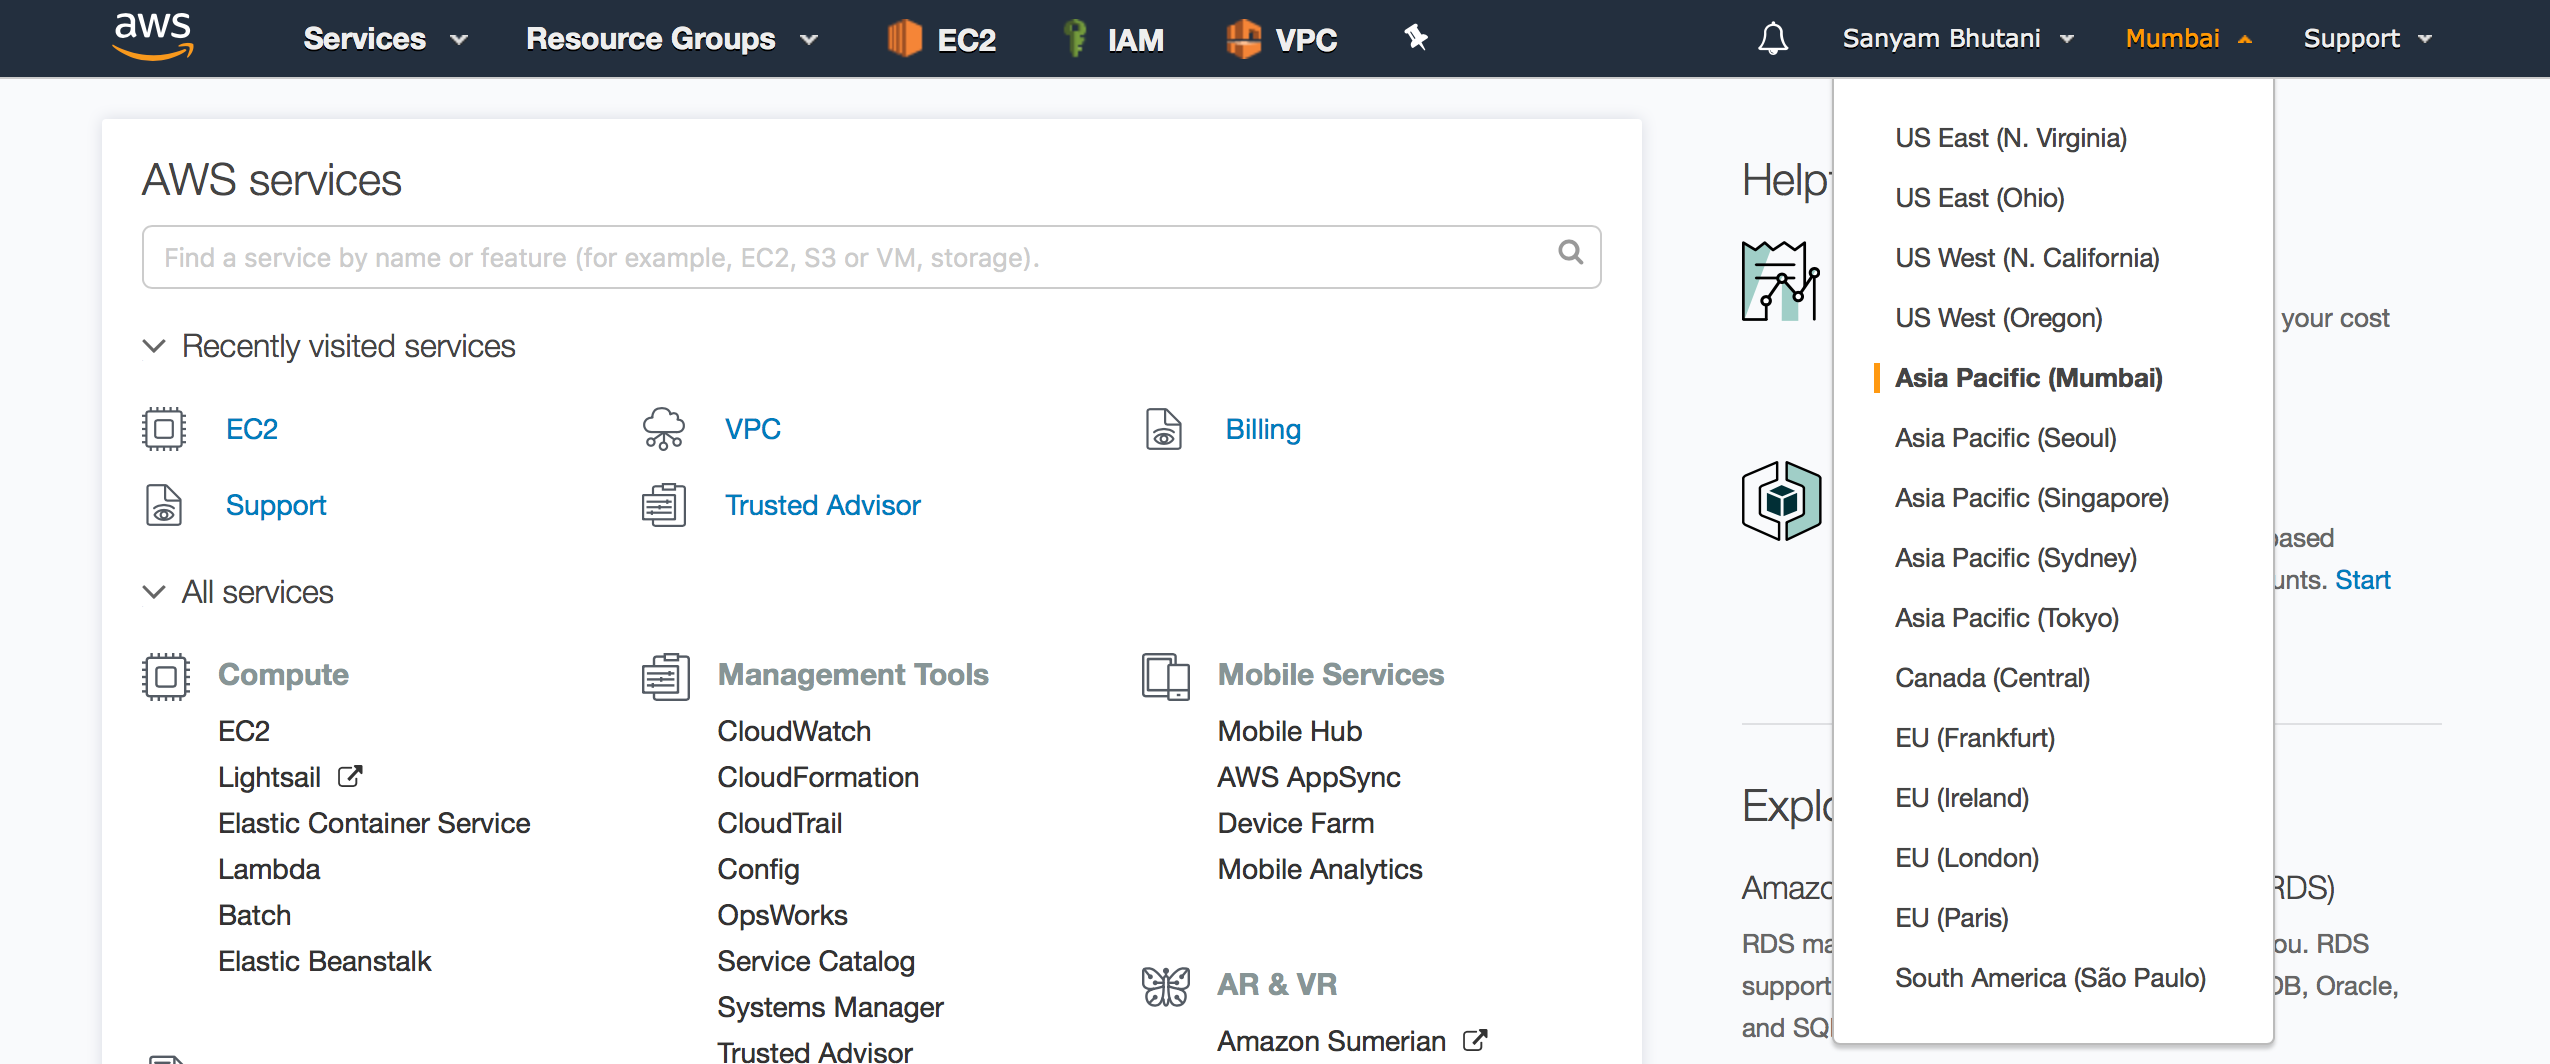
- Click on Support from the Top Right Corner
- Select Support Centre in the Drop Down Menu
- Select Create a New Case from the Page
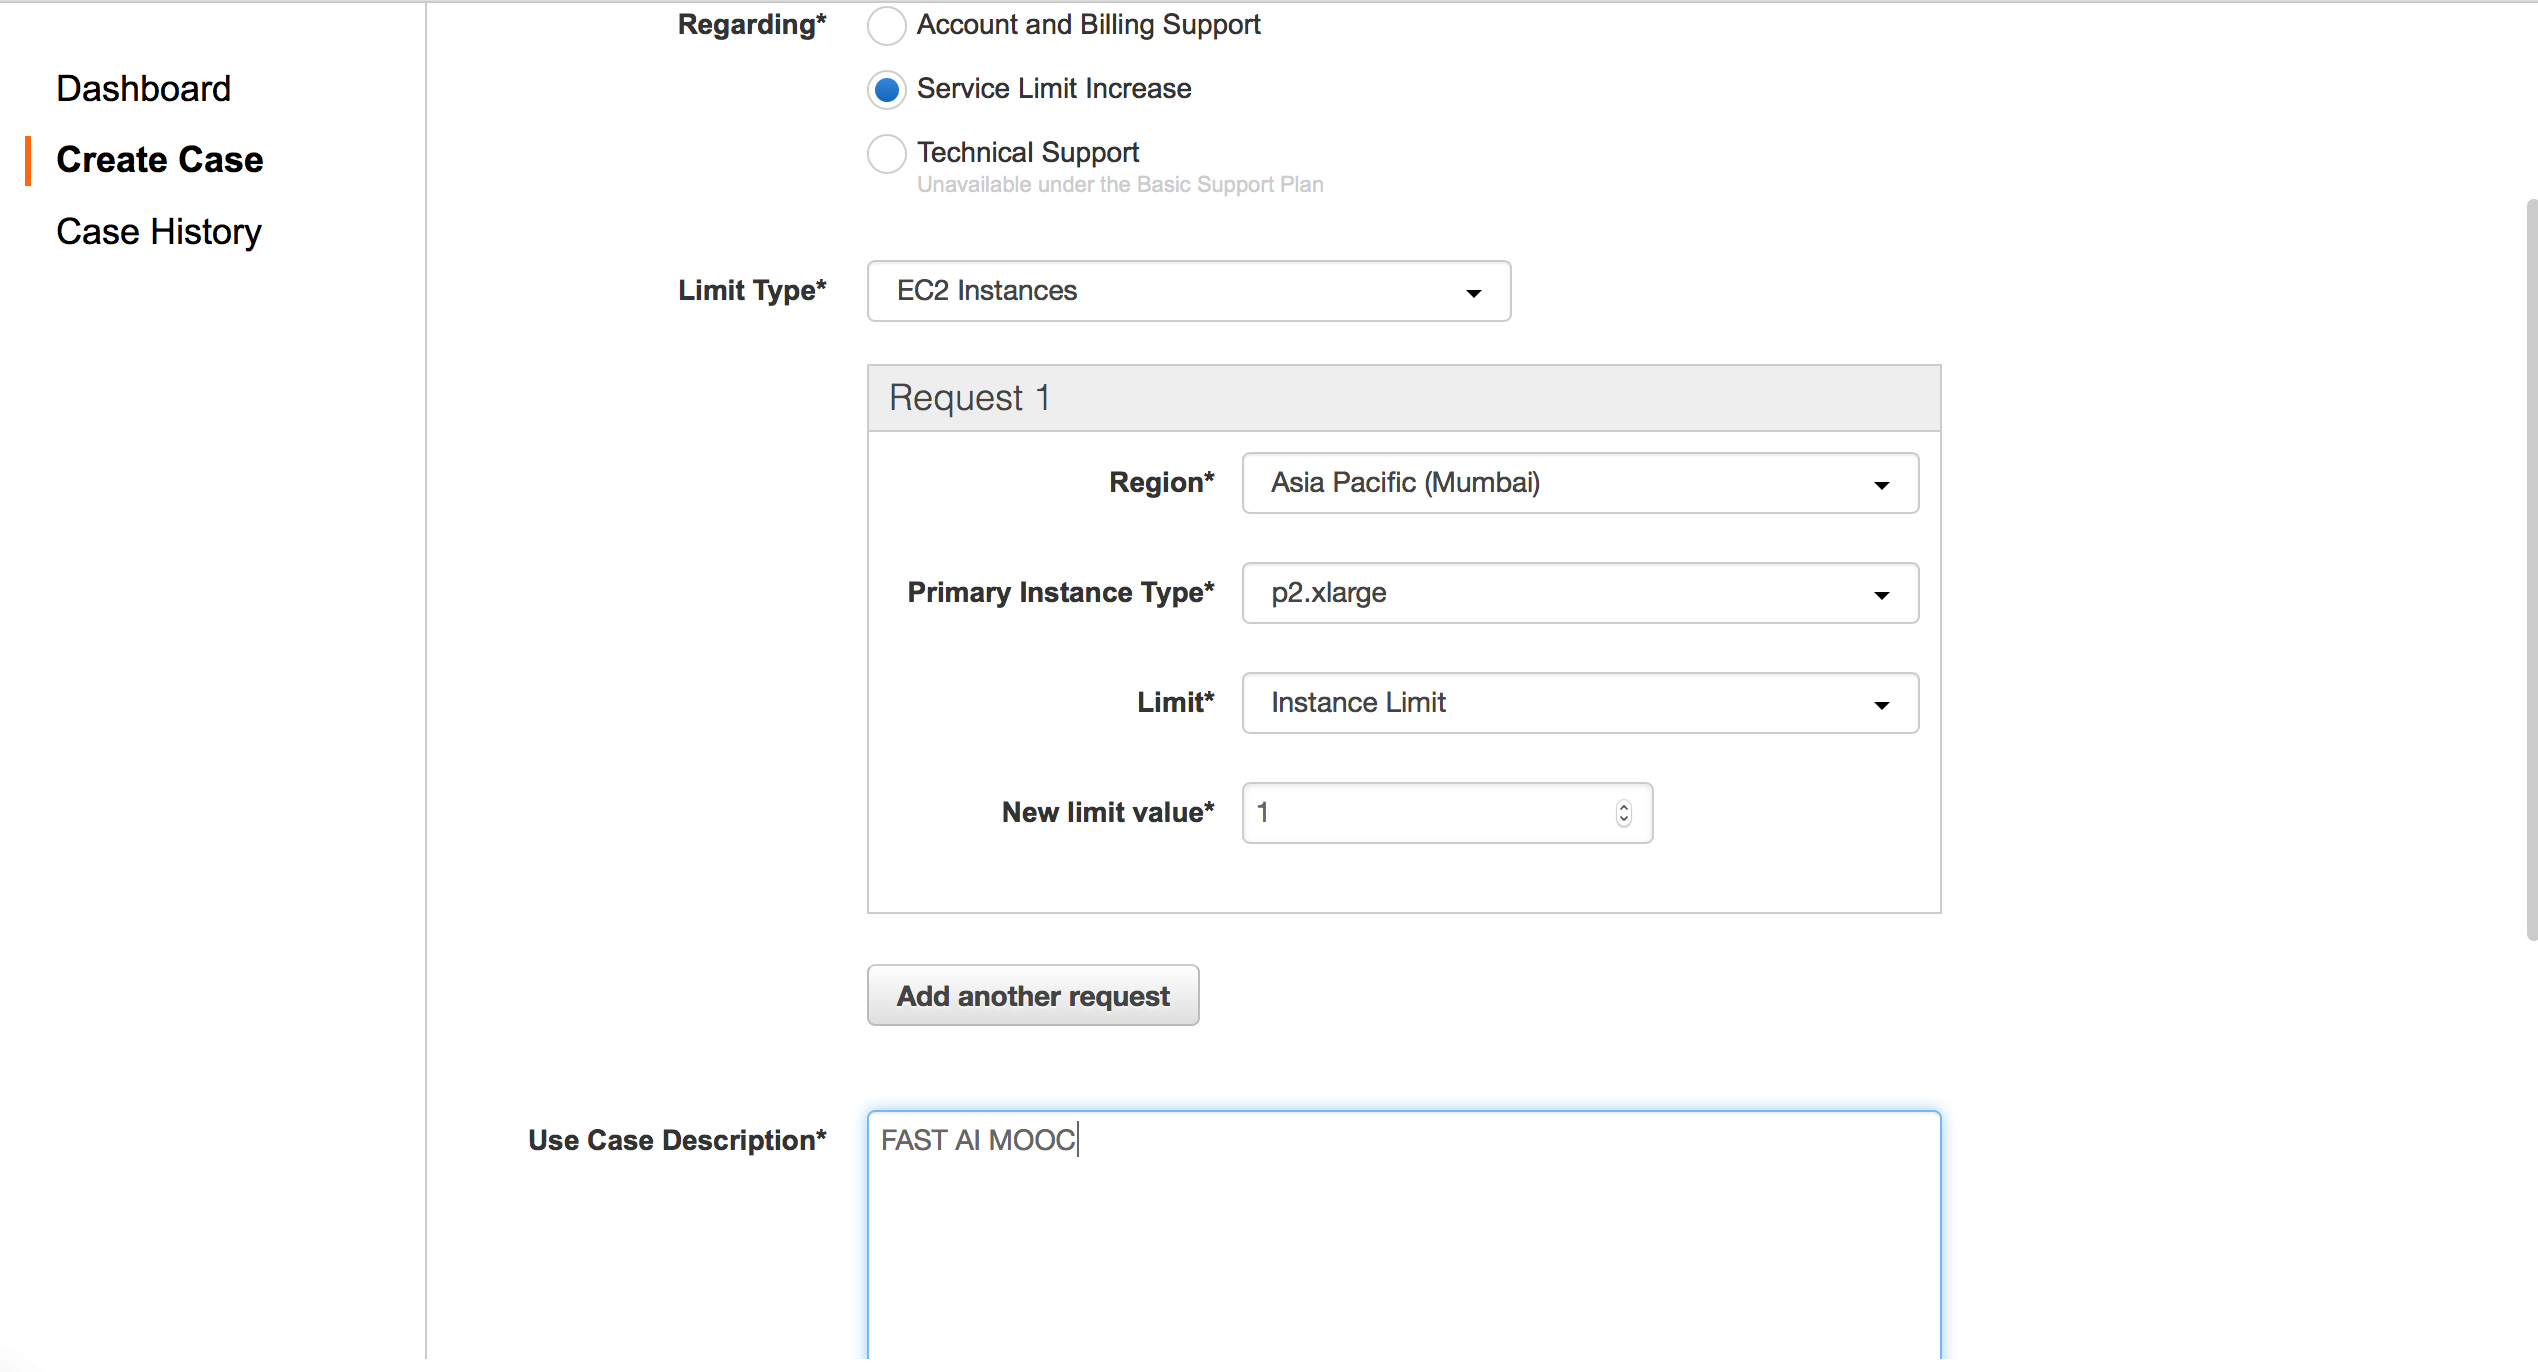
- Select Service limit increase
- Limit Type: EC2
- Region: Select the region closest to you. AWS hosts its server in varying places, for the lowest lag, select one that is closest to you.
- Select Instance type as p2.xlarge
- Select 1 or more as the limit
- Description: In my case, I’ll be following FAST AI MOOC.
Now you might have to wait for a while untill you hear from Amazon, once your limit increase has been approved
- From the Side menu (left side), select Instances under Instances
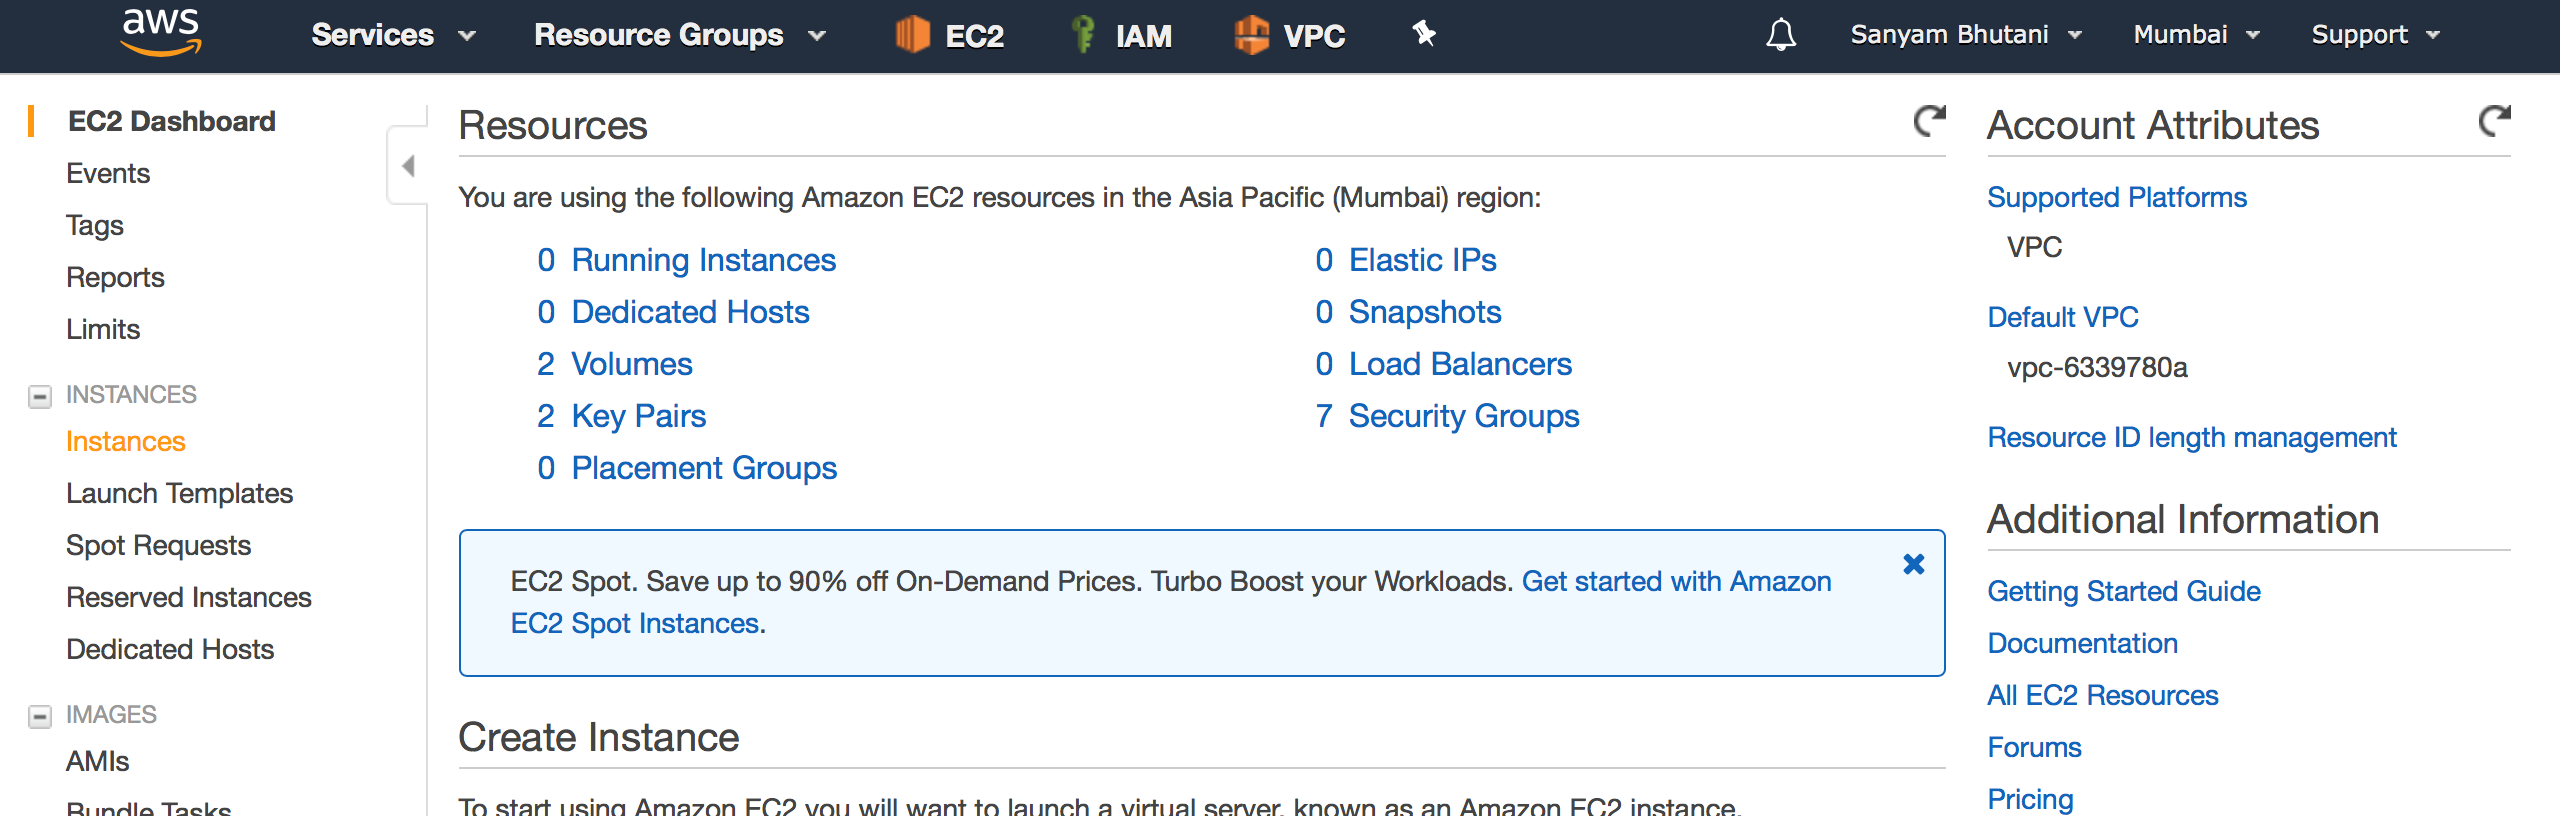
- Click on Launch instance
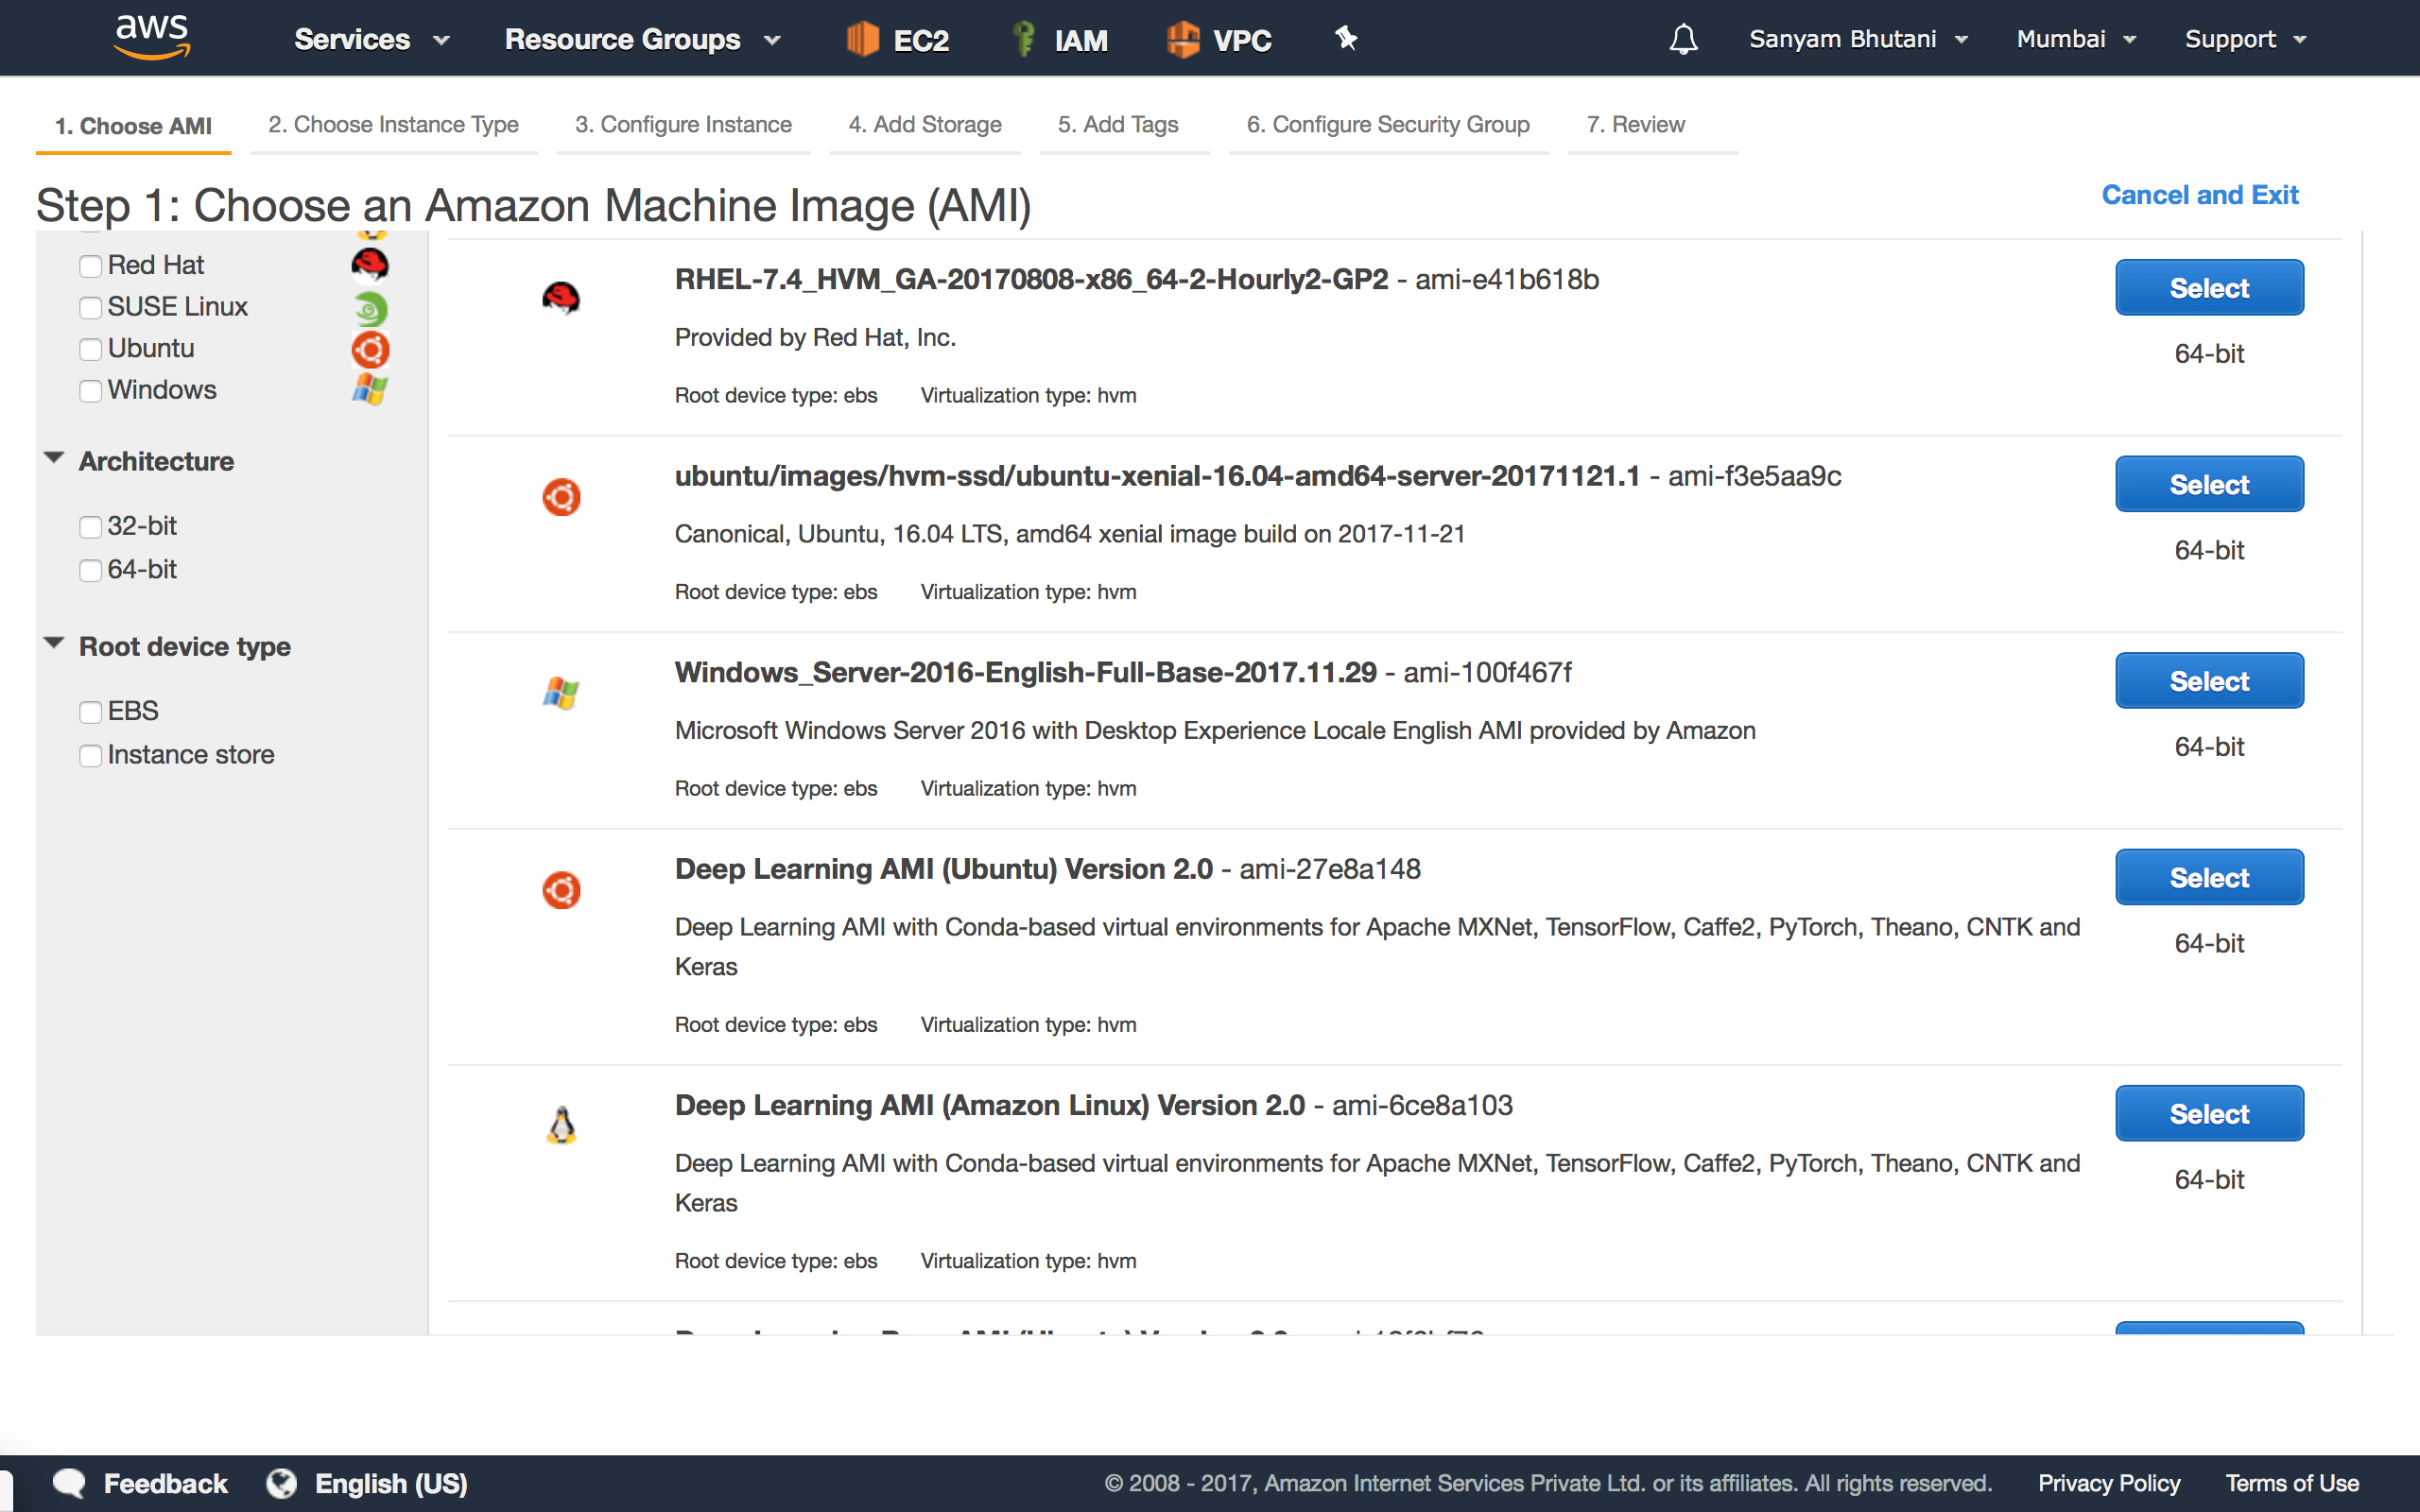
- Next up, we have to select an AMI- Select one from the Community AMI: Anything that has the libraries needed should work fine for you.
AMI is an ‘Image’ of the OS with everything installed. Consider a snapshot of the states of OS after installing all the software. It can save you the pain of setting it all up, you can dive right into working.
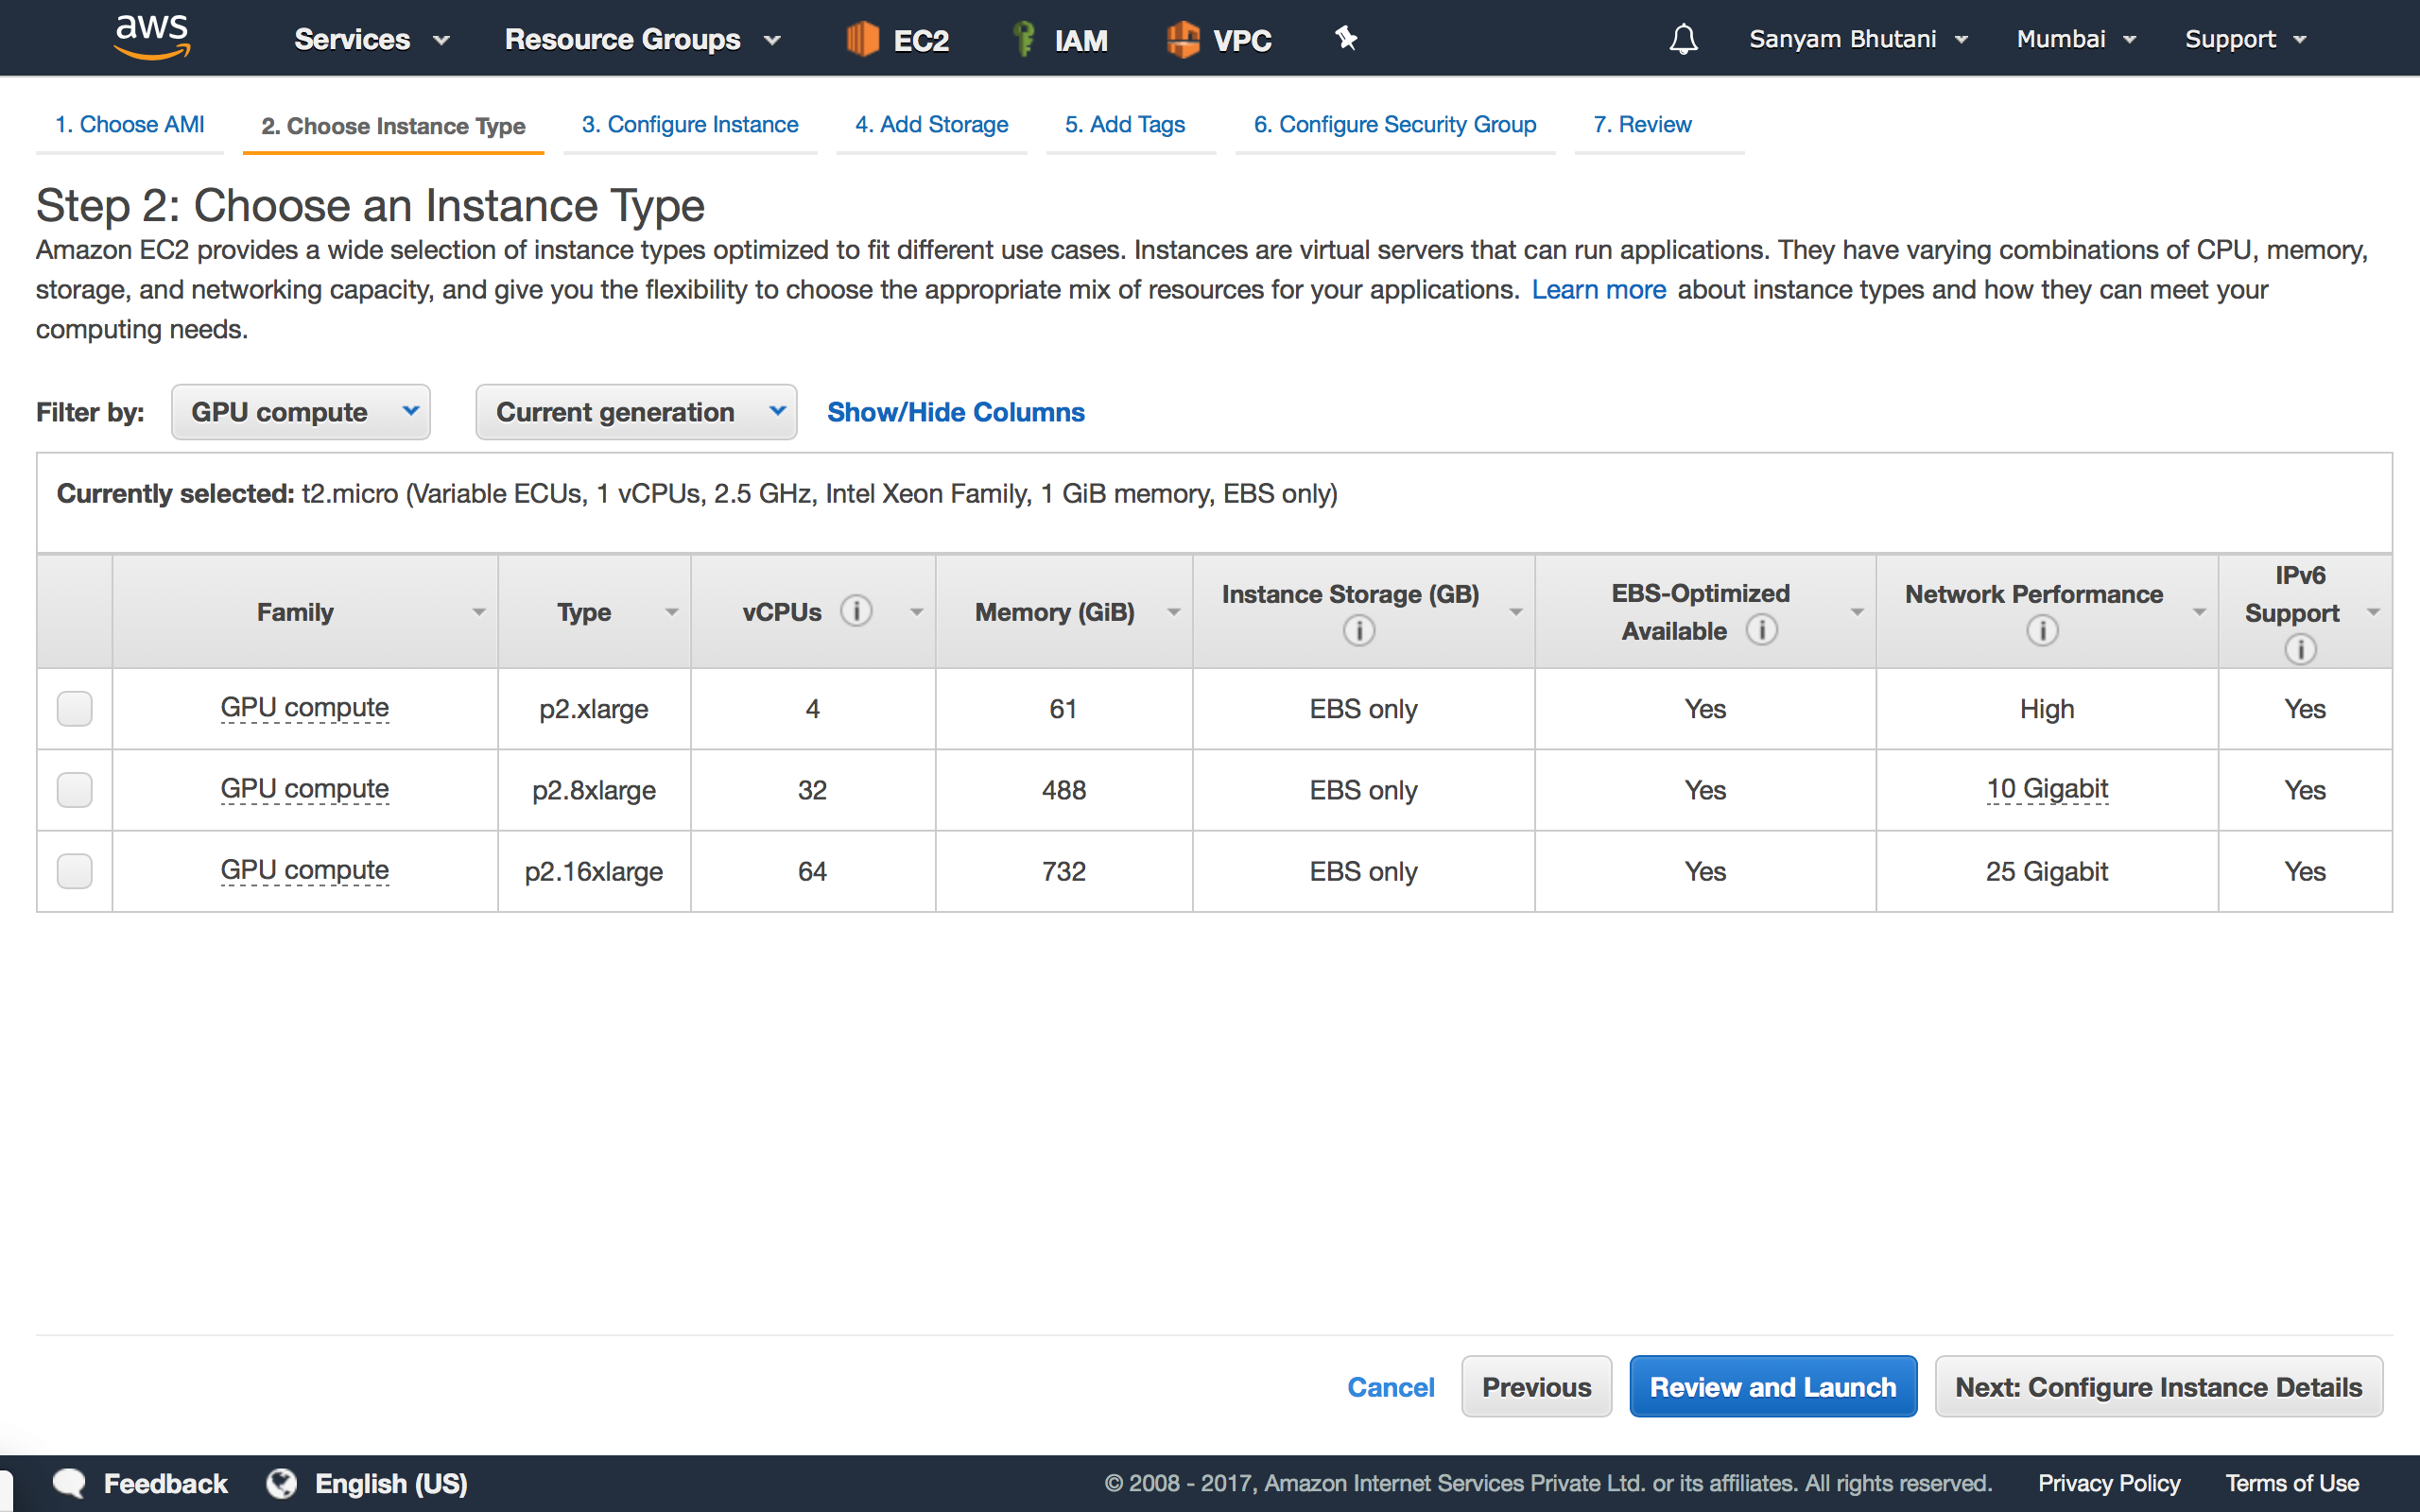
- Next Select your Instance type, Select GPU Compute
- Tick P2.xlarge
- Proceed by clicking on Review and Launch
- Next we need to create a Key-Pair to login to the Instance
- I’m using a pre-created .pem. You may create a new one by selecting that from the Drop Down menu.
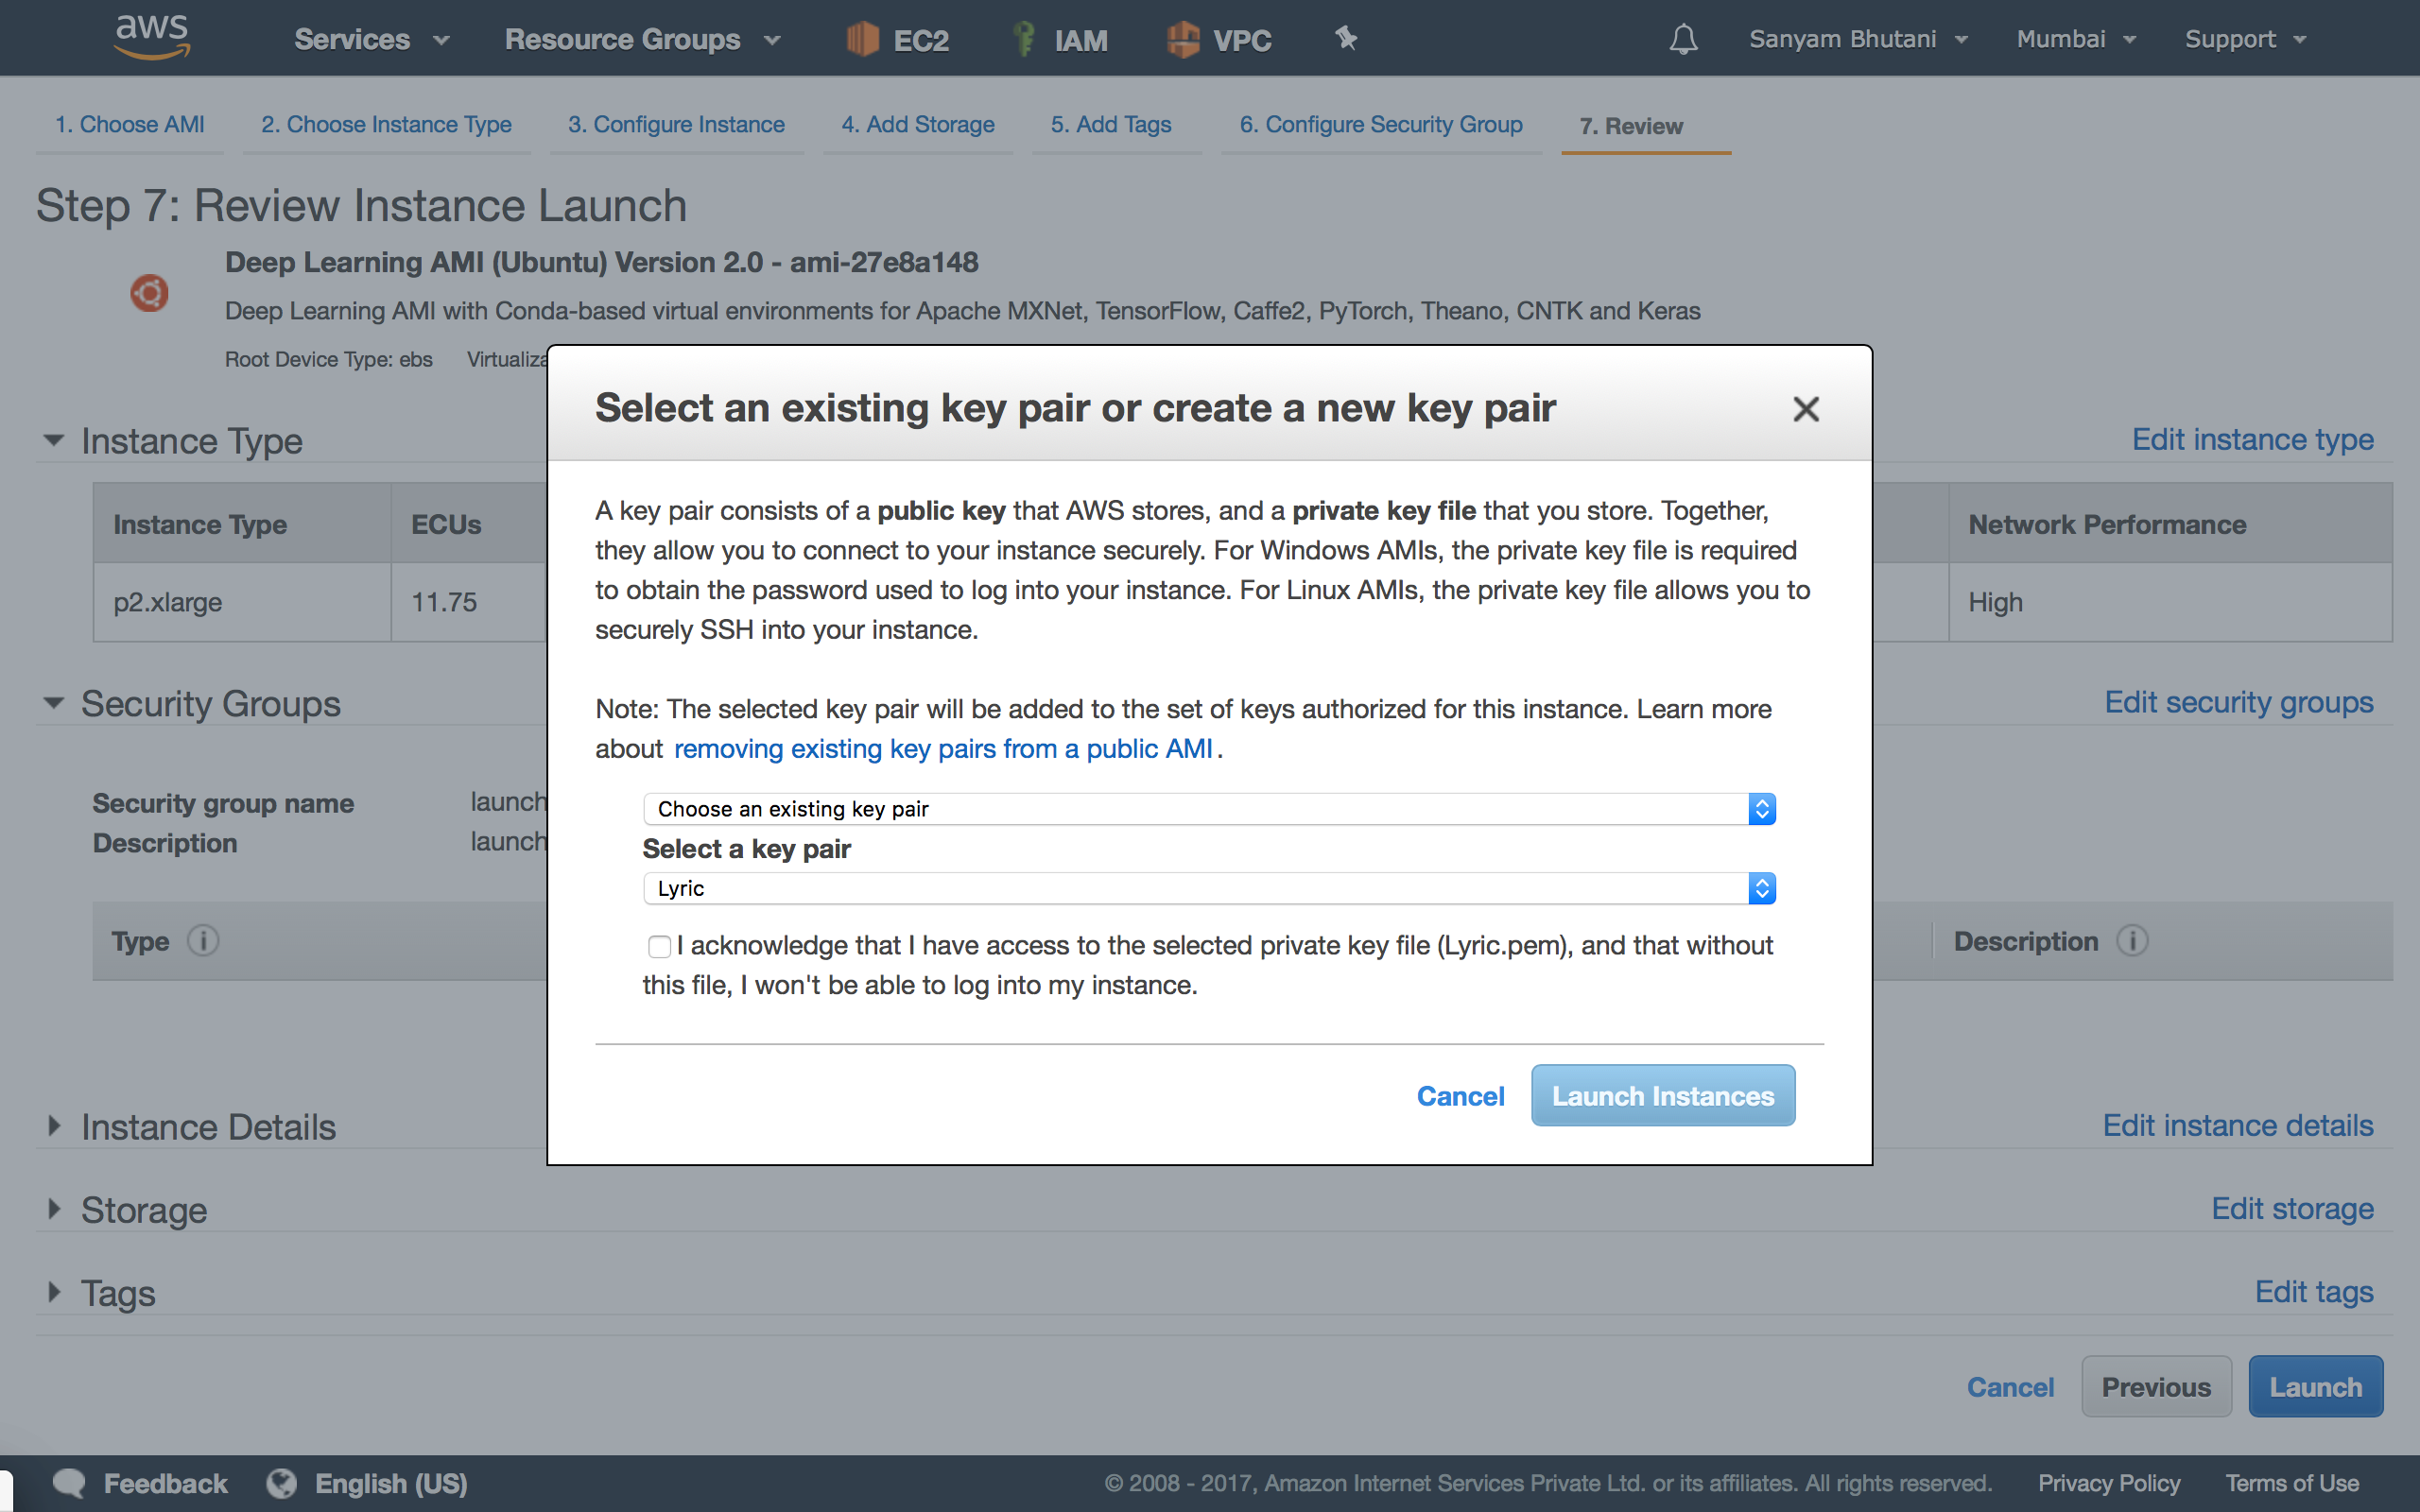
Key Pair: We use Secure Shell Login or SSH to login to our instances, the security is ensured by A Key-Pair which gives you access to the instance
- Download the Key pair ( A xyz.pem) file
- SAVE THIS FILE, DELETING IT WILL MAKE YOU LOSE ACCESS TO THE INSTANCE.
- Next you will be redirected to the EC2 Dashboard
- First, you need to enable permissions for the .pem file
- Open a terminal
- Cd to the directory where the .pem file is
- chmod 400 xyz.pem
- This will set the permissions to use the file
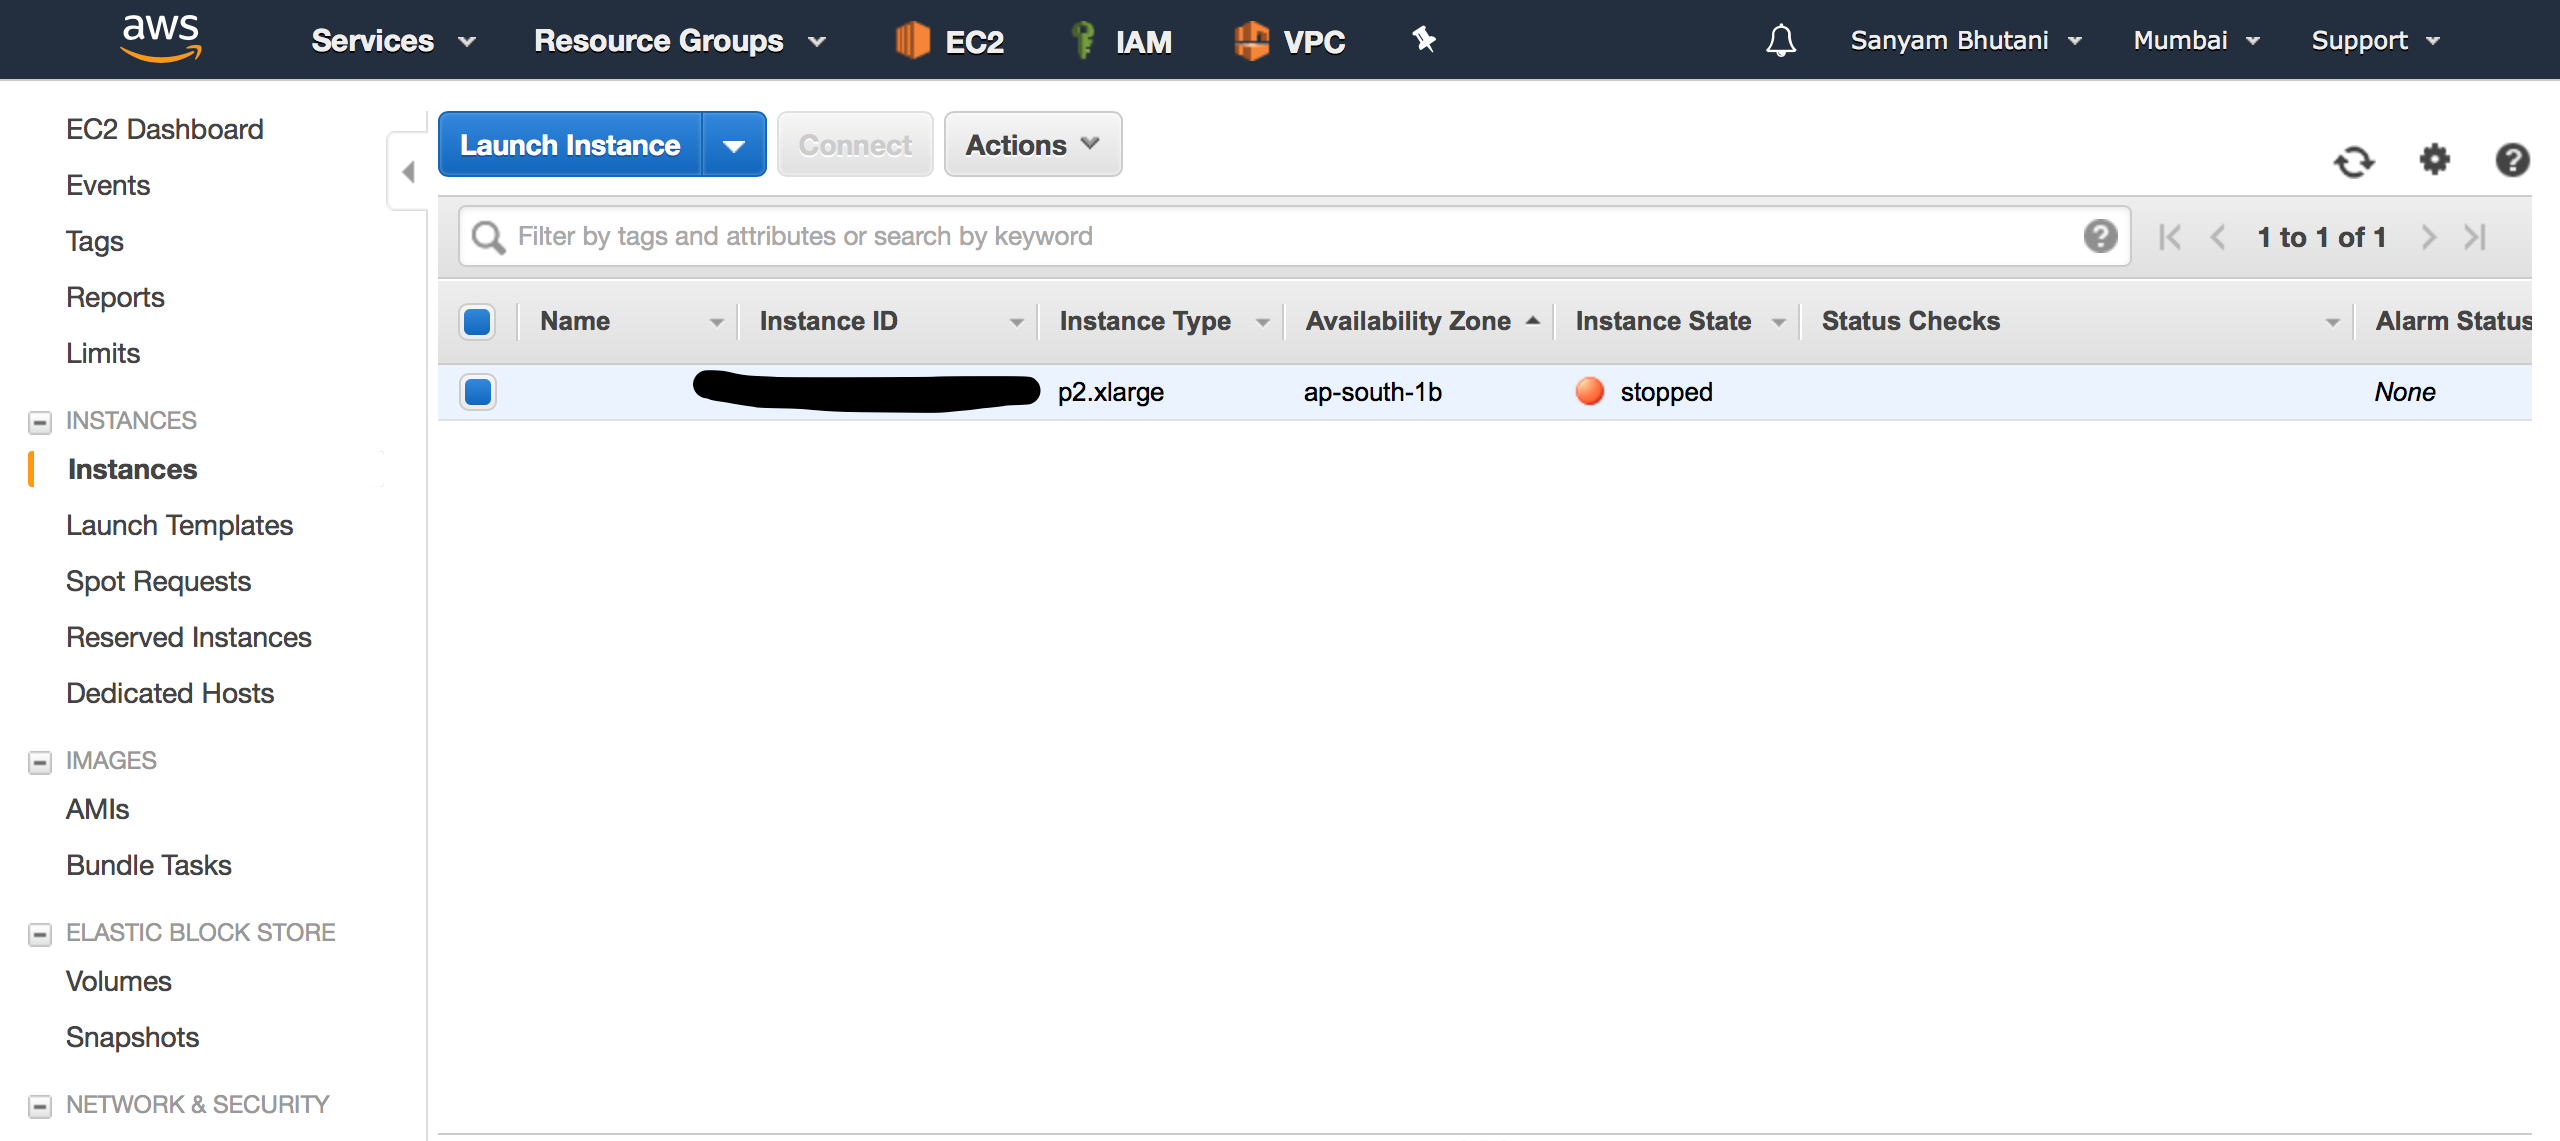
- Next, click on the Instance and click Connect from the Menu
- Just copy the “ssh -i xyz.pem….” command and run it inside your terminal
- Type yes to save the Auth files
- Voila! You’re in.
- Remember to Stop the Instance once you’re done, AWS bills you for the number of hours the instance has been running.
- A little charges might still be incurred on monthly basis-based on the Usage of space by the instance, Terminate the Instance to completely remove it, if you don’t need to work with it.


Add Comment