


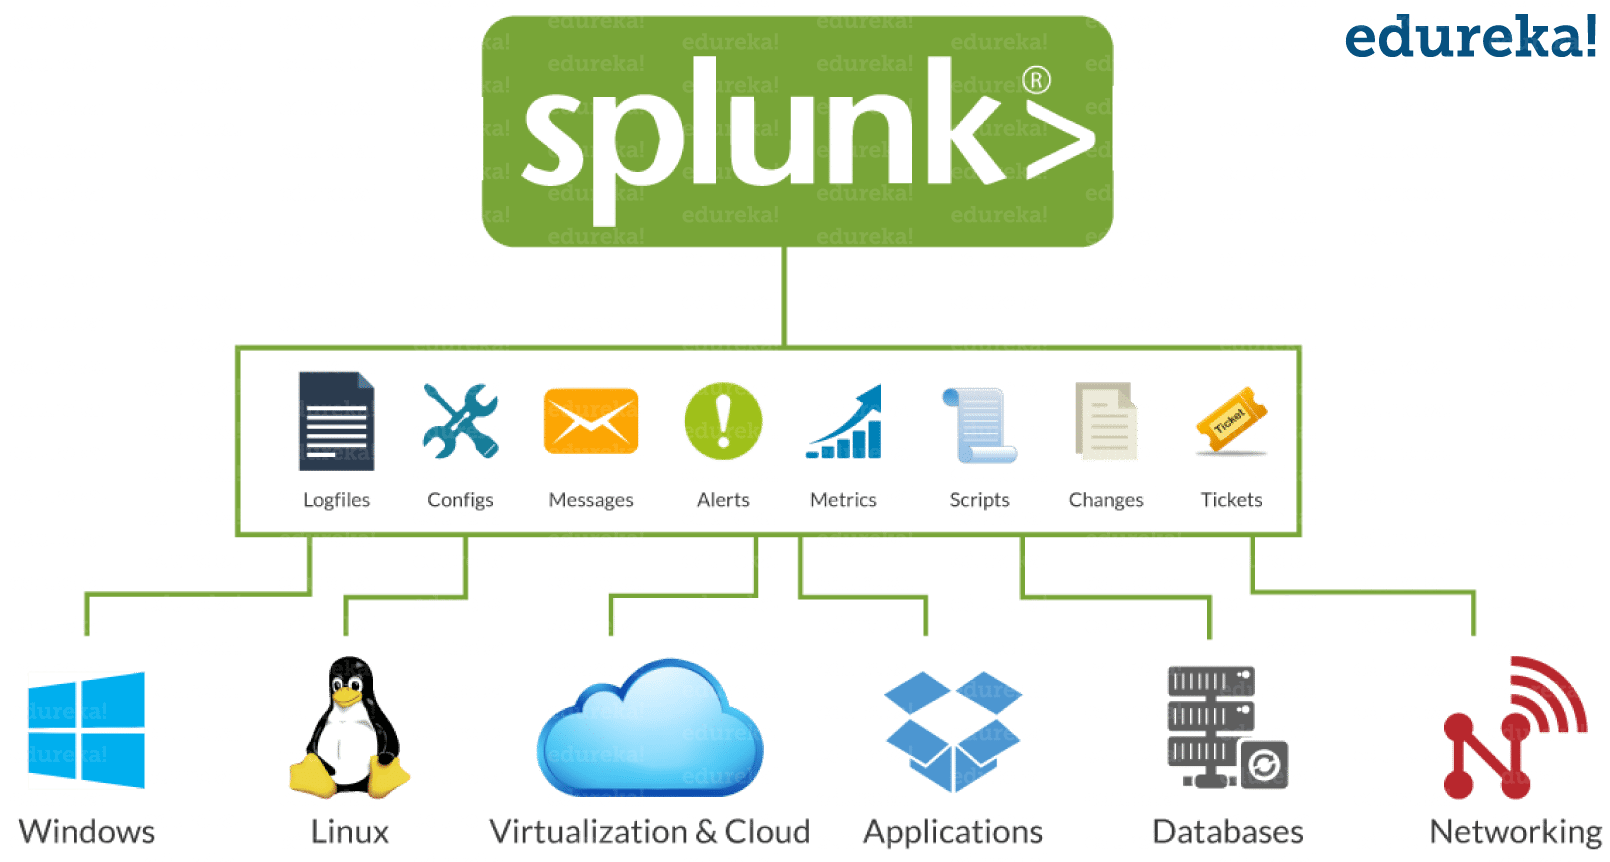
Splunk là một công cụ phân tích dữ liệu hàng đầu, mang đến sức mạnh biến dữ liệu vô hình thành thông tin giá trị cho các doanh nghiệp và tổ chức. Với Splunk, việc thu thập, xử lý và hiển thị dữ liệu từ nhiều nguồn trở nên đơn giản và hiệu quả.
Từ các logs hệ thống, ứng dụng, đến dữ liệu từ các thiết bị mạng và máy chủ, Nó hỗ trợ bạn khám phá và phân tích dữ liệu một cách chính xác và chi tiết. Bằng việc tạo ra các báo cáo, biểu đồ và dashboard trực quan, bạn có thể dễ dàng theo dõi và hiểu rõ hoạt động của tổ chức.
Không chỉ giúp bạn tối ưu hóa hiệu suất và năng suất, Splunk còn hỗ trợ phát hiện sớm các sự cố và vấn đề bất thường, từ đó giúp bạn xử lý chúng kịp thời trước khi gây ảnh hưởng lớn đến hoạt động kinh doanh.
Với Splunk, bạn không chỉ làm sáng tỏ dữ liệu mà còn đào sâu vào hạt giống thông tin tiềm ẩn, giúp đưa ra những quyết định chiến lược và nâng cao độ cạnh tranh. Sứ mệnh của nó là đồng hành cùng bạn trên con đường thành công, biến dữ liệu thành sức mạnh, và chuyển đổi cách doanh nghiệp vận hành trong thời đại số hóa.
Yêu cầu:
– Hệ điều hành Linux-x86_64: Centos, Ubuntu , …
– Ram: >= 8Gb
– CPU: >=4 Core
Tải Splunk version 8
Link download source cài đặt:
splunk-8.0.4-767223ac207f-Linux-x86_64_homepage_splunk.tgz
Link download source active splunk:
Cài đặt Splunk
Trong bài viết này, tôi sử dụng Centos 7, bạn có thể dùng các hệ hành linux khác.
[root@centos-7 splunk-8.0.4]# cat /etc/*release
CentOS Linux release 7.9.2009 (Core)
NAME="CentOS Linux"
VERSION="7 (Core)"
ID="centos"
ID_LIKE="rhel fedora"
VERSION_ID="7"
PRETTY_NAME="CentOS Linux 7 (Core)"
ANSI_COLOR="0;31"
CPE_NAME="cpe:/o:centos:centos:7"
HOME_URL="https://www.centos.org/"
BUG_REPORT_URL="https://bugs.centos.org
CENTOS_MANTISBT_PROJECT="CentOS-7"
CENTOS_MANTISBT_PROJECT_VERSION="7"
REDHAT_SUPPORT_PRODUCT="centos"
REDHAT_SUPPORT_PRODUCT_VERSION="7"
CentOS Linux release 7.9.2009 (Core)
CentOS Linux release 7.9.2009 (Core)
[root@centos-7 splunk-8.0.4]#
1. Copy source lên server và giải nén
[root@centos-7 splunk-8.0.4]# ls -lah
total 508M
drwxr-xr-x. 3 root root 116 Aug 6 05:49 .
dr-xr-x---. 6 root root 231 Aug 6 05:56 ..
-rw-r--r--. 1 root root 20M Jun 28 2021 active-splunk-8.0.4.zip
drwxr-xr-x. 3 root root 64 Jun 28 2021 Crack
-rw-r--r--. 1 root root 488M Jul 1 2021 splunk-8.0.4-767223ac207f-Linux-x86_64_homepage_splunk.tgz
tar -xvf splunk-8.0.4-767223ac207f-Linux-x86_64_homepage_splunk.tgz
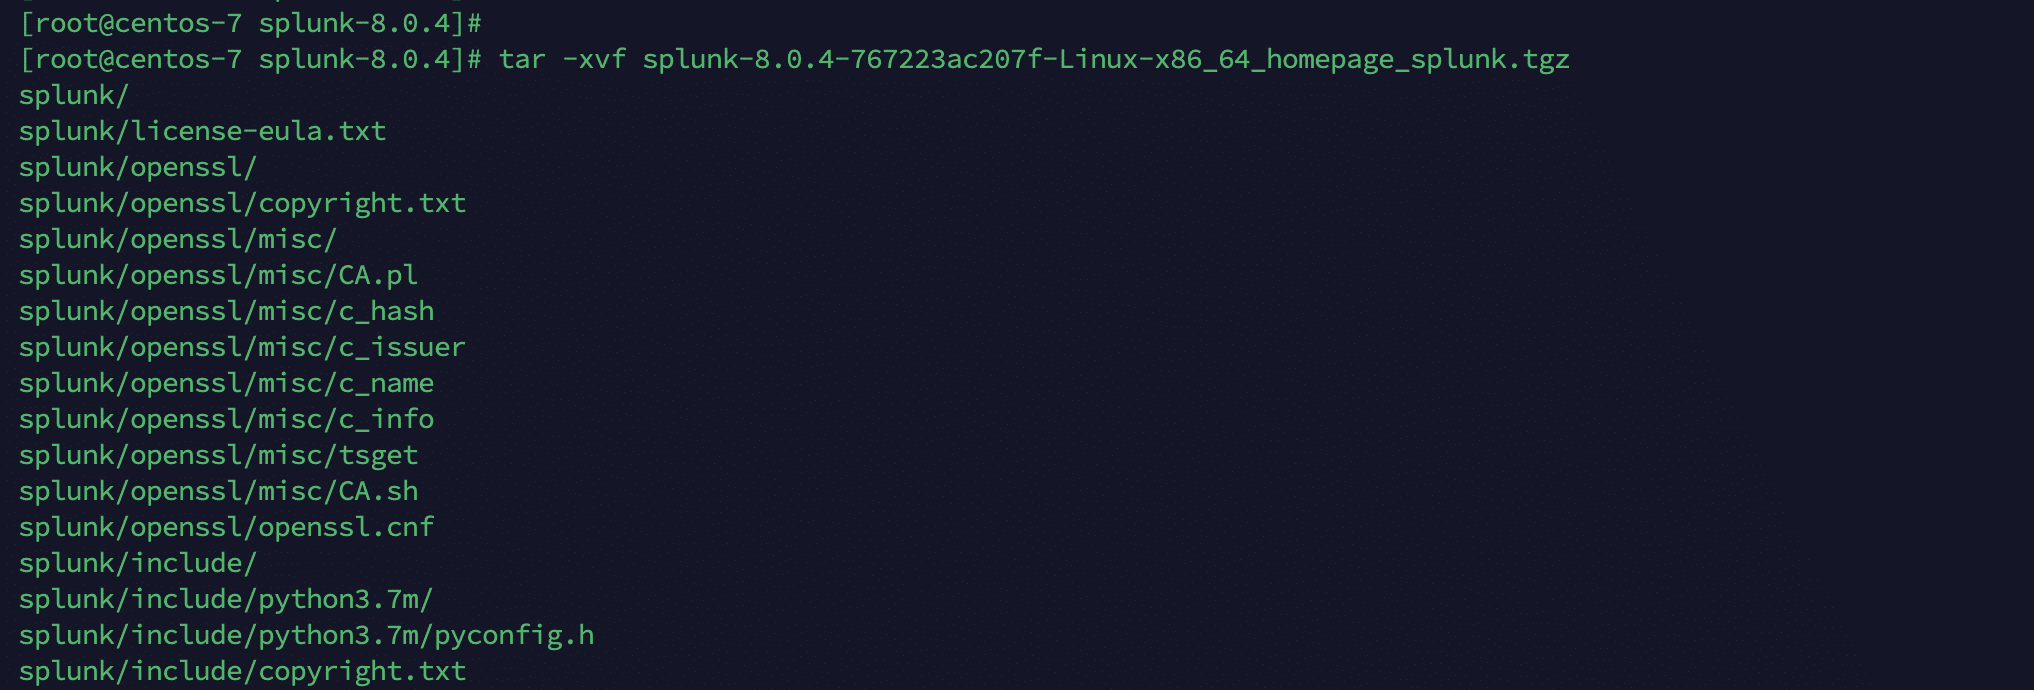
ls -lah
[root@centos-7 splunk-8.0.4]# ls -lah
total 508M
drwxr-xr-x. 4 root root 130 Aug 6 06:27 .
dr-xr-x---. 6 root root 231 Aug 6 05:56 ..
-rw-r--r--. 1 root root 20M Jun 28 2021 active-splunk-8.0.4.zip
drwxr-xr-x. 3 root root 64 Jun 28 2021 Crack
drwxr-xr-x. 8 10777 10777 222 May 20 2020 splunk
-rw-r--r--. 1 root root 488M Jul 1 2021 splunk-8.0.4-767223ac207f-Linux-x86_64_homepage_splunk.tgz
[root@centos-7 splunk-8.0.4]#
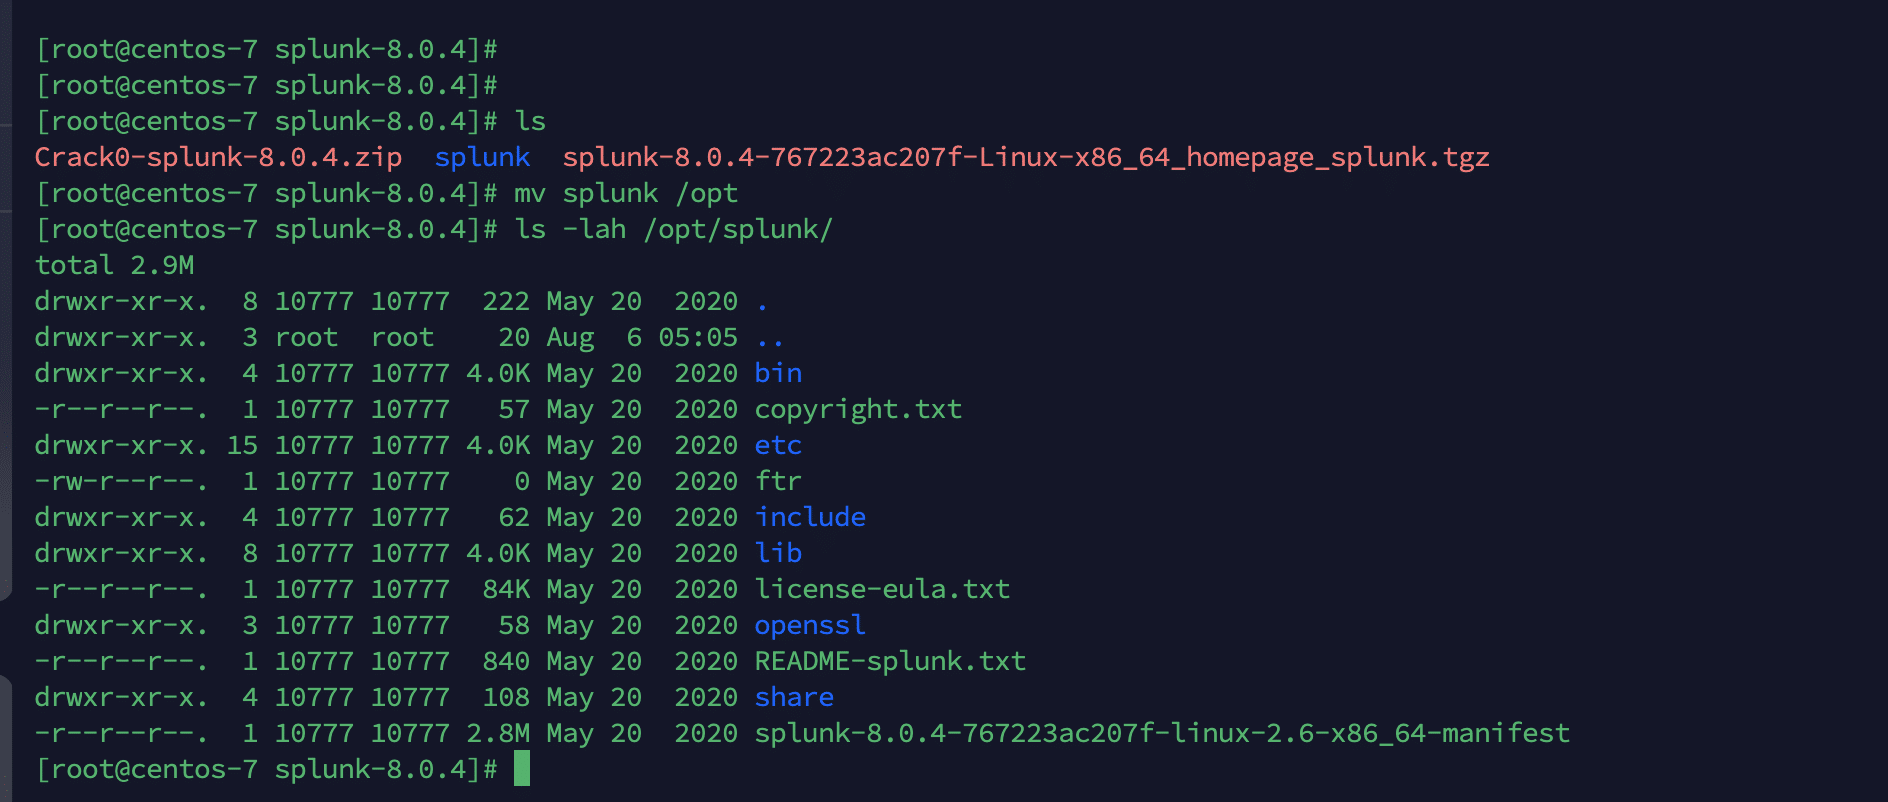
mv splunk /opt
ls -lah /opt/splunk/
total 2.9M
drwxr-xr-x. 8 10777 10777 222 May 20 2020 .
drwxr-xr-x. 3 root root 20 Aug 6 05:05 ..
drwxr-xr-x. 4 10777 10777 4.0K May 20 2020 bin
-r--r--r--. 1 10777 10777 57 May 20 2020 copyright.txt
drwxr-xr-x. 15 10777 10777 4.0K May 20 2020 etc
-rw-r--r--. 1 10777 10777 0 May 20 2020 ftr
drwxr-xr-x. 4 10777 10777 62 May 20 2020 include
drwxr-xr-x. 8 10777 10777 4.0K May 20 2020 lib
-r--r--r--. 1 10777 10777 84K May 20 2020 license-eula.txt
drwxr-xr-x. 3 10777 10777 58 May 20 2020 openssl
-r--r--r--. 1 10777 10777 840 May 20 2020 README-splunk.txt
drwxr-xr-x. 4 10777 10777 108 May 20 2020 share
-r--r--r--. 1 10777 10777 2.8M May 20 2020 splunk-8.0.4-767223ac207f-linux-2.6-x86_64-manifest
2.Stop the splunkd service if running [/opt/splunk/bin/splunk stop]
/opt/splunk/bin/splunk stop

3. Copy & overwrite the cracked splunkd to /opt/splunk/bin/splunk
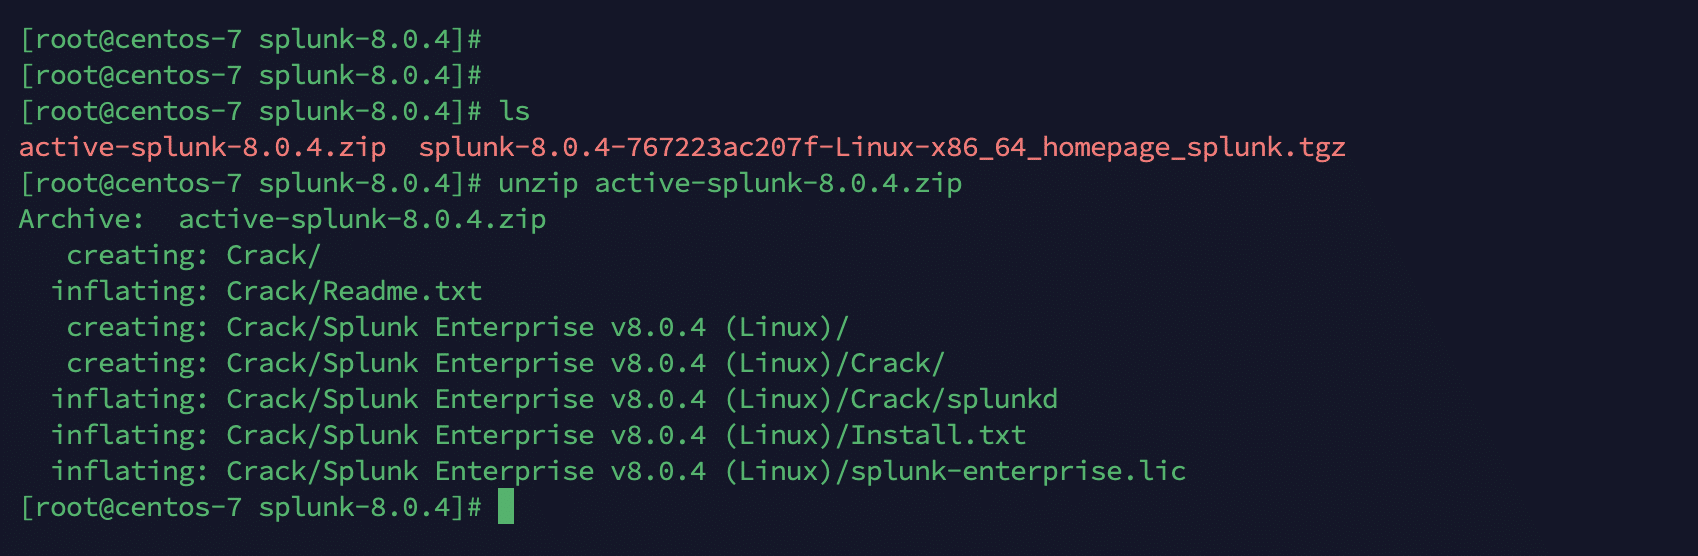
Giải nén folder active-splunk-8.0.4.zip
unzip active-splunk-8.0.4.zip
Copy & overwrite the cracked splunkd to /opt/splunk/bin/splunk
cp -r /opt/splunk/bin/splunkd /opt/splunk/bin/splunkd.bk
cp -r Crack/Splunk\ Enterprise\ v8.0.4\ \(Linux\)/Crack/splunkd /opt/splunk/bin/splunkd

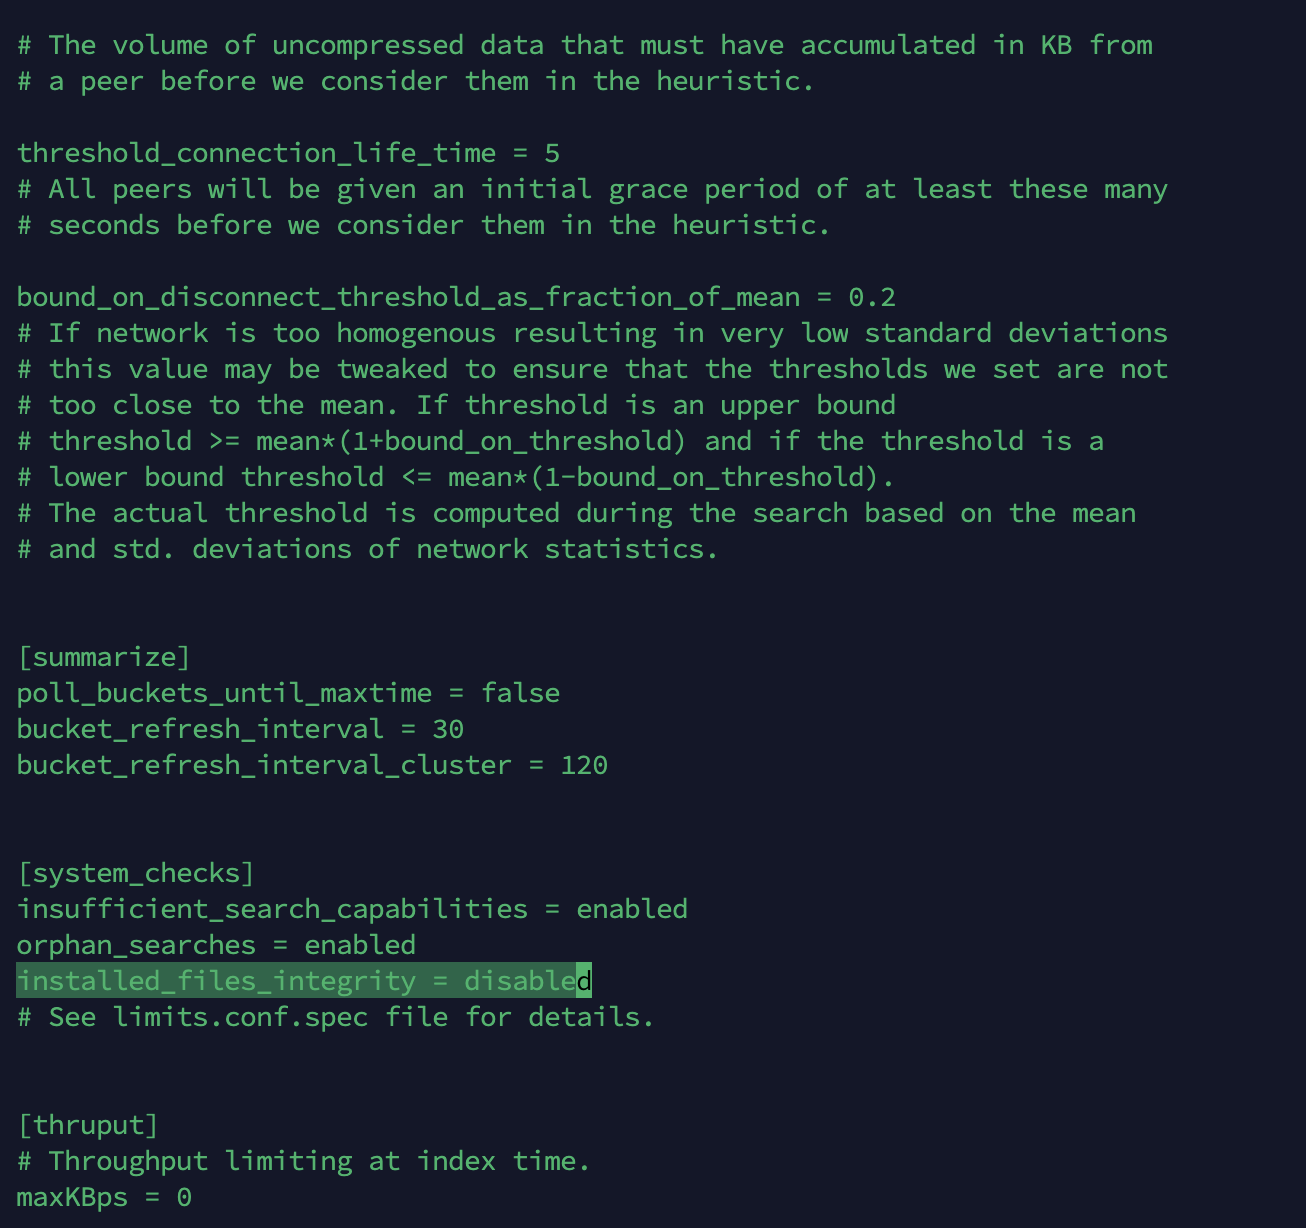
4. Tắt tính năng File Integrity Check
Mở file limits.conf trong /opt/splunk/etc/system/default/limits.conf
Tìm dòng : installed_files_integrity = enabled
Thay đổi thành : installed_files_integrity = disabled
Thay đổi quyền file limits.conf
chmod 775 /opt/splunk/etc/system/default/limits.conf
ll /opt/splunk/etc/system/default/limits.conf

Thay đổi installed_files_integrity.
vi /opt/splunk/etc/system/default/limits.conf
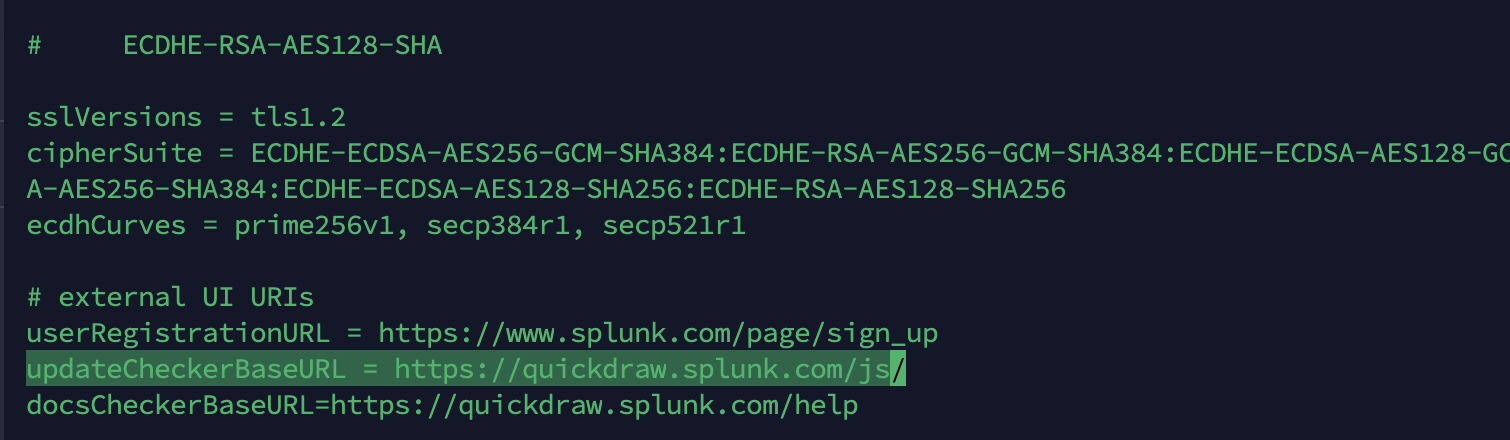
5. Tắt tính năng tự động cập nhật trong
Mở file /opt/splunk/etc/system/default/web.conf
Tìm Kiếm: updateCheckerBaseURL = https://quickdraw.splunk.com/js/
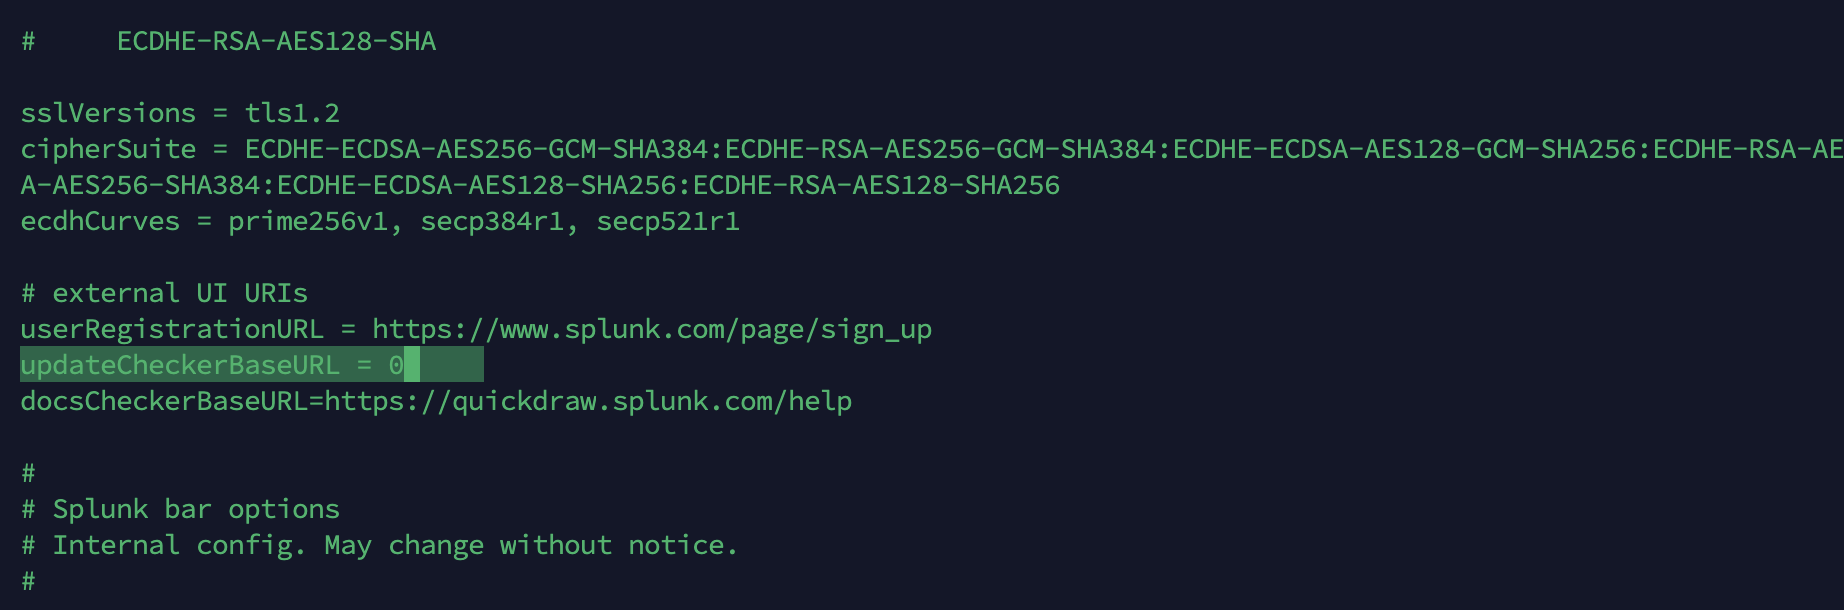
Thay đổi thành: updateCheckerBaseURL = 0
Đổi quyền thư mục web.conf
chmod 775 /opt/splunk/etc/system/default/web.conf
ls -lah /opt/splunk/etc/system/default/web.conf

Điều chỉnh updateCheckerBaseURL
vi /opt/splunk/etc/system/default/web.conf
Lưu lại file web.conf
6. Start the splunkd service
Tiến hành start dịch vụ splunk với câu lệnh sau:
/opt/splunk/bin/splunk start --accept-license
Tại đây, chúng ta sẽ tiến hành nhập vào username và password.
ví dụ:
Please enter an administrator username: admin
Please enter a new password: 1234567890
[root@centos-7 splunk-8.0.4]# /opt/splunk/bin/splunk start --accept-license
This appears to be your first time running this version of Splunk.
Splunk software must create an administrator account during startup. Otherwise, you cannot log in.
Create credentials for the administrator account.
Characters do not appear on the screen when you type in credentials.
Please enter an administrator username: admin
Password must contain at least:
* 8 total printable ASCII character(s).
Please enter a new password:
Please confirm new password:
Copying '/opt/splunk/etc/openldap/ldap.conf.default' to '/opt/splunk/etc/openldap/ldap.conf'.
Generating RSA private key, 2048 bit long modulus
....................................................................................................+++++

.............................................................+++++

e is 65537 (0x10001)

writing RSA key
Generating RSA private key, 2048 bit long modulus
............+++++
..........+++++
e is 65537 (0x10001)
writing RSA key
Moving '/opt/splunk/share/splunk/search_mrsparkle/modules.new' to '/opt/splunk/share/splunk/search_mrsparkle/modules'.
Splunk> See your world. Maybe wish you hadn't.
Checking prerequisites...
Checking http port [8000]: open
Checking mgmt port [8089]: open
Checking appserver port [127.0.0.1:8065]: open
Checking kvstore port [8191]: open
Checking configuration... Done.
Creating: /opt/splunk/var/lib/splunk
Creating: /opt/splunk/var/run/splunk
Creating: /opt/splunk/var/run/splunk/appserver/i18n
Creating: /opt/splunk/var/run/splunk/appserver/modules/static/css
Creating: /opt/splunk/var/run/splunk/upload
Creating: /opt/splunk/var/run/splunk/search_telemetry
Creating: /opt/splunk/var/spool/splunk
Creating: /opt/splunk/var/spool/dirmoncache
Creating: /opt/splunk/var/lib/splunk/authDb
Creating: /opt/splunk/var/lib/splunk/hashDb
New certs have been generated in '/opt/splunk/etc/auth'.
Checking critical directories... Done
Checking indexes...
Validated: _audit _internal _introspection _metrics _metrics_rollup _telemetry _thefishbucket history main summary
Done
Checking filesystem compatibility... Done
Checking conf files for problems...
Done
Checking default conf files for edits...
Validating installed files against hashes from '/opt/splunk/splunk-8.0.4-767223ac207f-linux-2.6-x86_64-manifest'
File '/opt/splunk/etc/system/default/limits.conf' changed.
File '/opt/splunk/etc/system/default/web.conf' changed.
Problems were found, please review your files and move customizations to local
All preliminary checks passed.
Starting splunk server daemon (splunkd)...
Generating a RSA private key
......................................................................................................................................................+++++
............................................+++++
writing new private key to 'privKeySecure.pem'
-----
Signature ok
subject=/CN=centos-7/O=SplunkUser
Getting CA Private Key
writing RSA key
Done
[ OK ]
Waiting for web server at http://127.0.0.1:8000 to be available... Done
If you get stuck, we're here to help.
Look for answers here: http://docs.splunk.com
The Splunk web interface is at http://centos-7:8000

7. Active Splunk với license file
Sau khi cài đặt hoàn tất, ta đăng nhập vào web và active splunk với file splunk-enterprise.lic tại:
[Settings => Licensing => Add License => splunk-enterprise.lic => Restart Splunk … ]
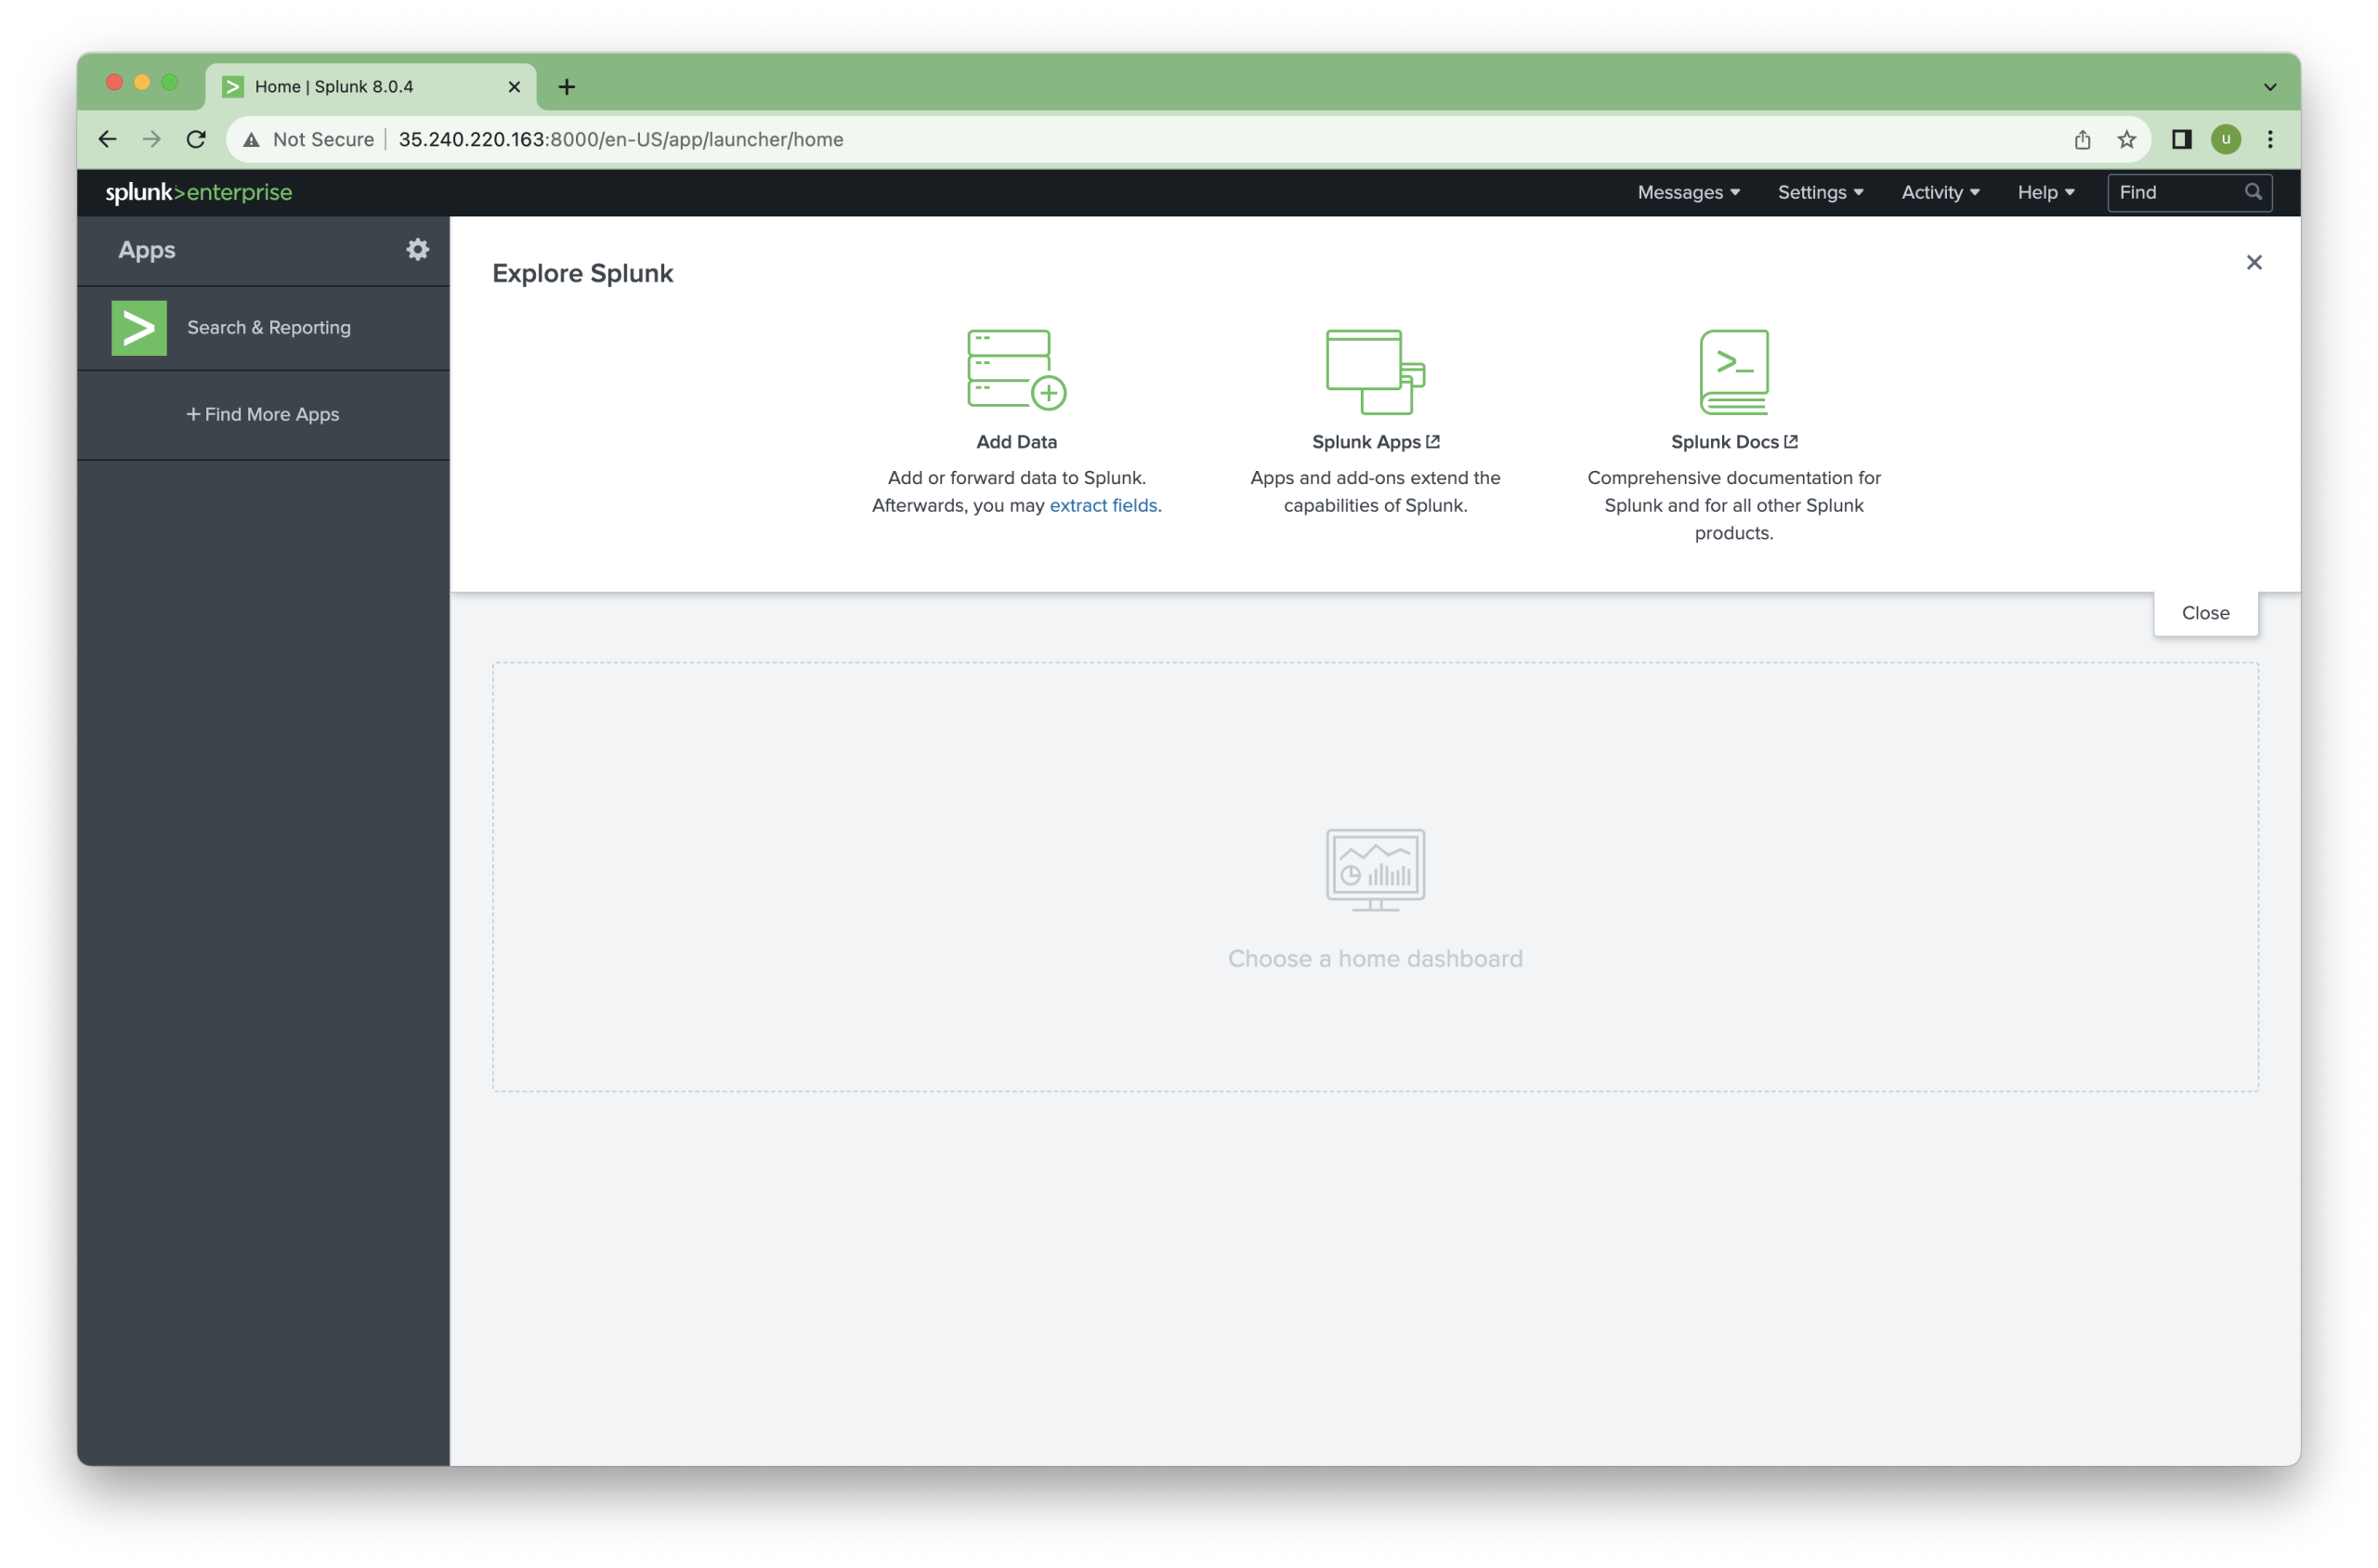
Truy cập vào web, ví dụ: http://35.240.220.163:8000
Lưu ý: Thay đổi địa chỉ IP 35.240.220.163 tương ứng với IP của máy bạn.
Click vào Settings => Licensing => Add License
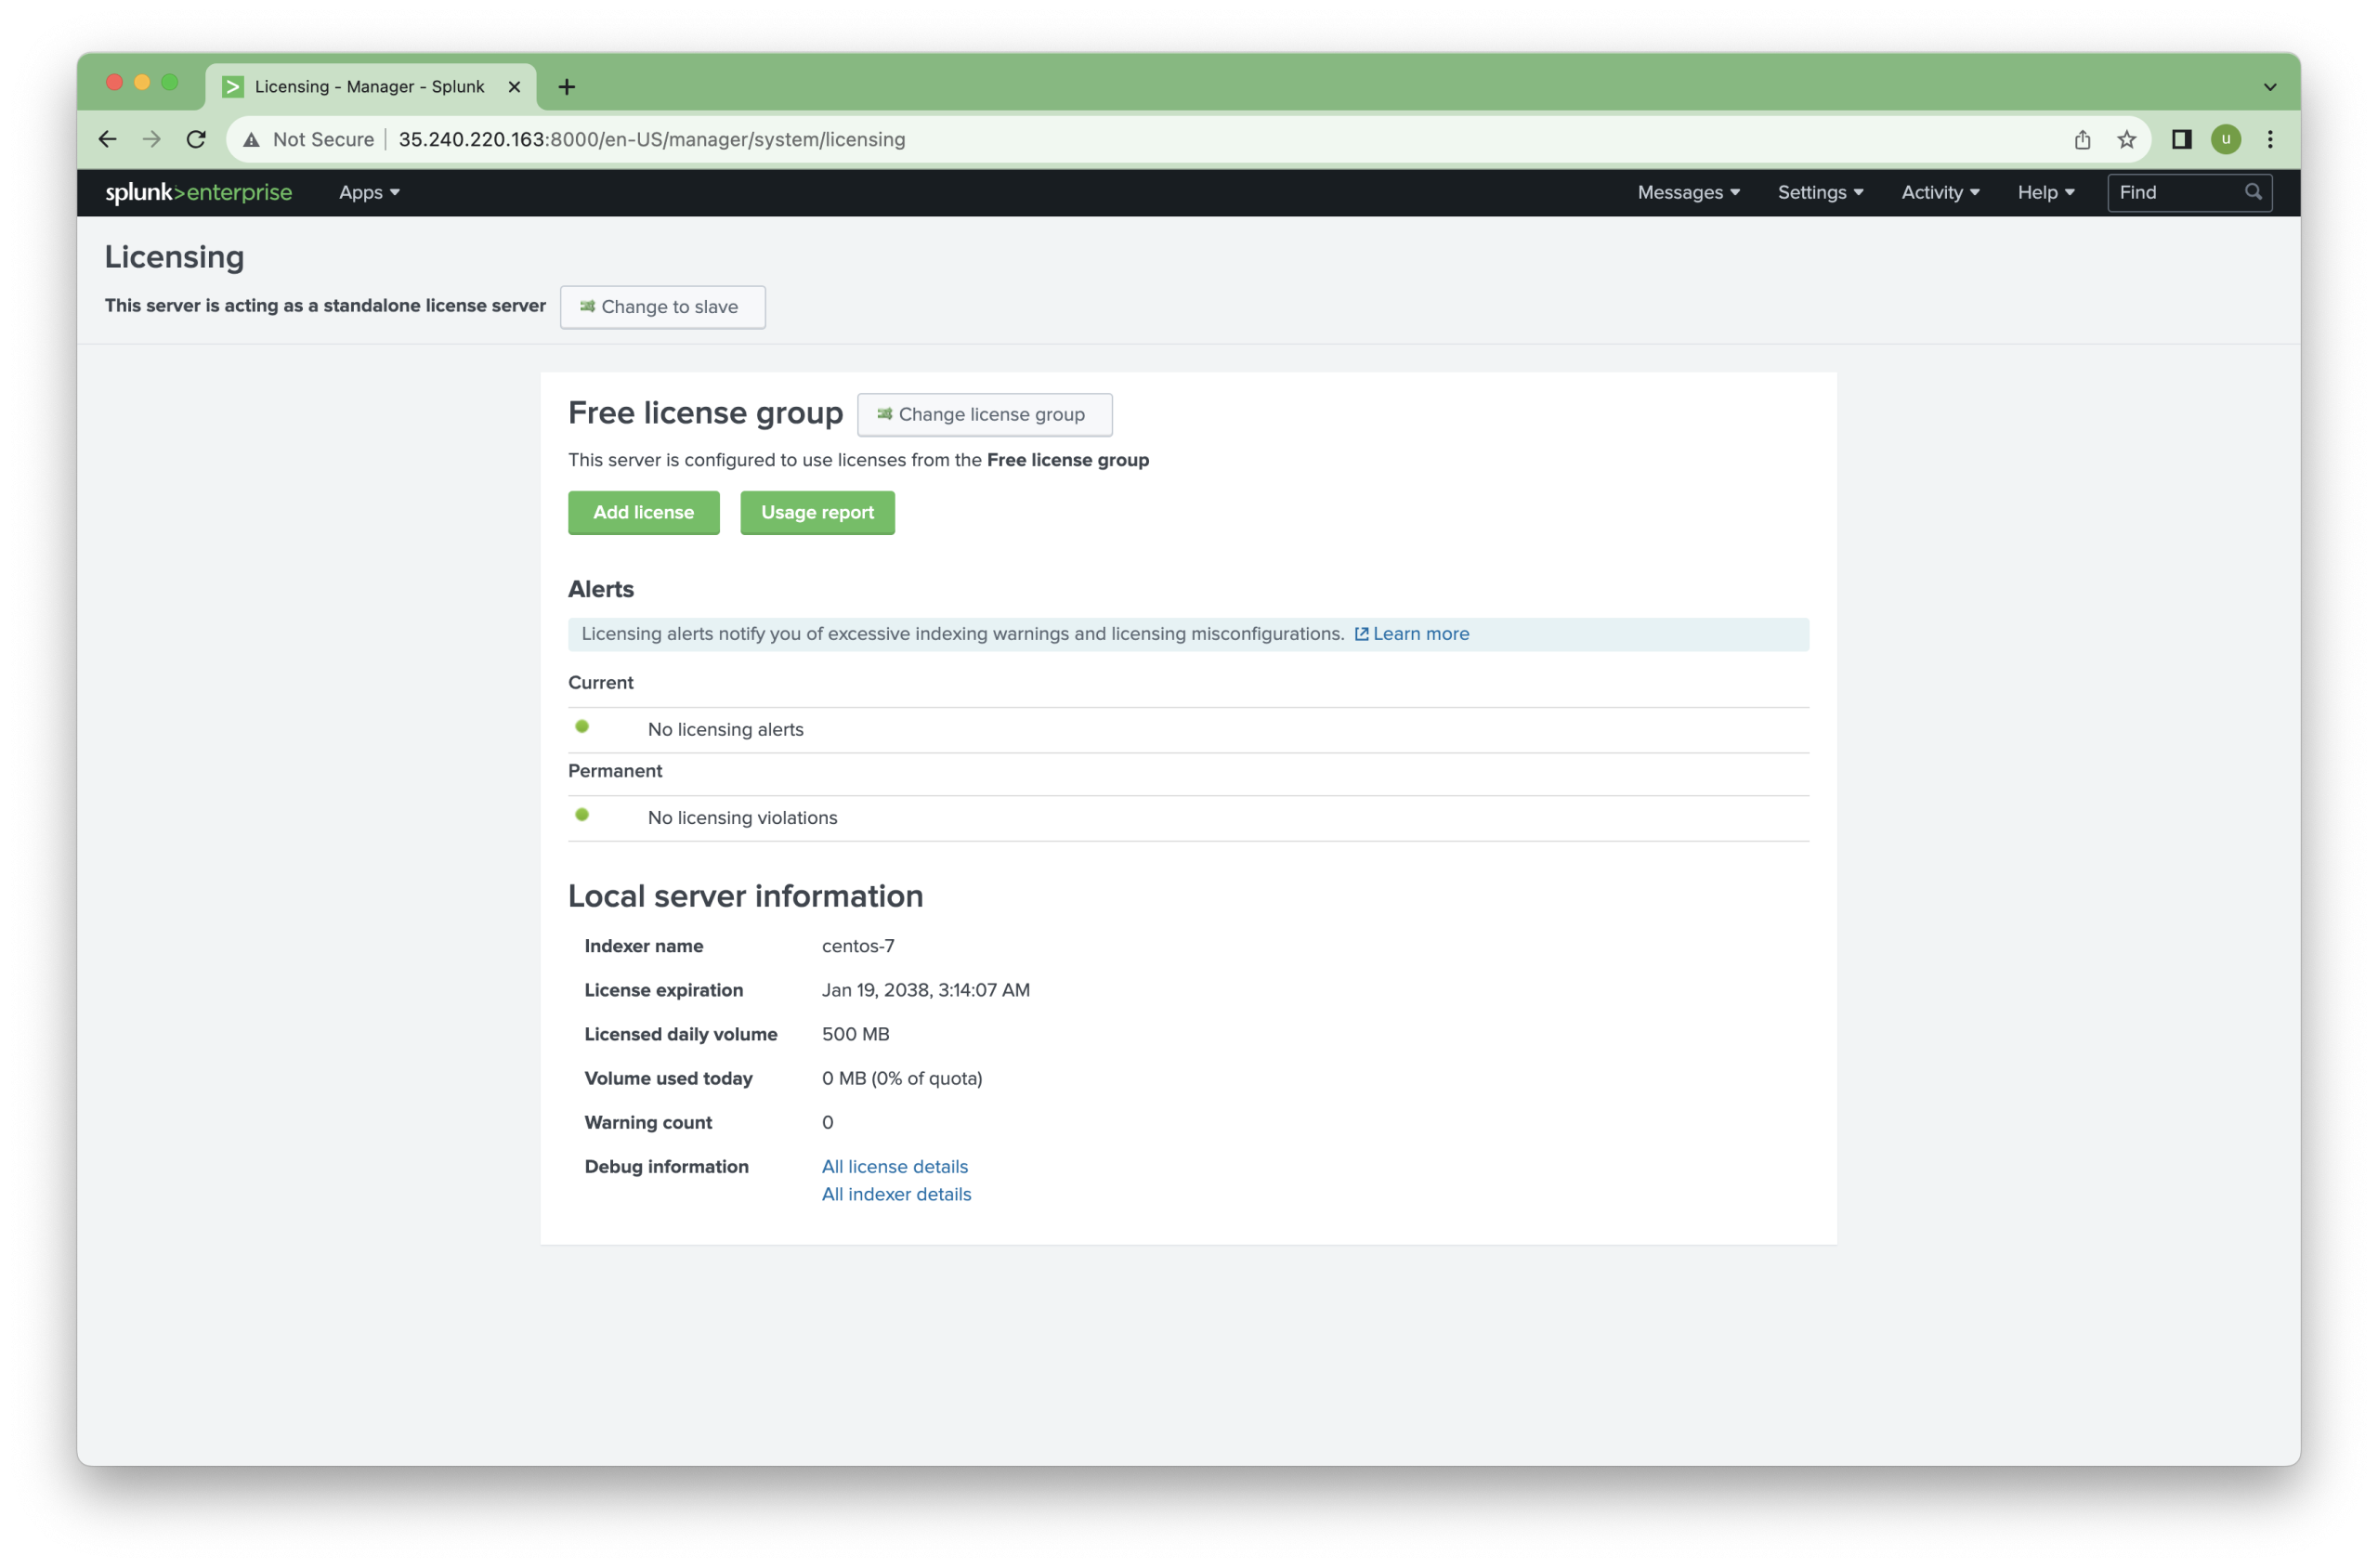
Click vào “Choose File” và chọn “splunk-enterprise.lic”
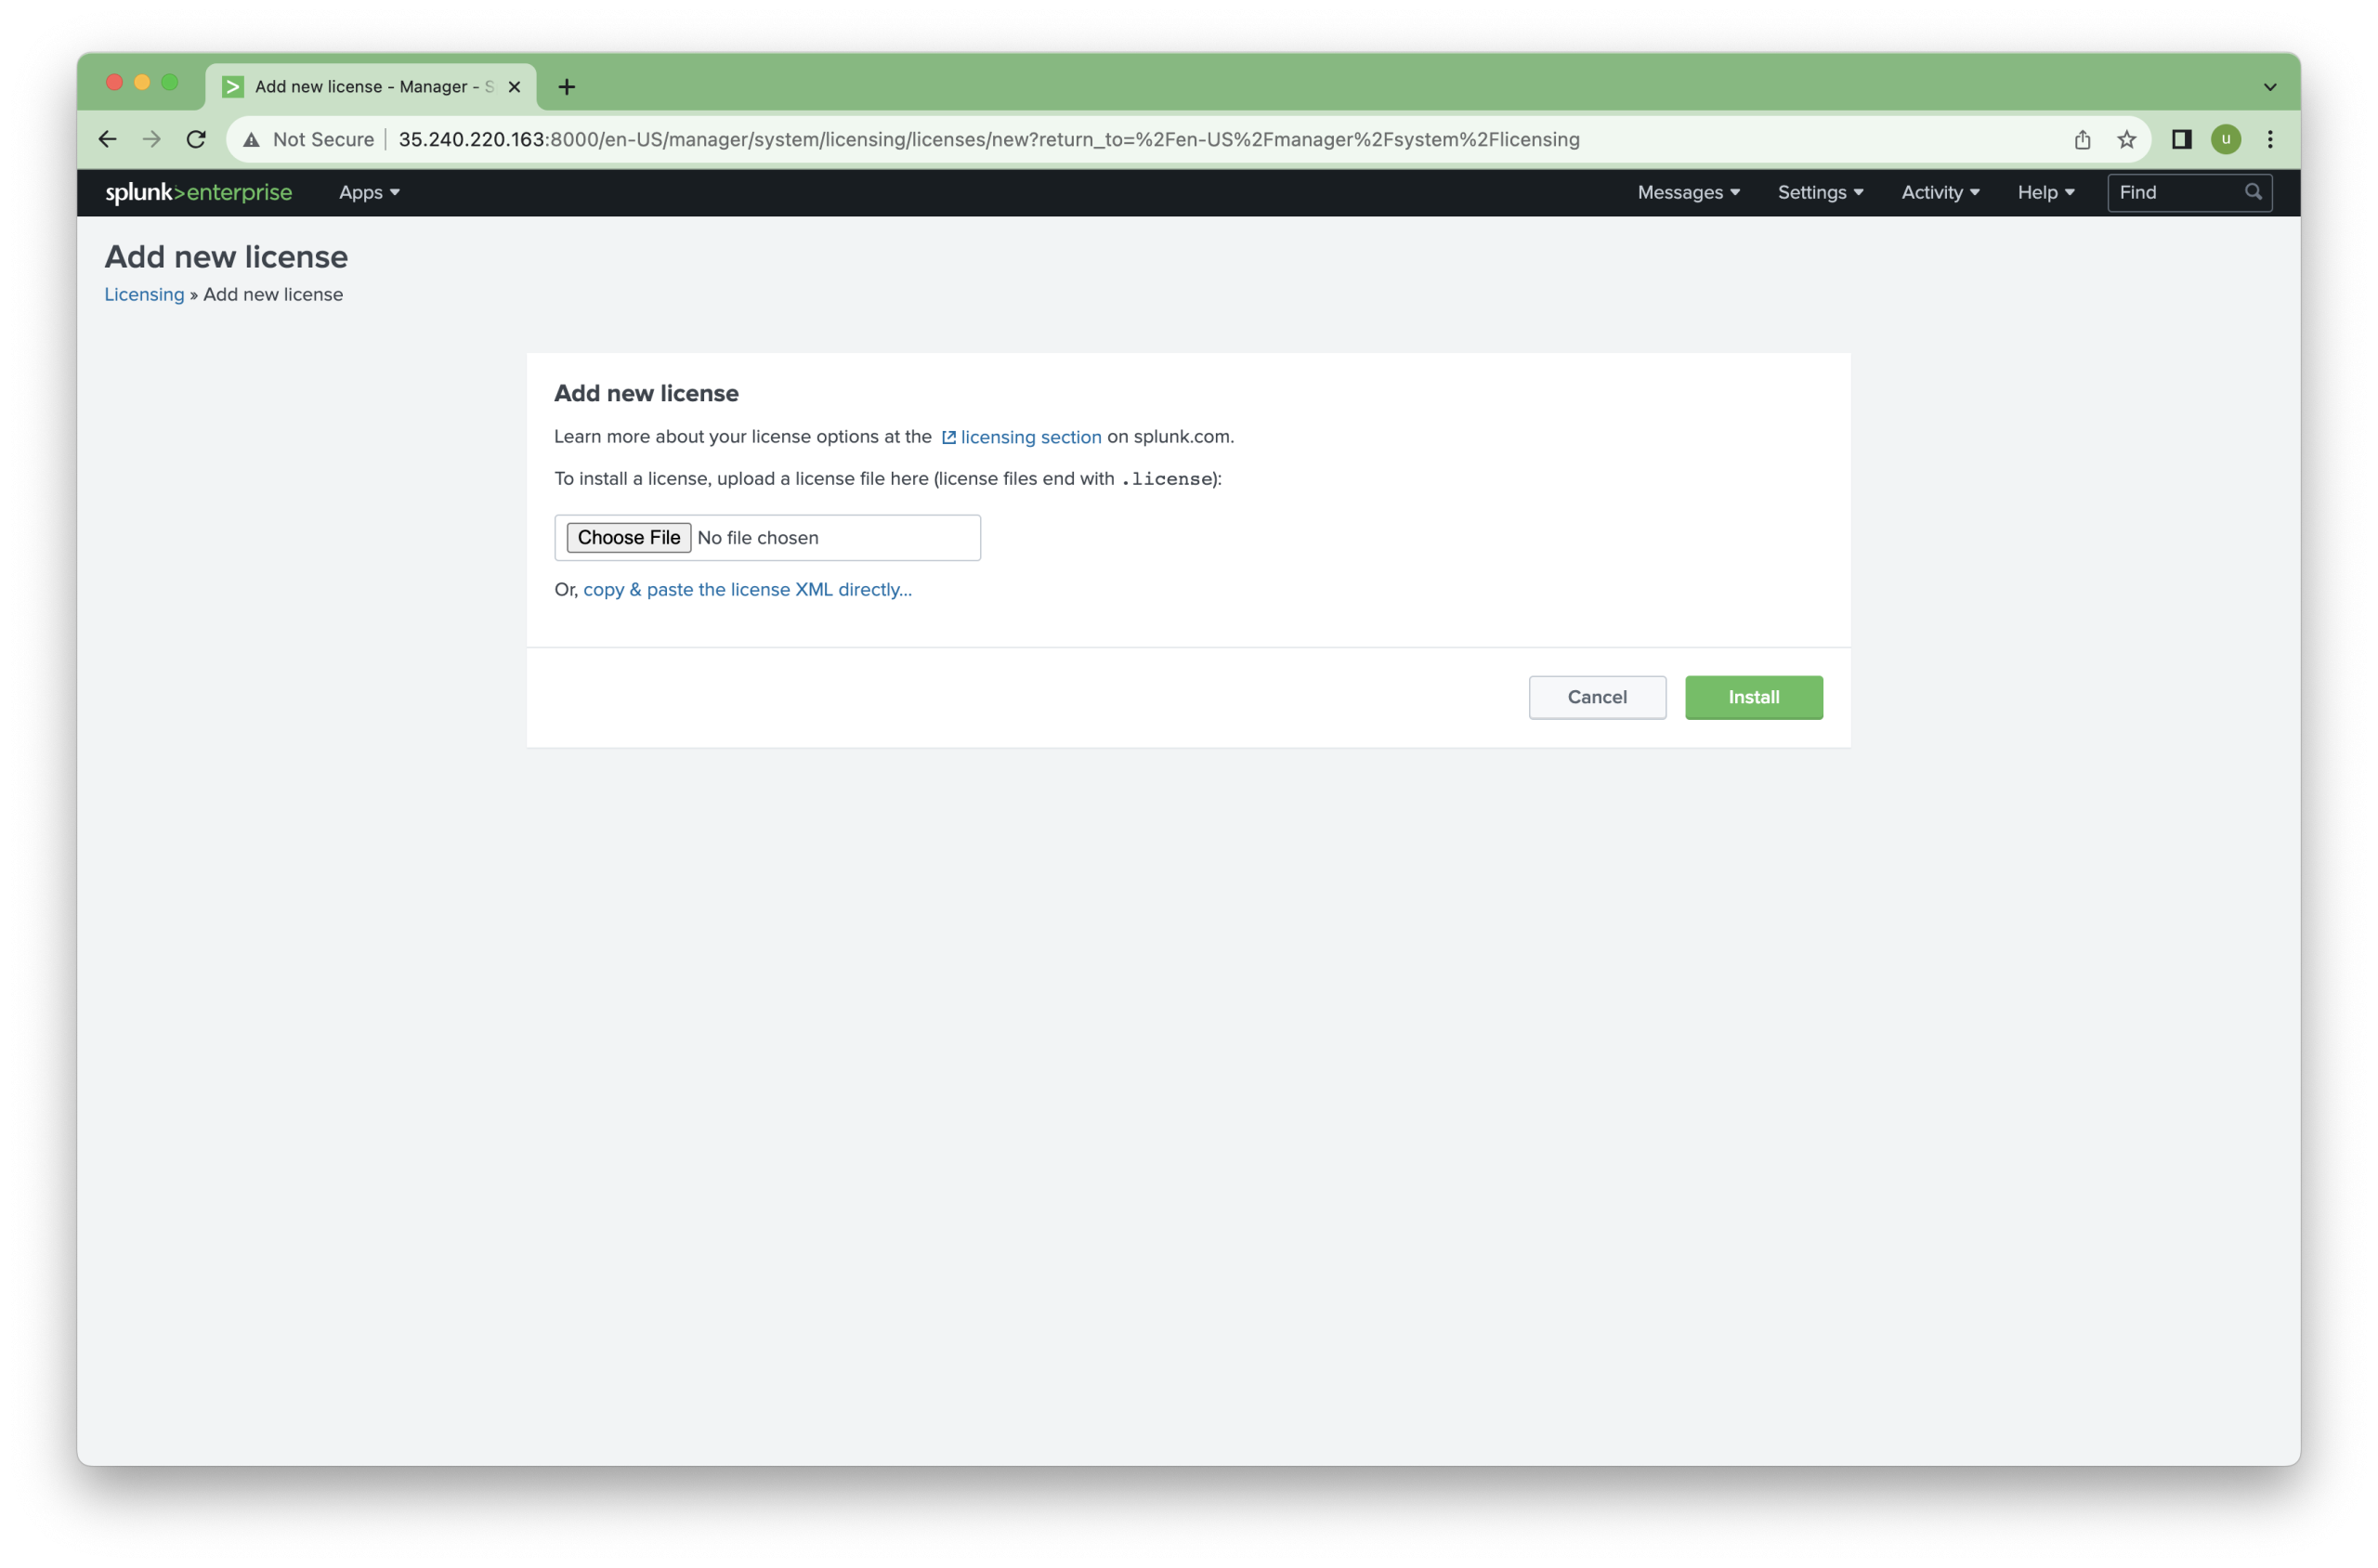
Nhấn Install

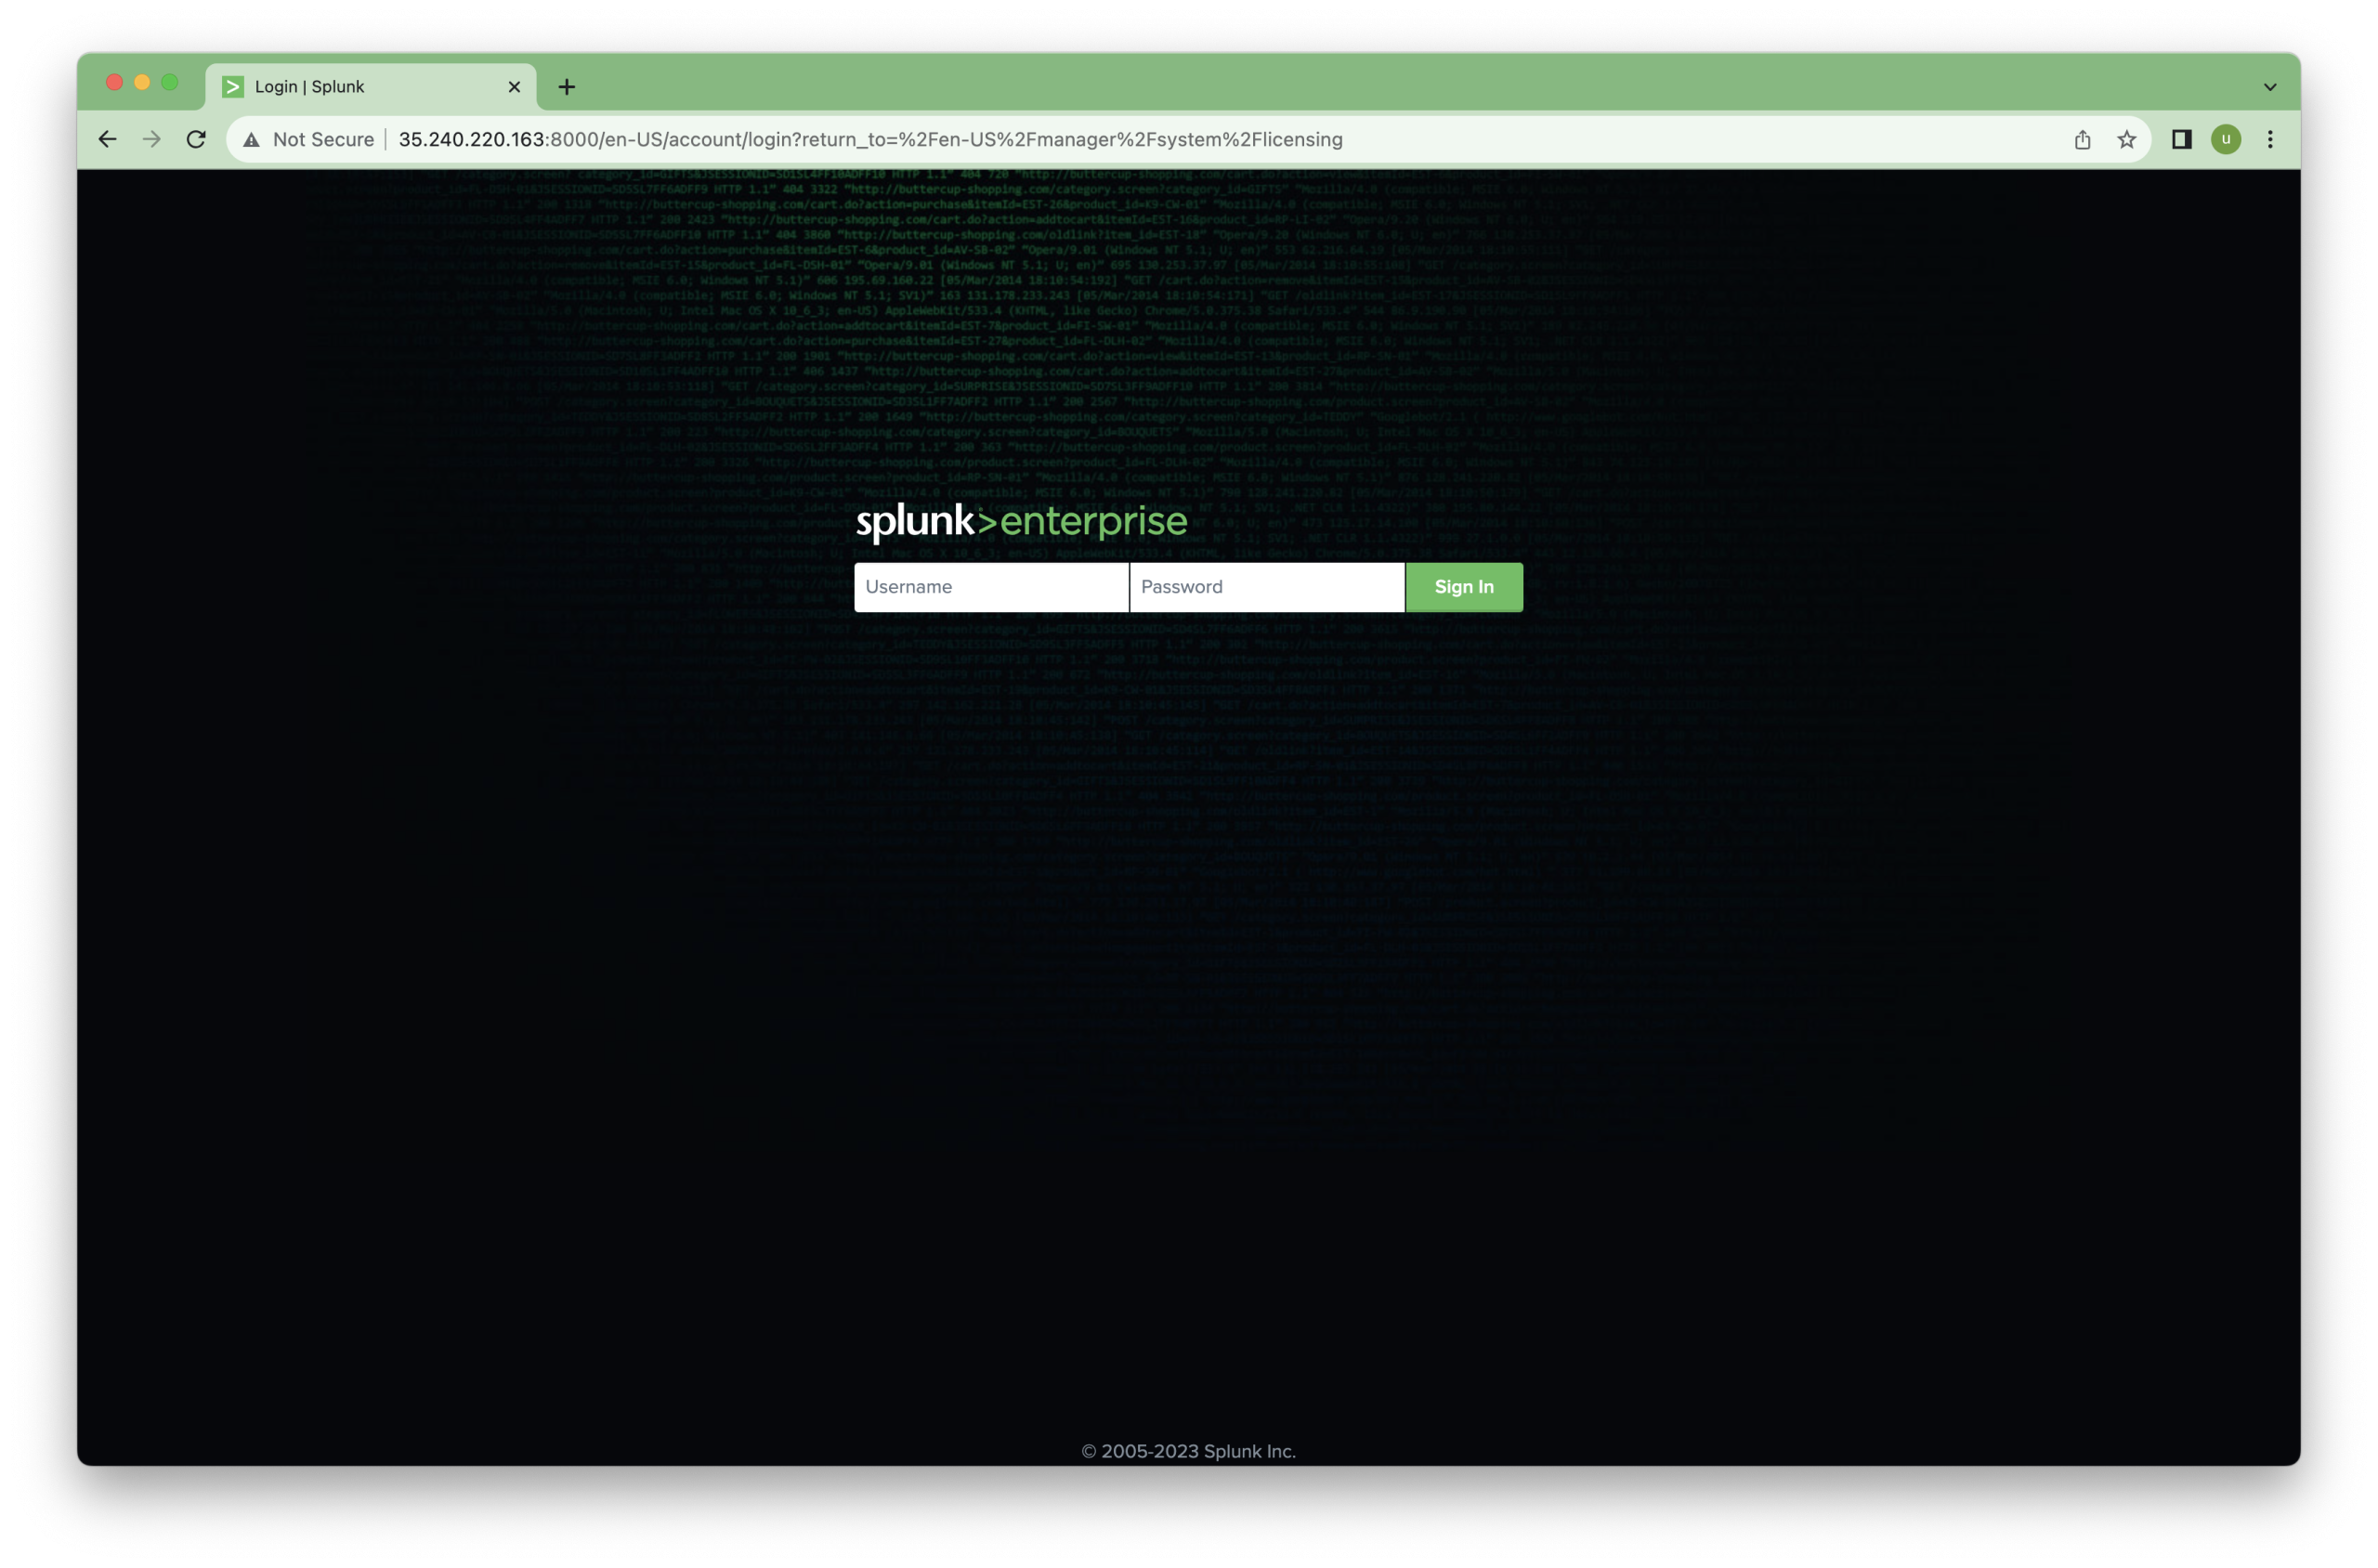
Restart Now

Đợi Splunk restart hoàn tất, nhập username/password
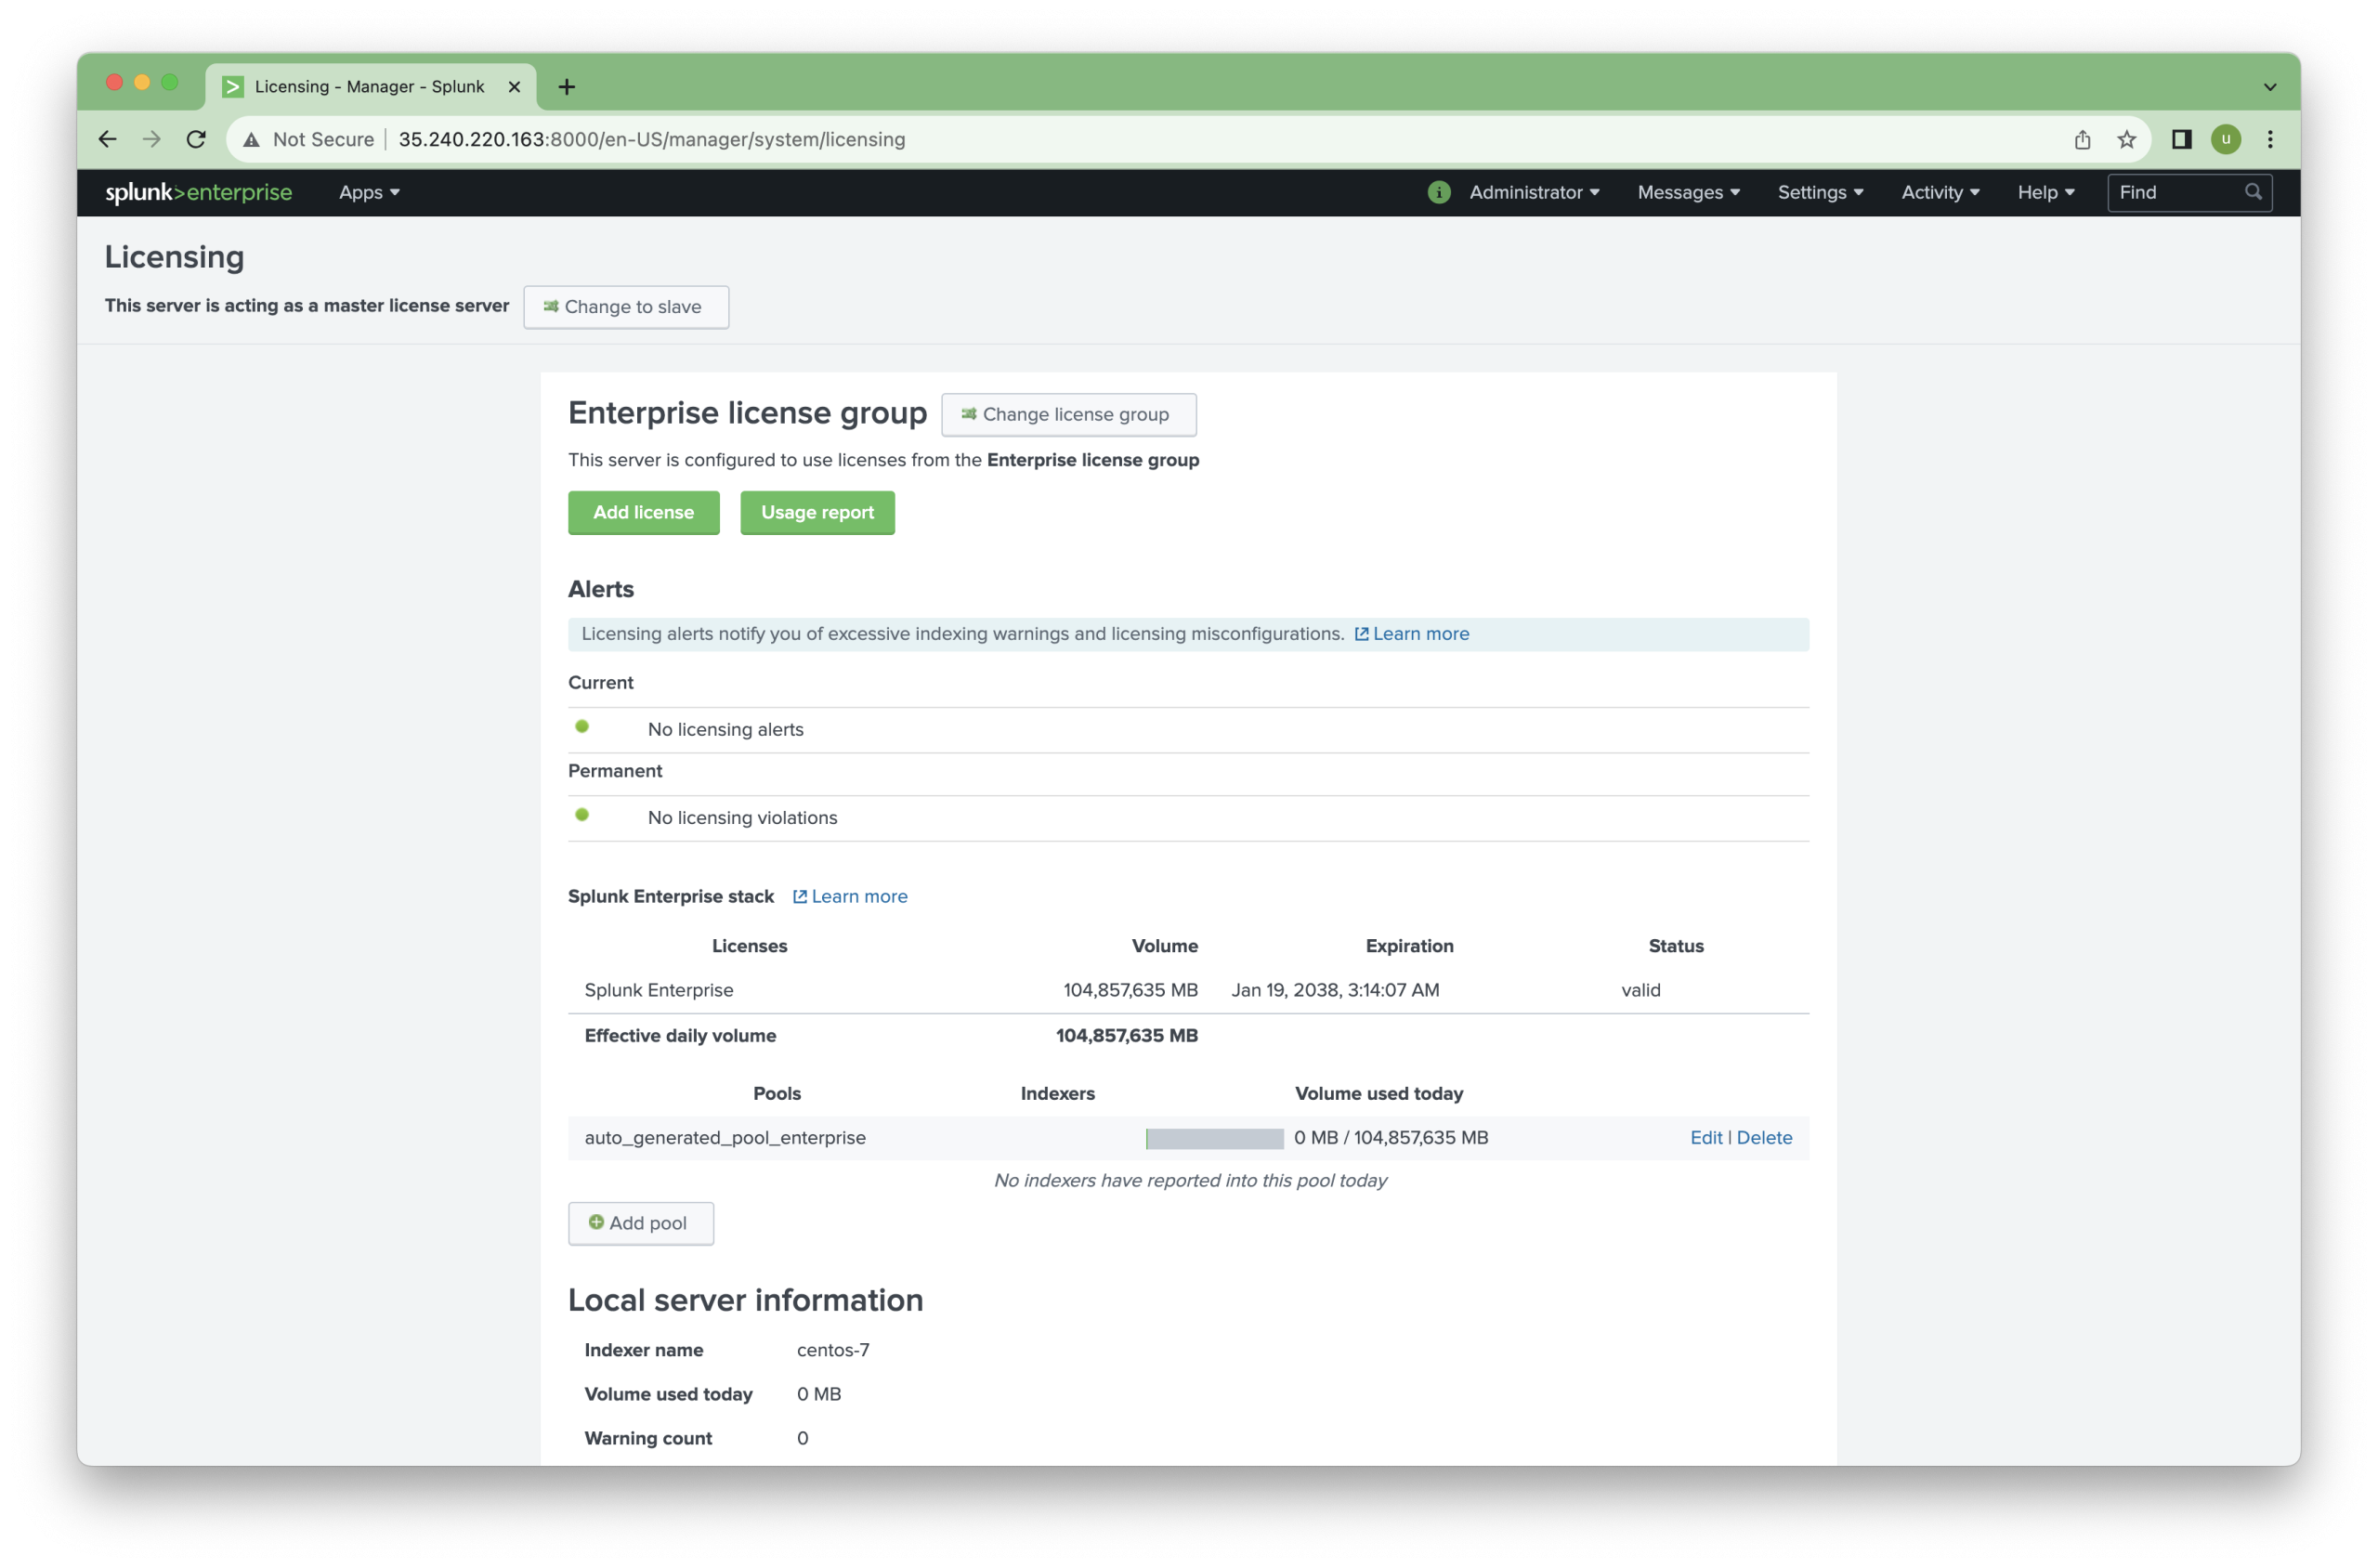
Kiểm tra lại License Splunk
Kết Bài
Như vậy, chúng ta vừa hoàn thành việc cài đặt splunk version 8 với đầy đủ license. Nếu có vấn đề gì trong quá trình cài đặt, vui lòng để laị bình luận bên dưới. Chúng các bạn thành công !
Add Comment