In this howto, we are going to configure DFS role on a domain joined computer(s) to create distributed file shares to access from domain joined clients to use as a fileserver.
What is Distributed File System ( DFS ) ?
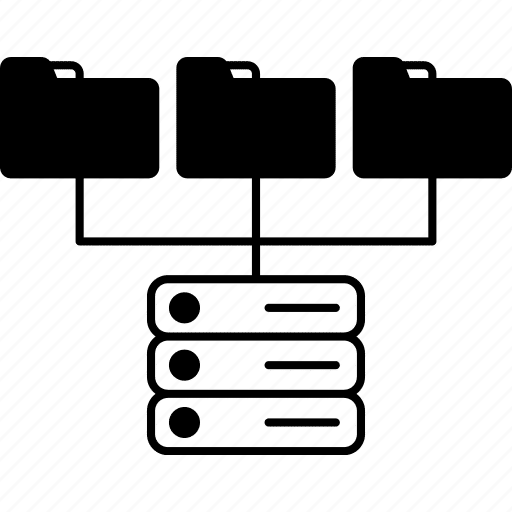
Distributed file System (DFS) is a set of client and server services that allow an organization using Microsoft Windows servers to organize many distributed SMB / file shares into a distributed file system. DFS provides location transparency (via the namespace component) and redundancy (via the file replication component) to improve data availability in the face of failure or heavy load by allowing shares in multiple different locations to be logically grouped under one folder, or DFS root.
Step 1: Installing Distributed File system (DFS) on Windows 2016 Server

Installing Distributed File System (DFS) on Windows 2016 has been done through adding Roles and features wizard.
First login to your Windows Server 2016 DC machine and open server manager. Open Add Roles and Features Wizard and move on to Server roles like shown in below image. Expand File and Storage Services. Under File and Storage Services you will find File and iSCSI Services expand it and select File Server, DFS Namespaces, DFS Replication, and File Server Resource Manager.
Here DFS Replication service is required if you want to keep folders synchronized between DFS servers across network or on a remote site. For a simple DFS File server implementation, DFS replication is optional but recommended. After selecting these roles, click Next, Roles will automatically get installed
Step 2: Configuring Distributed File System ( DFS ) Step 1

After successful installation of DFS roles, its time to configure shared folder, a Namespace for that shared folder and original location of the folder available in Windows 2016 server. From server manager click tools and open DFS Management.
Step 3: Configuring Distributed File System ( DFS ) Step 2

In left side pane you can find Namespace. Right click on it and click New Namespace. In Namespace Wizard, you must specify the namespace server and click next. Now you have to enter a name for the namespace. This name will appear after the server or domain name in the namespace path, such as \Server\Name or \Domain\Name.
After giving name click edit settings and set permission as “Administrators have full access other users have read and write permissions”, then click ok and give next. By default, “All users have read only permissions” is set, and you can set any permissions as you require.
Step 4: Configuring Distributed File System ( DFS ) Step 3

Next part, selecting the type of Namespace you can use. There are two types of Name space, Domain based namespace and Standalone namespace.
The basic difference between the two DFS namespaces is how they store the DFS configuration data. Standalone namespaces keep this information in the host server’s registry, while domain-based namespaces store it in the Active Directory (AD) database. Since we are using Domain joined computers, and we using DFS service for domain clients, we are using Domain based namespace.
Domain-based namespace:
A domain-based namespace is stored on one or more namespace servers and in Active Directory Domain Services. You can increase the availability of a domain-based namespace by using multiple servers.
Stand-alone namespace:
A stand-alone namespace is stored on a single namespace server. You can increase the availability of a stand-alone namespace by hosting it on a failover cluster.
There will be a option Enable Windows Server 2008 mode, When created in Windows Server 2008 mode, the namespace supports increased scalability and access-based enumeration.
Step 5: Configuring Distributed File System ( DFS ) Step 4

After selecting namespace, give next to Review Settings and Create Namespace. Review the settings and click create to start the process.
Once done, you will have the namespace created confirmation wizard as below
Step 6: Creating shared folder Namespace

We have successfully created Domain-based namespace. Now we have to create a shared folder for the users.
To create New folder expand the namespace in DFS management console, click on the namespace we just created. In right side pane of DFS management you can see New folder click on it, new window will open to create the shared folder.
Step 7: Adding Folder target

Give a name for the folder and click add and to give path for the folder. Browse and select the target.
After successfully adding the shared folder you can access from all the domain users on Run command or map network drive permanently as you wish.
Thus, it is very easy to install DFS roles on a Windows 2016 machine, and configure domain based namespace for a shared folder, and it can be accessible by domain joined computers, will work as a fileserver.
Đăng ký liền tay Nhận Ngay Bài Mới
Subscribe ngay
Cám ơn bạn đã đăng ký !
Lỗi đăng ký !


Add Comment