













How to Install Icinga 2 Monitoring Software on Ubuntu 18.04 LTS
Icinga 2 is a free and open source monitoring tool that can be used to monitor multiple servers or whole data centers from a single monitor system. Icinga2 will check the availability of resources such as network, system update, and services.
In this tutorial, I show you how to install and configure the Icinga 2 monitoring tool using an Ubuntu 18.04 LTS server. We will install Icinga 2 from the official repository and then configure the icingaweb2, the lightweight and extensible web interface for an icinga2 monitoring tool.
Prerequisites
For this guide, we will install the icinga2 and icingaweb2 using the Ubuntu 18.04 Server with 2GB of RAM Memory. If you’re on large deployments, you can use more than that.
What we will do?
- Install icinga2 and Monitoring Plugins
- Install and Configure MySQL Database
- Install and Configure icingaweb2
- icinga2 and icingaweb2 Post-Installation
Step 1 – Install Icinga 2 and Nagios Monitoring Plugins
Firstly, we will install the icinga2 and Monitoring Plugins to the server. We will install the icinga2 from its official repository, and install the Monitoring Tools from the Ubuntu repository.
Before going any further, let’s add the icinga2 key to the system.
curl https://packages.icinga.com/icinga.key | apt-key add -
Then add the icinga2 repository by creating the repo file called ‘icinga.list’ under the ‘/etc/apt/sources.list.d’ directory.
cd /etc/apt/sources.list.d/
 vim icinga2.list
Paste repository configuration below.
deb http://packages.icinga.com/ubuntu icinga-bionic main
deb-src http://packages.icinga.com/ubuntu icinga-bionic main
Save and close.
Now update the repository and install icinga2 and Monitoring Tools packages using the apt commands below.
sudo apt update
 sudo apt install icinga2 monitoring-plugins

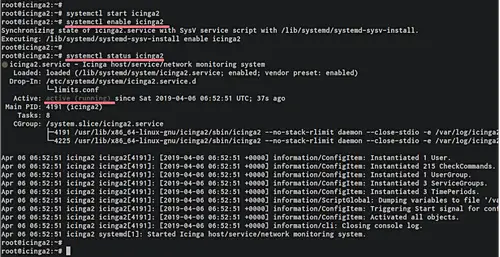
Once the installation is complete, start the icinga2 service and add it to the boot time.
systemctl start icinga2
 systemctl enable icinga2
As a result, the icinga2 packages have been installed on the system.
Step 2 – Install and Configure MySQL for Icinga
Now, we will install and configure the MySQL database for our icinga2 installation.
Install MySQL Server packages using the following command.
sudo apt install mysql-server mysql-client
Once the installation is complete, start the MySQL service and add it to startup boot time.
systemctl start mysql
 systemctl enable mysql
Now we need to configure the MySQL root password. Run the following command below.
mysql_secure_installation
The password for MySQL root user has been created.
Now we will configure the icinga2 to use the MySQL database. In order to do that, we need to install the ‘IDO Module’ for icinga2.
Install ‘icinga2-ido-mysql’ module using the following command.
sudo apt install icinga2-ido-mysql
During the installation, you will be asked some icinga2 IDO module as below.
Enable the Icinga ido-mysql module, choose ‘OK‘.
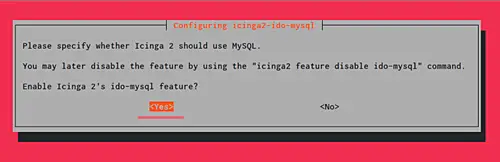
Now you will be asked to create Icinga2 database using the dbconfig-common, choose ‘Yes‘.

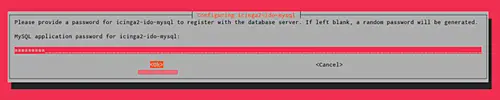
Now type the password for icinga2 database.
Repeat the password.
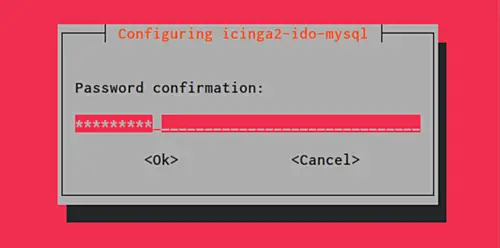
And the icinga2-ido-mysql module installation is complete. Now enable the ‘ido-mysql’ module and restart the icinga2 service.
icinga2 feature enable ido-mysql
 systemctl restart icinga2
The icinga2 is now has been configured with the MySQL database.

Step 3 – Install and Configure Icinga 2 Web Interface
In this step, we will install and configure the lightweight web interface for icinga2 called ‘icingaweb2’. By default, the installation will allow you to install all packages needed such as Apache2 web server and PHP packages.
Install icingaweb2, Icinga command-line tool, and the PHP GD package using the following command.
sudo apt install icingaweb2 icingacli php-gd -y
Once the installation is complete, go to the ‘/etc/php/7.2/apach2/’ directory and edit the php.ini file using vim editor.
cd /etc/php/7.2/apache2/
 vim php.ini
Uncomment the timezone line and change the value with your own.
date.timezone = Asia/Jakarta
Save and close, then restart the Apache2 service.
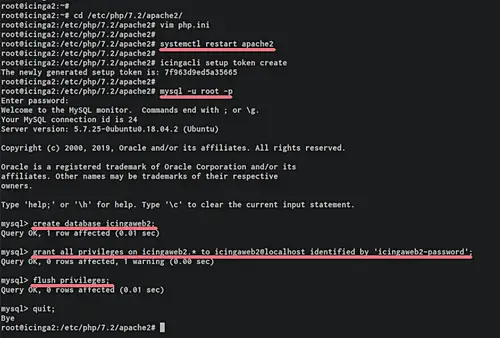
systemctl restart apache2
The basic icingaweb2 configuration is completed.
Next, we will generate the icinga2 setup token and create the database for icingaweb2.
Generate the icinga2 setup token using the icingacli command as below.
icingacli setup token create
Copy the setup token to your note.
The newly generated setup token is: 7f963d9ed5a35665
After that, we will create a new MySQL database and user for icingaweb2. Login to the MySQL shell using the mysql command below.
mysql -u root -p
Now create a new database and user called ‘icingaweb2’ and grant the user to the database by running the following MySQL queries.
create database icingaweb2;
 grant all privileges on icingaweb2.* to icingaweb2@localhost identified by 'icingaweb2-password';
 flush privileges;
 quit;
As a result, the icinga2 setup token and the MySQL database and user for icinga2 and icingaweb2 installation has been created.
Step 4 – Icinga 2 and Icinga Web 2 Post-Installation
Open your web browser and type the server IP address as below. Replace the IP with your server IP.
http://10.5.5.20/icingaweb2/setup
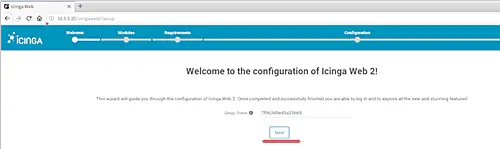
Paste the setup token code on the box and click the ‘Next’ button.
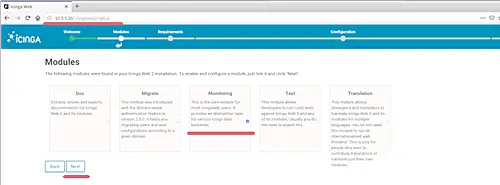
Now you need to choose the Icinga module for your installation, leave the ‘Monitoring’ module and click ‘Next’.
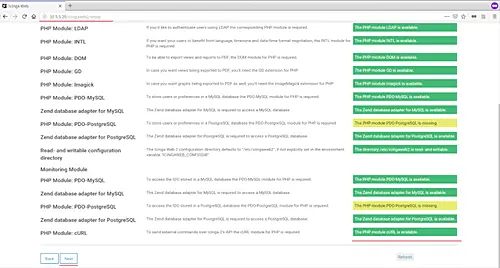
After that, the Icinga will check the environment for its installation. Ensure all modules needed is on the green status except for the ‘PostgreSQL modules’, then click ‘Next’.
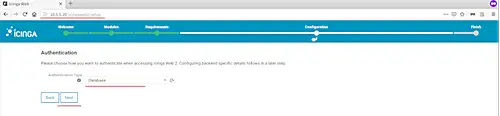
Now you need to choose Authentication for accessing the icingaweb2, choose ‘Database’ and click ‘Next’.
Type in all database details for the ‘icingaweb2’ and click ‘Validate Configuration’ to test. Once it’s successful, click the ‘Next’ button.
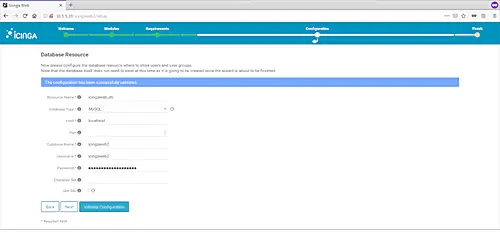
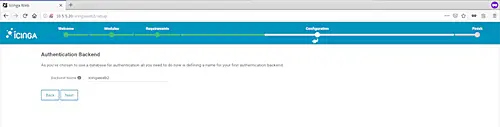
Now for the Backend Authentication, choose the ‘icingaweb2’ and click ‘Next’.
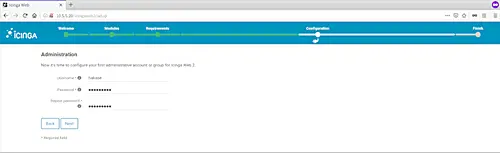
Type the admin and password for icingaweb2 and click ‘Next’ again.
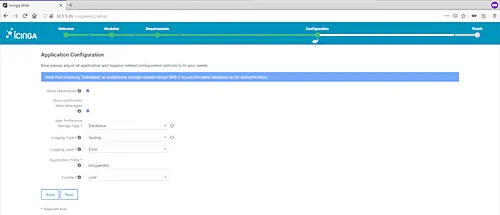
On the Application Configuration, leave it as default and click ‘Next’.
Confirm all configuration and click ‘Next’.
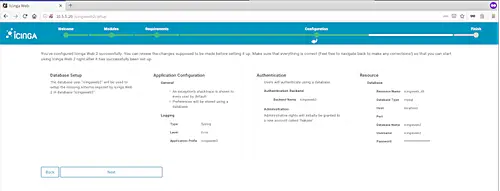
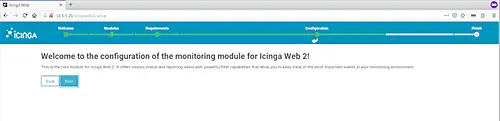
And you will get the welcome page to the icingaweb2. Click ‘Next’ again to configure the monitoring backend.
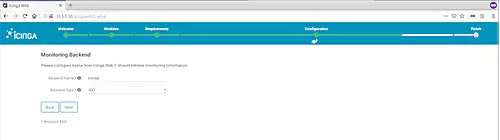
Set the Backend name as ‘icinga2’ with the type ‘IDO’, then click ‘Next’.
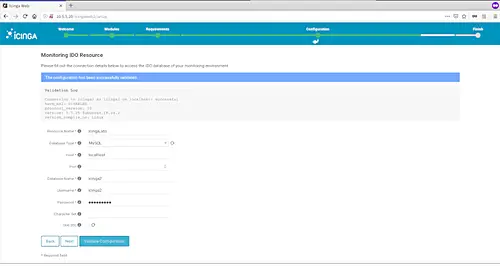
Now you need to configure MySQL IDO backend resource for the icinga2 application. Type details database for icinga2 and click ‘Validate Configuration’. Once it’s successful, click the ‘Next’ button.
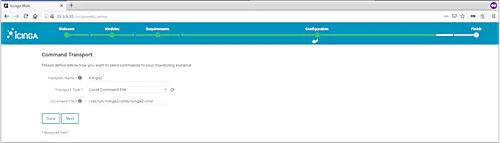
For the ‘Command Transport’, choose the ‘Local Command File’ and leave it as default. Then click ‘Next’.
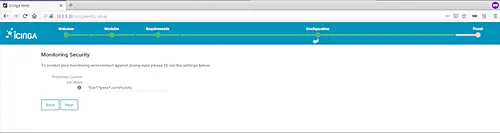
And for the Monitoring Security, leave it as default and click ‘Next’.
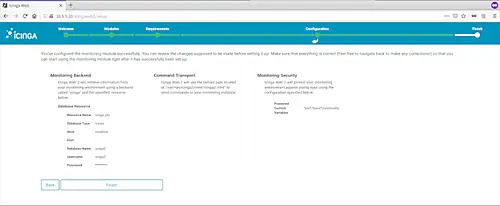
Confirm all configuration and click the ‘Finish’ button.
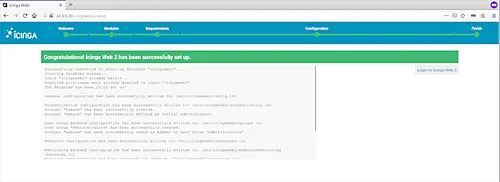
Now the Icinga 2 and Icinga web 2 installations are completed, click the ‘Login to Icinga Web 2’ button and you will be redirected to the login page.
Type the user that you’ve configured at the top and click the ‘Login’ button.
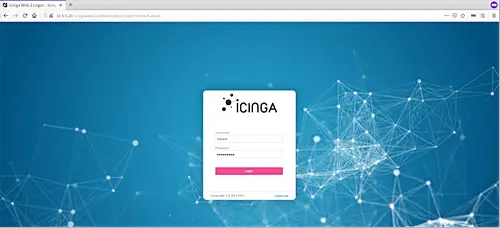
Type the user that you’ve configured at the top and click the ‘Login’ button.
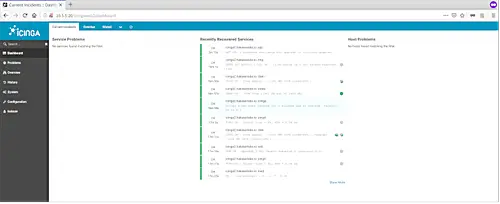
And finally, the installation and configuration of icinga2 and icingaweb2 on Ubuntu 18.04 server have been completed successfully.



Add Comment